

Kamra-e-faoree
Building an Afghan Box Camera
[December 2nd, 2019]
So, I've posted my camera on several photography groups and I’ve gotten a lot of interest. I figured I'd do a little write up for anyone that wanted to know more about the camera as well as see some images of the building process.
The Idea
After about a year and a half of shooting with a 4x5 camera, I inevitably wanted to go bigger. A quick e-bay search turned up cameras that were way out of my budget. So, the very next idea I had was along the lines of “well, I could probably make my own, right?”
I began to research all sorts of cameras, how to make bellows, film holders, the lot. It was quite a large, complicated undertaking. My main concern was if I could make a light-tight film holder with the limited skill and tools at my disposal.
Eventually I came across an article that detailed an “instant” box camera. This was the Afghan box camera. A self-contained camera and dark-box that resulted in a printed image. It was the answer to all the complications I had, and I was in love with the concept.
Planning
Many, many articles, blog posts, YouTube videos and Instagram DM’s later I had a plan in mind. I wanted to make the process as streamline as possible. Unlike the more traditional afghan cameras, which use paper negatives which are then re-photographed to create a positive image, I planned to use a direct-positive paper, removing one large step of the process.

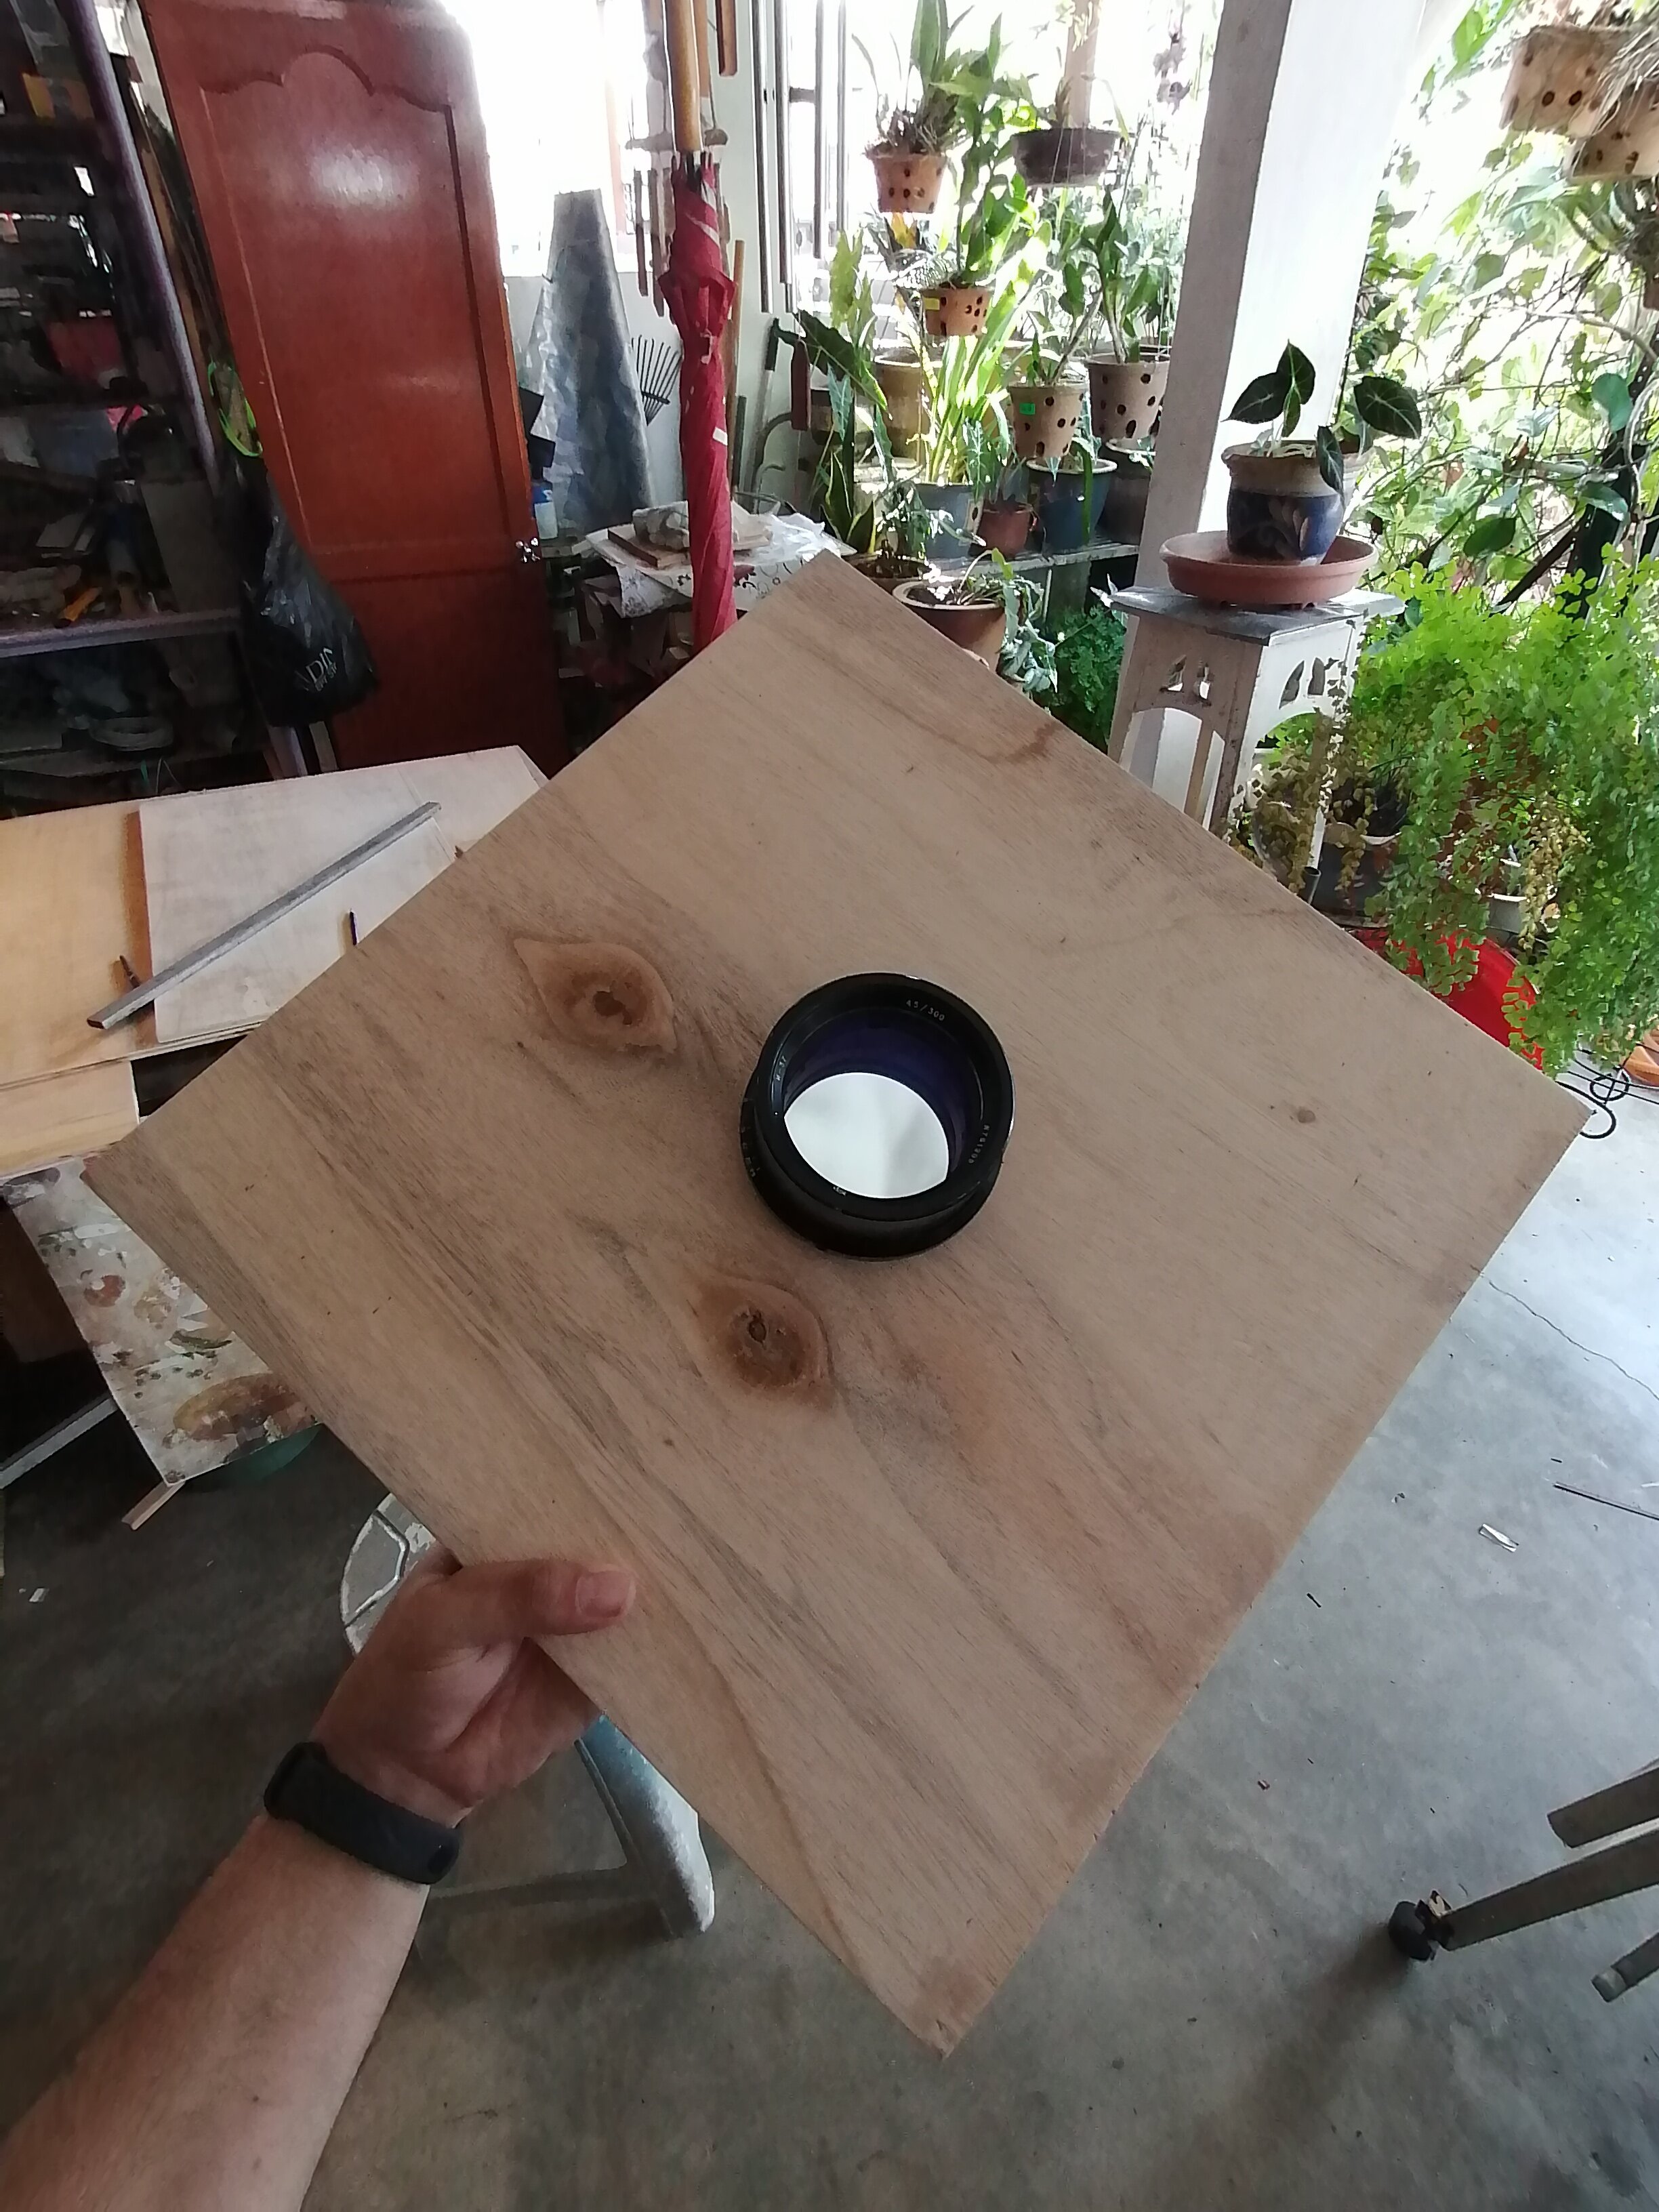
After some digging, I chose my lens: a Russian Industar-37 300mm f4.5. next, was to measure a reasonably close focus distance to factor that into the final dimensions of the camera. I knew I wanted to have close focus when shooting 8x10 portraits.
For a quick test I used an old cardboard box and cut a hole in the front. I measured out the focus distance with a sheet of regular paper, and managed to get it within about a meter. I could have, in theory, gone closer, but that would have added length to an already sizable camera.
The build
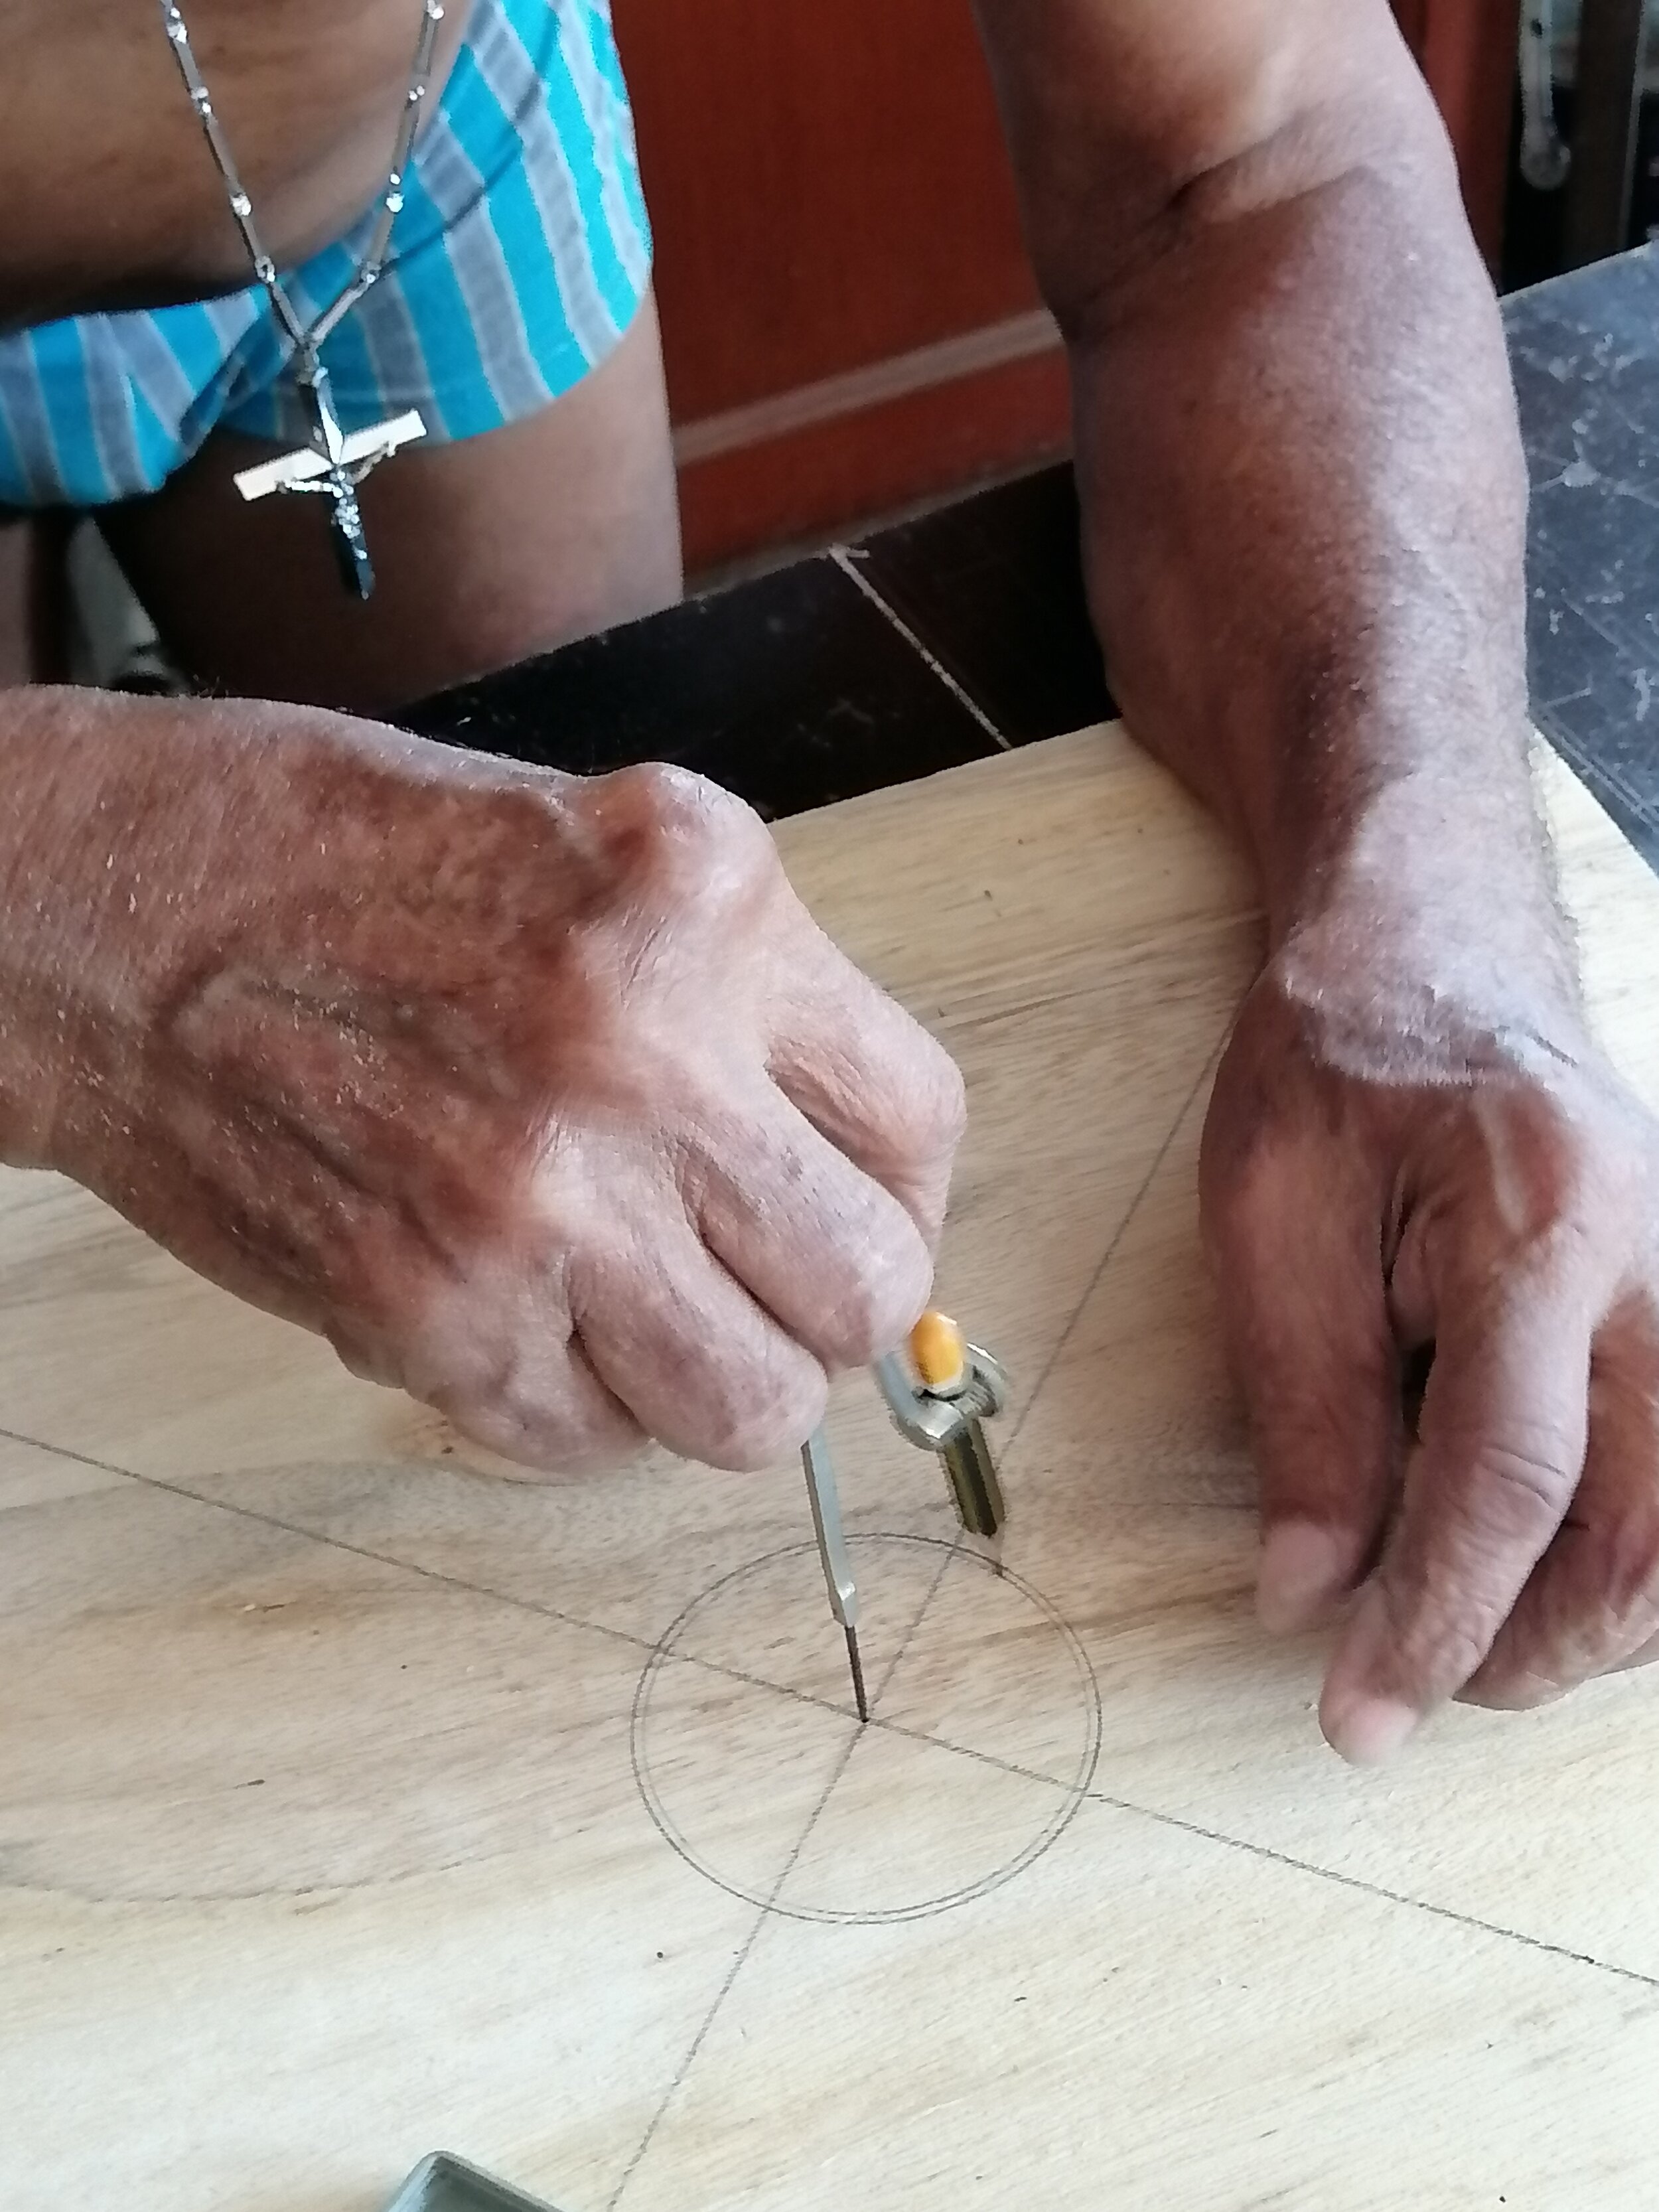
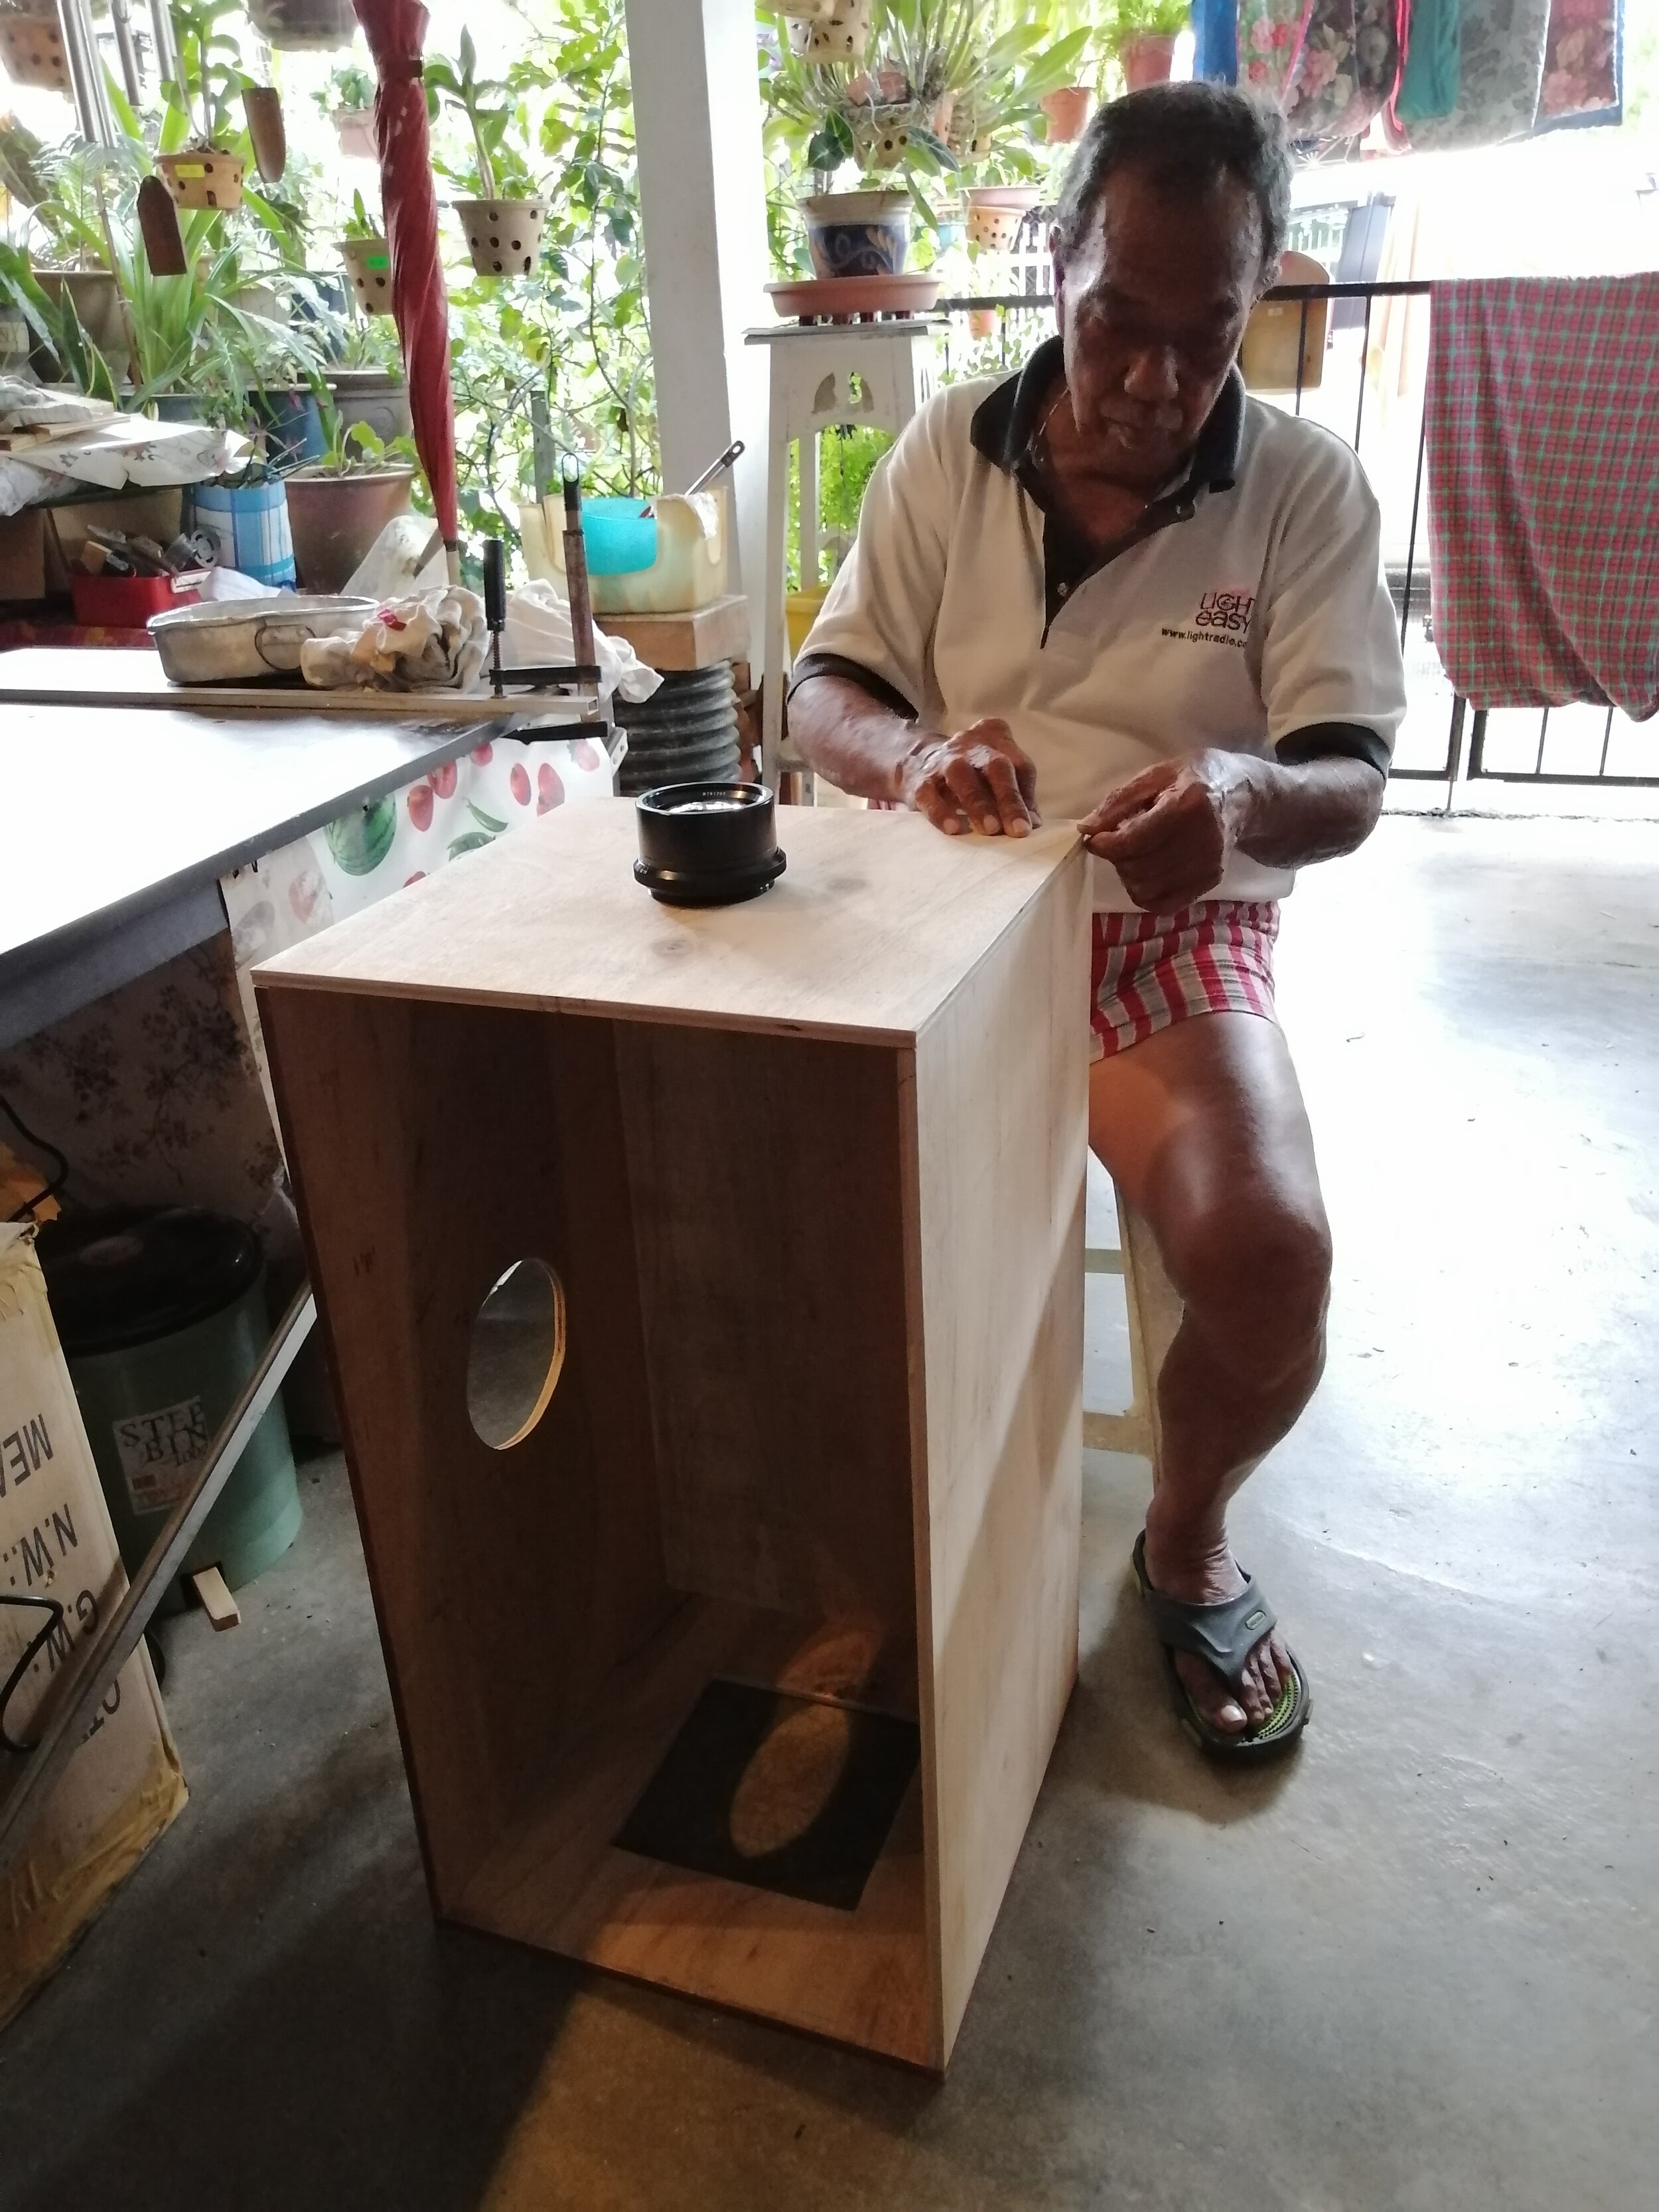
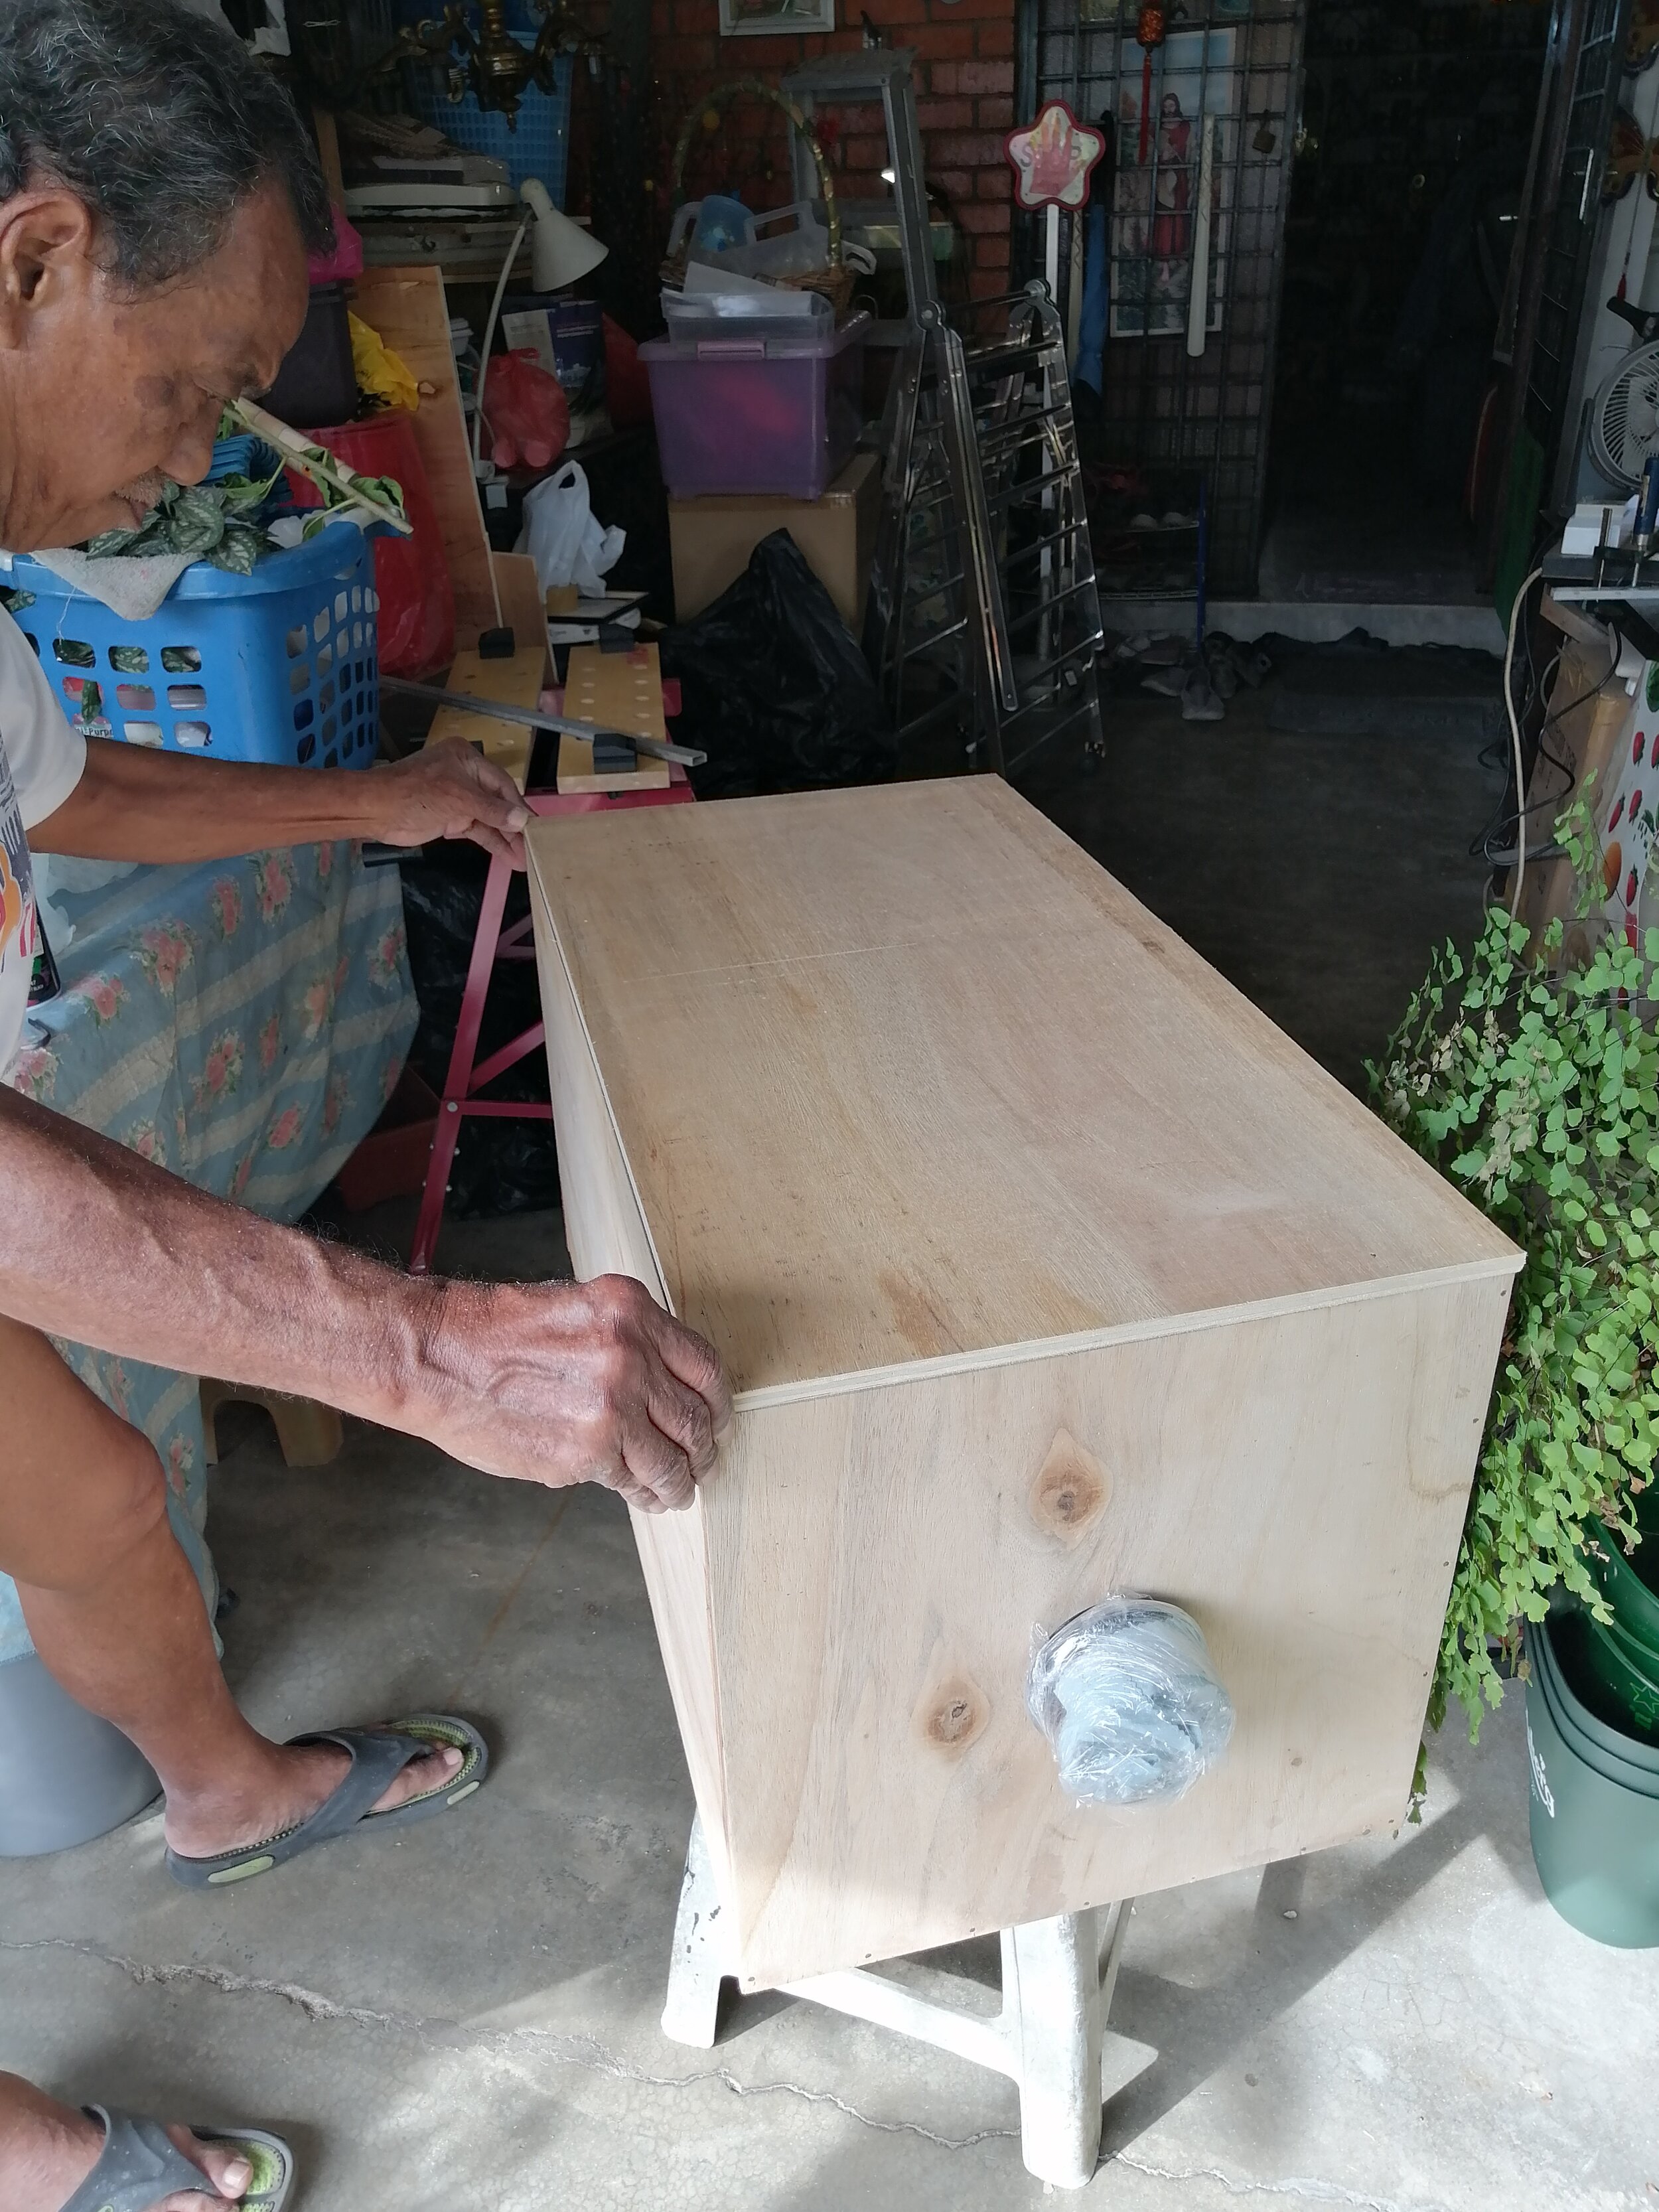
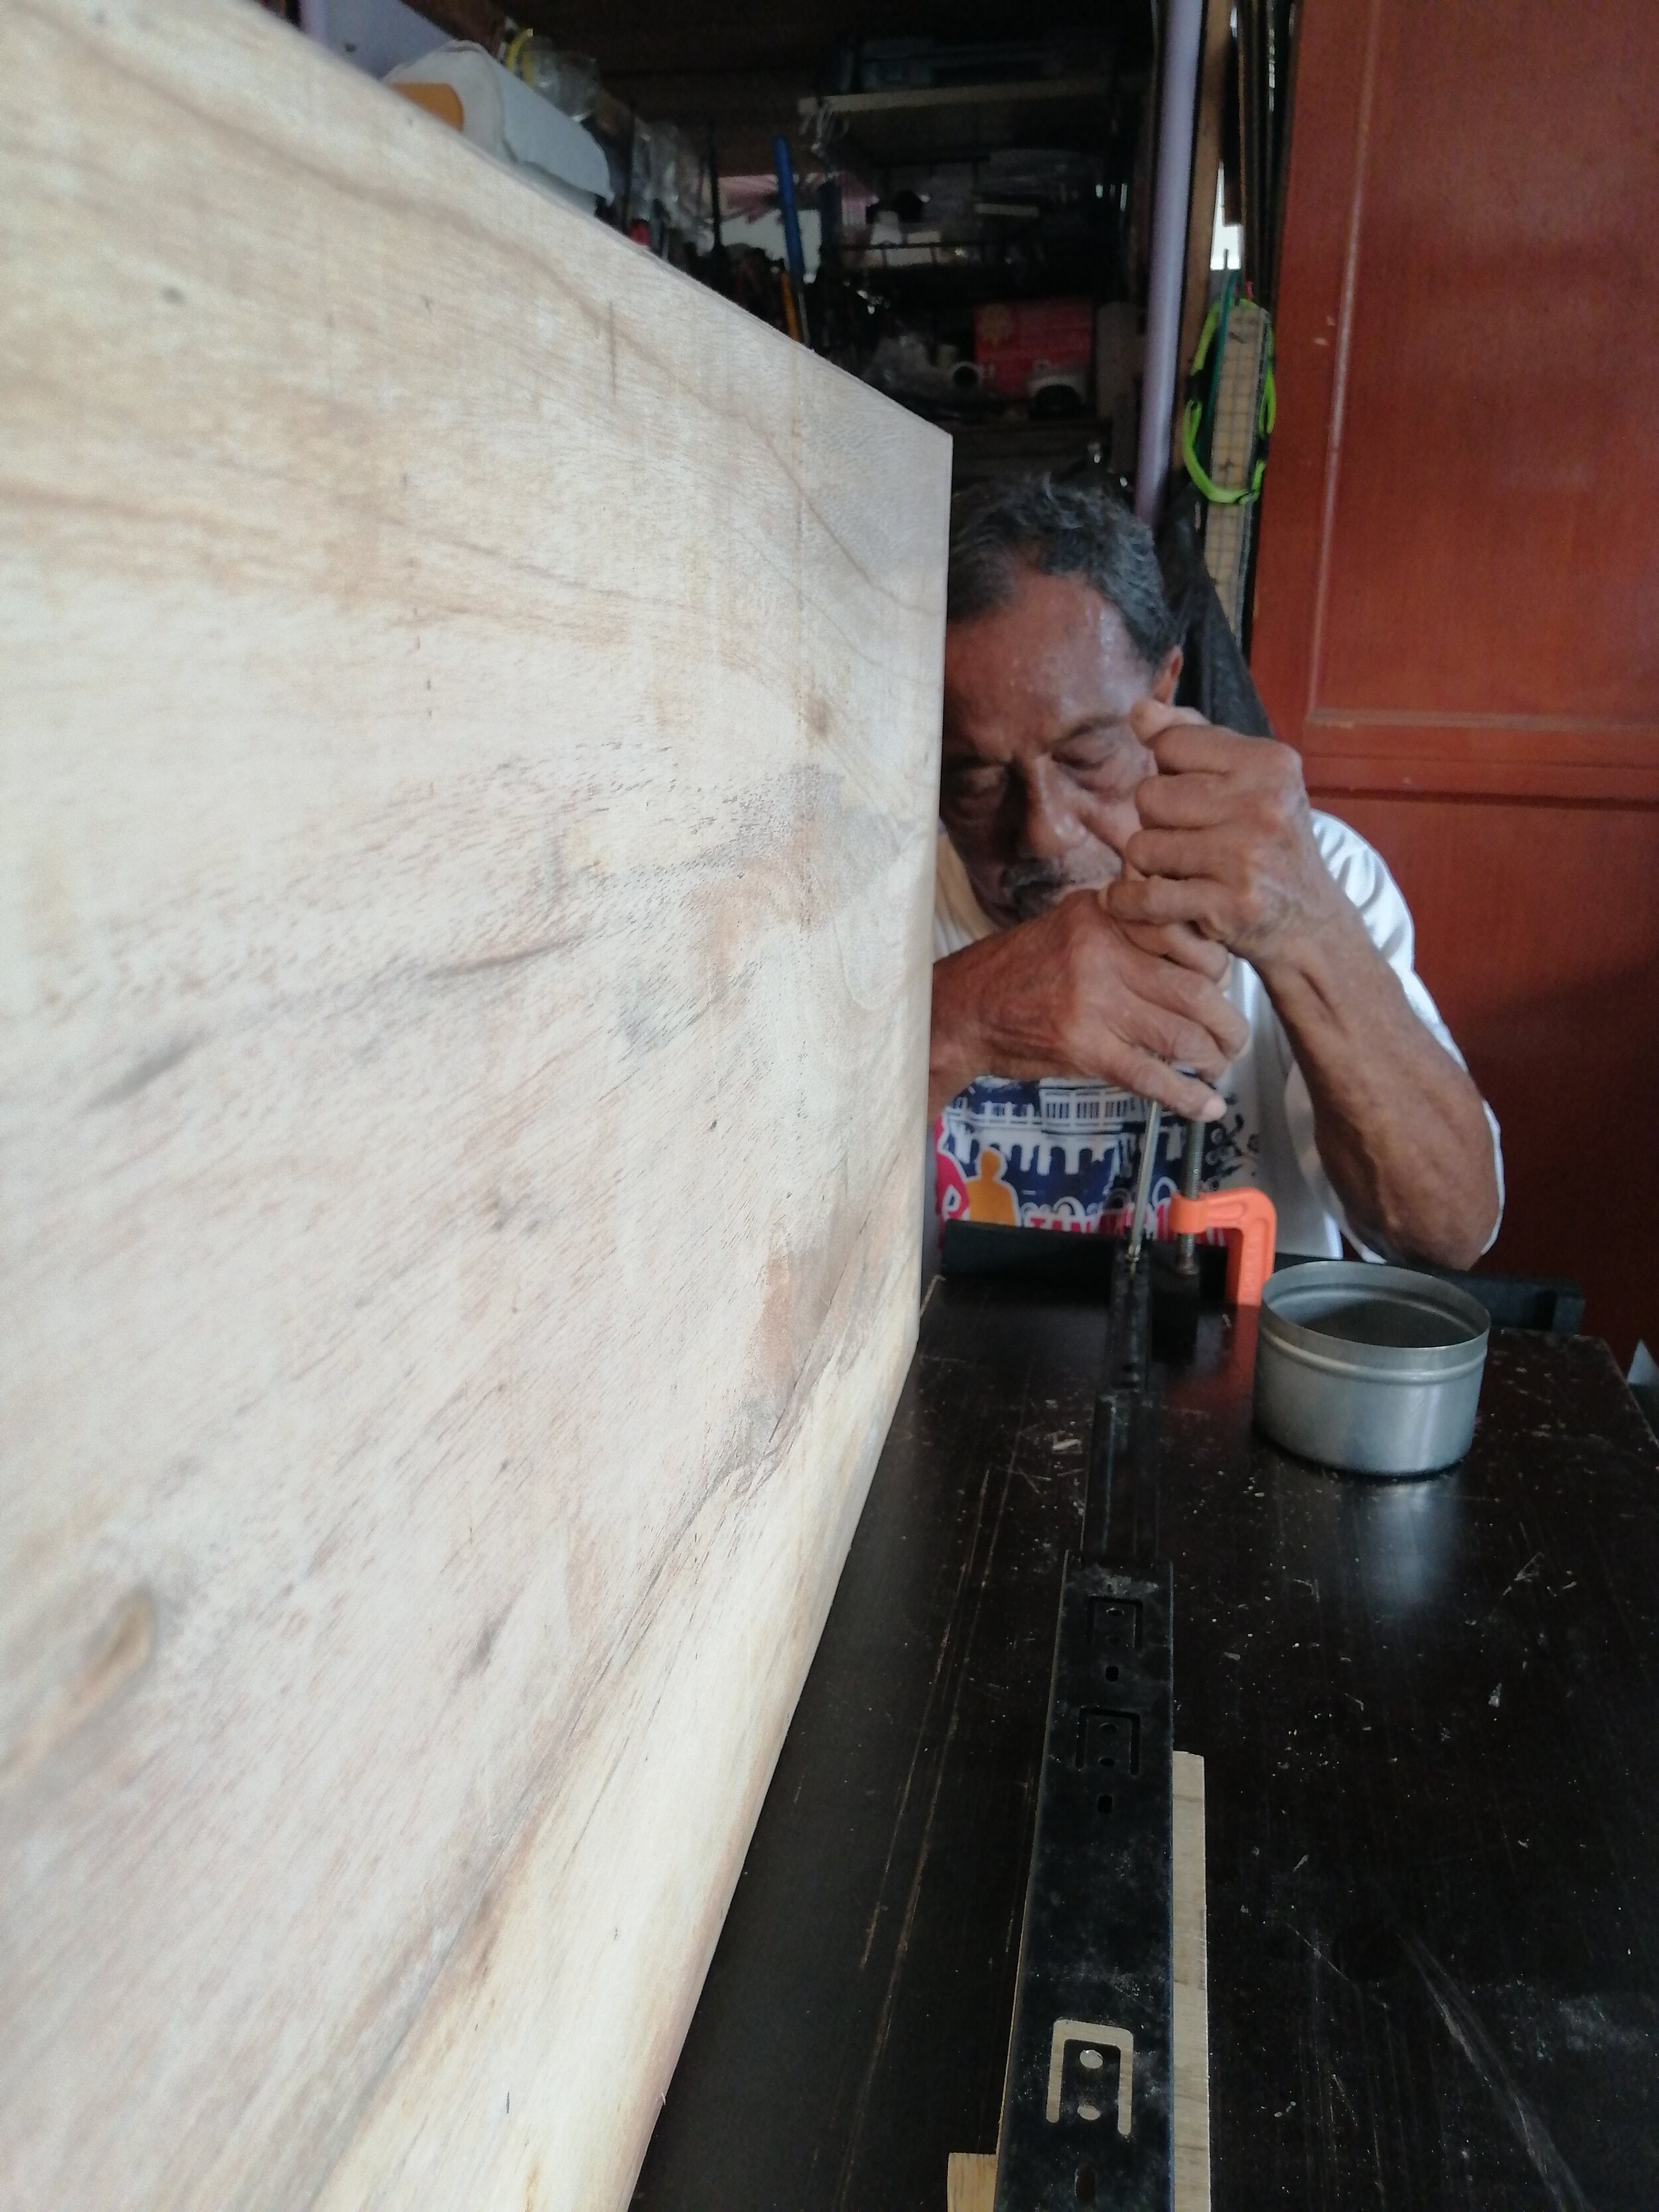
With the rough plan now on paper, I took the outlines to my grandfather. I had mentioned I wanted to build a camera and he was interested right from the start. With his make-shift workshop set up in what used to be his garage we got to work.
Day 1
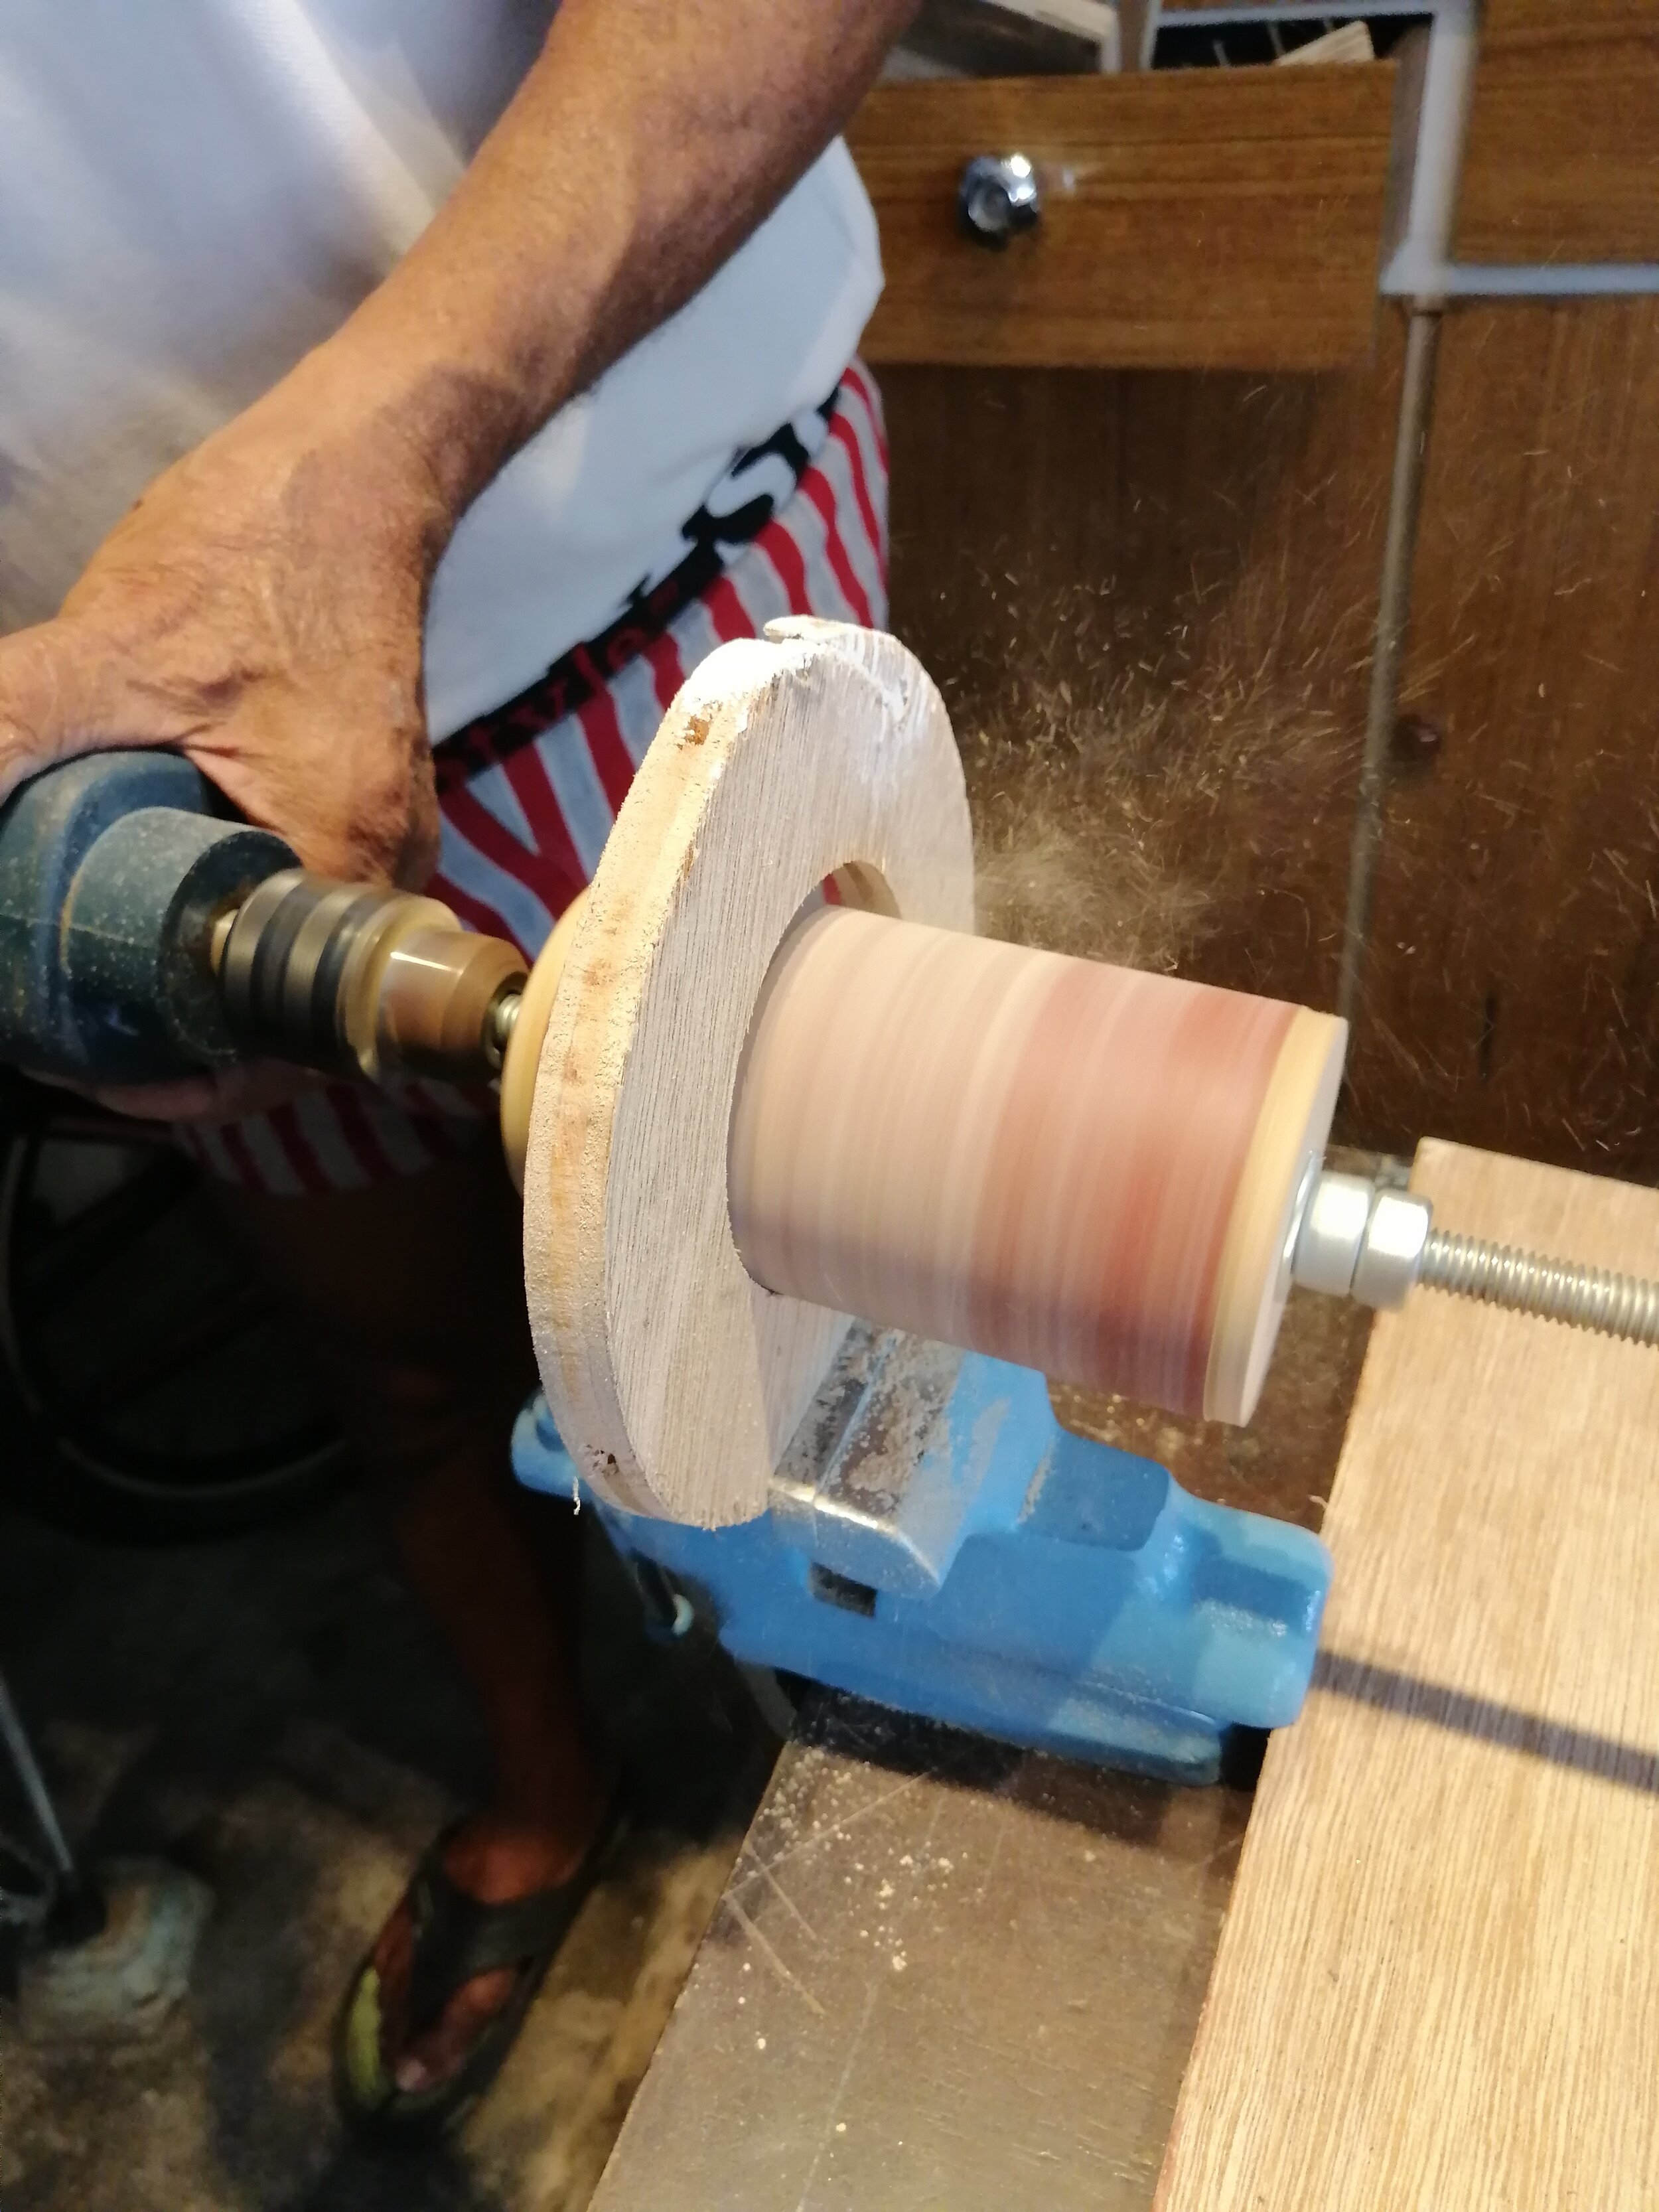
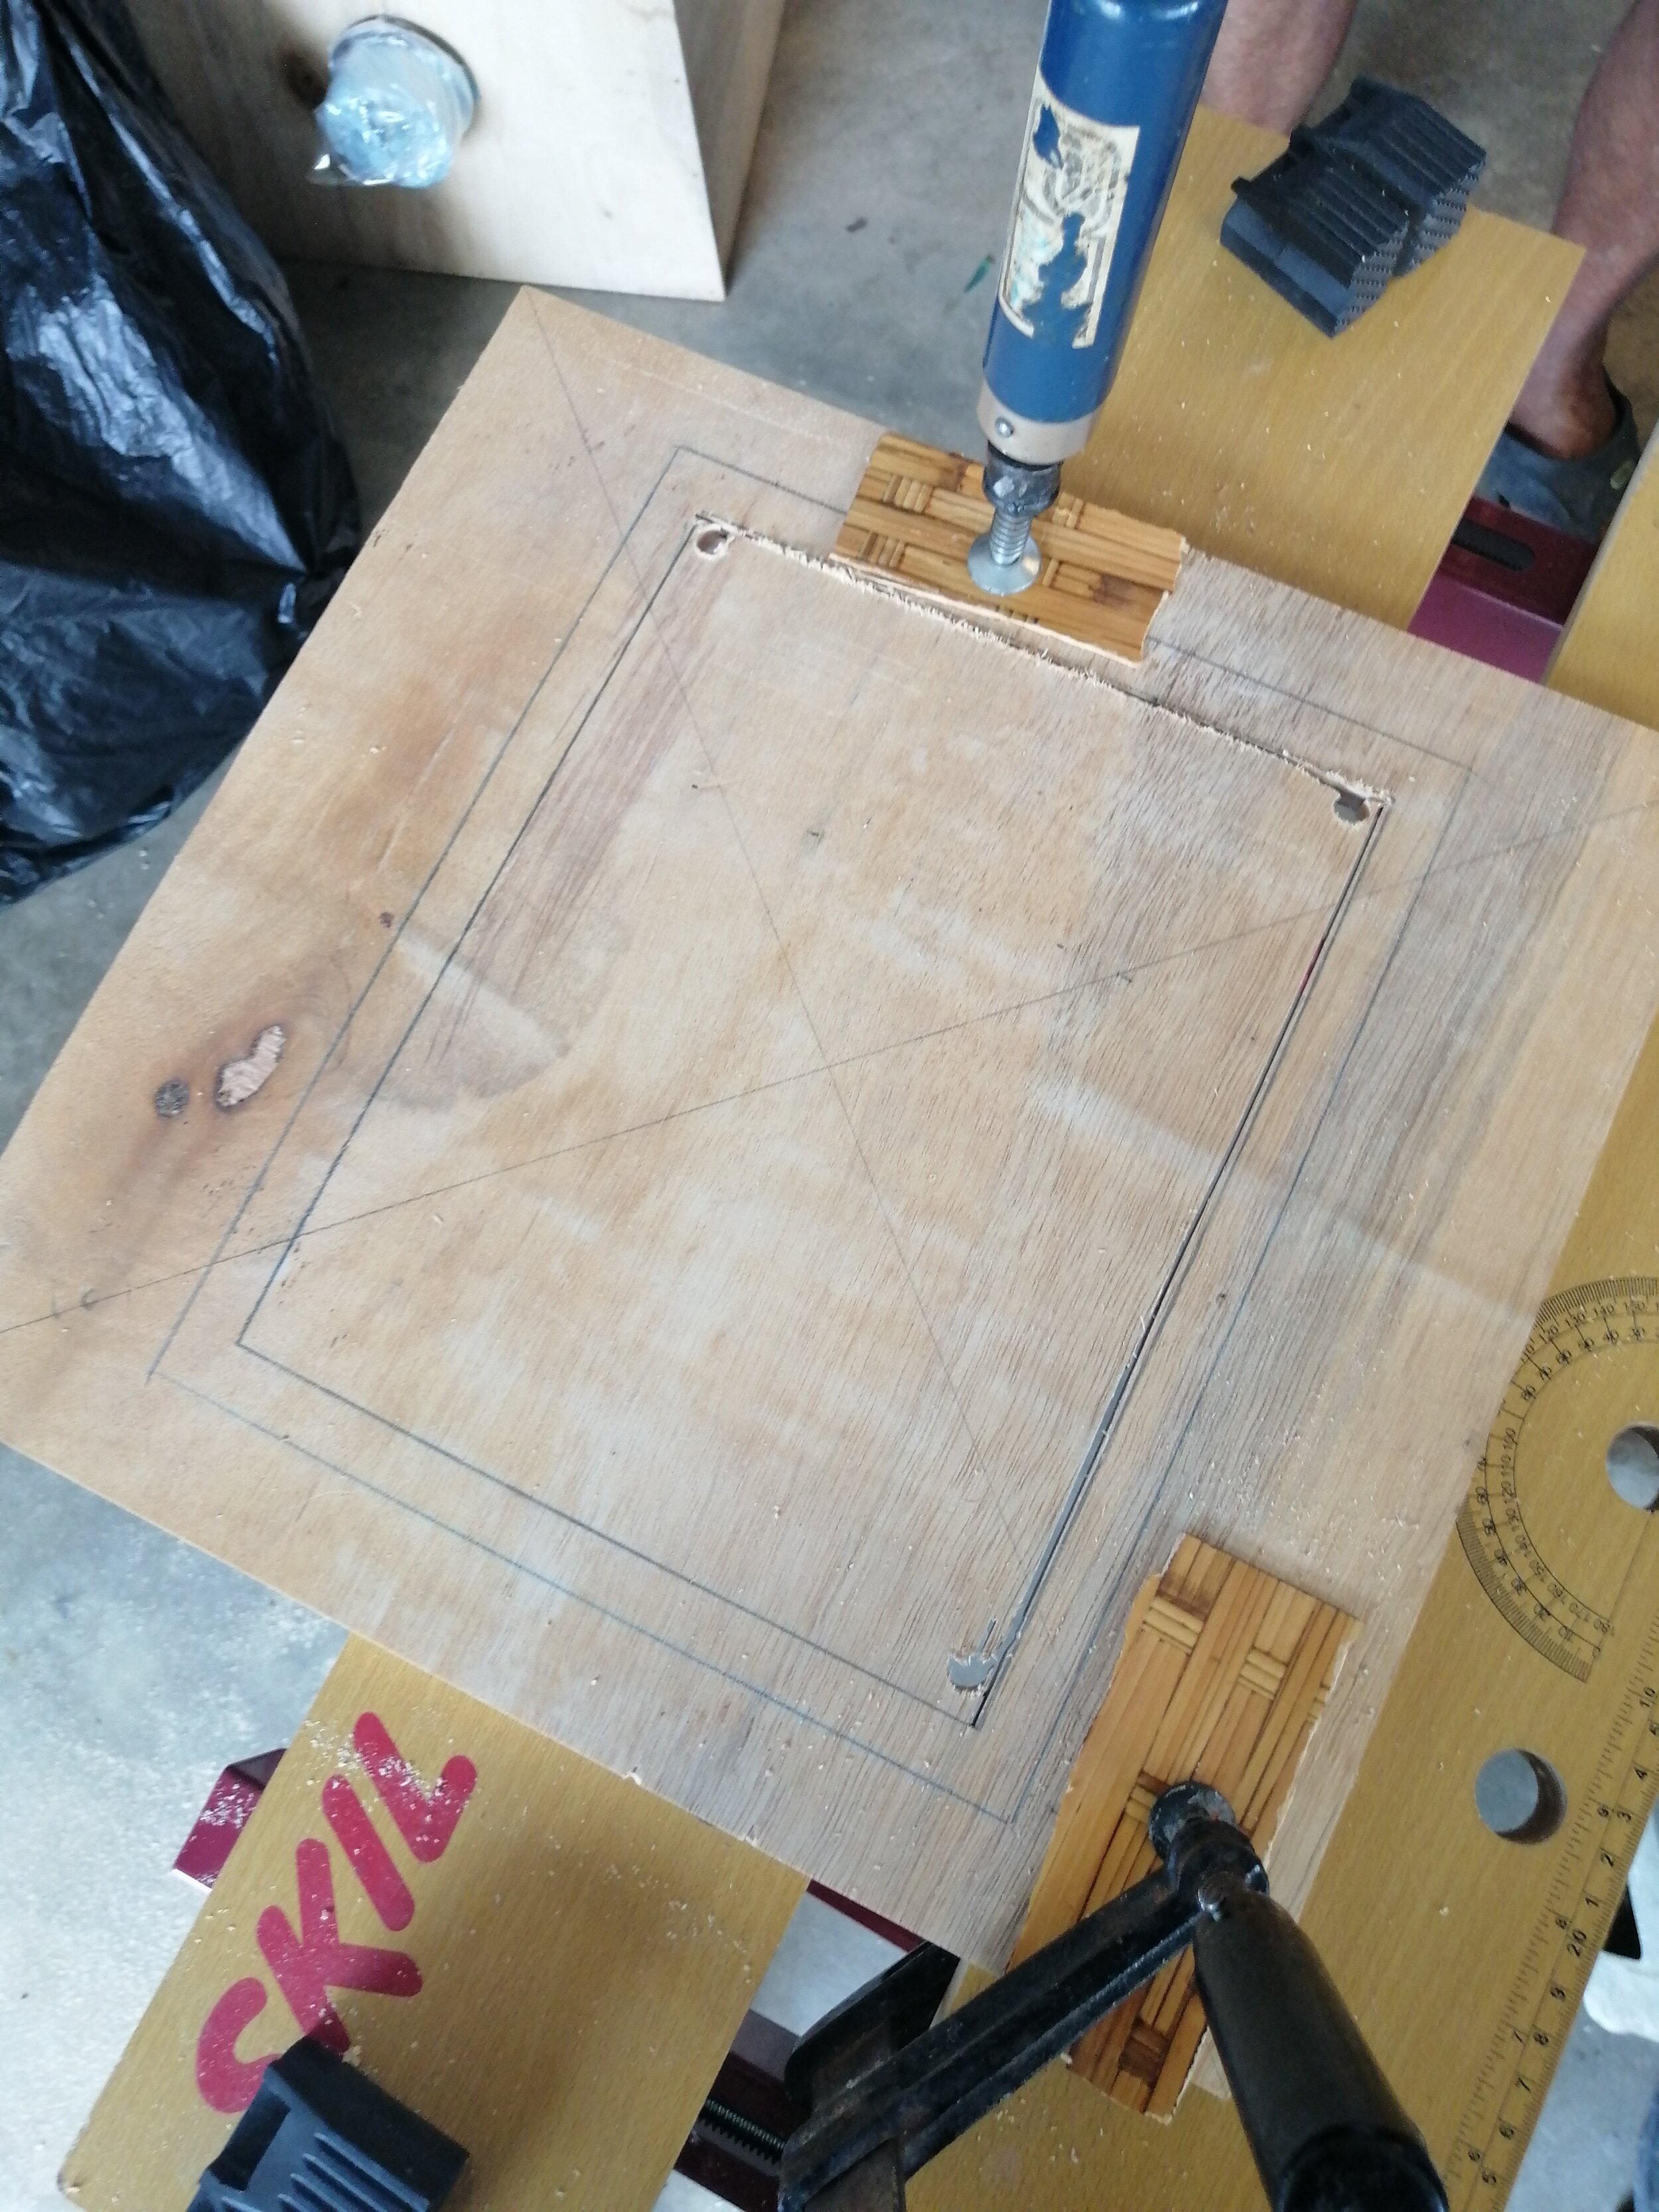
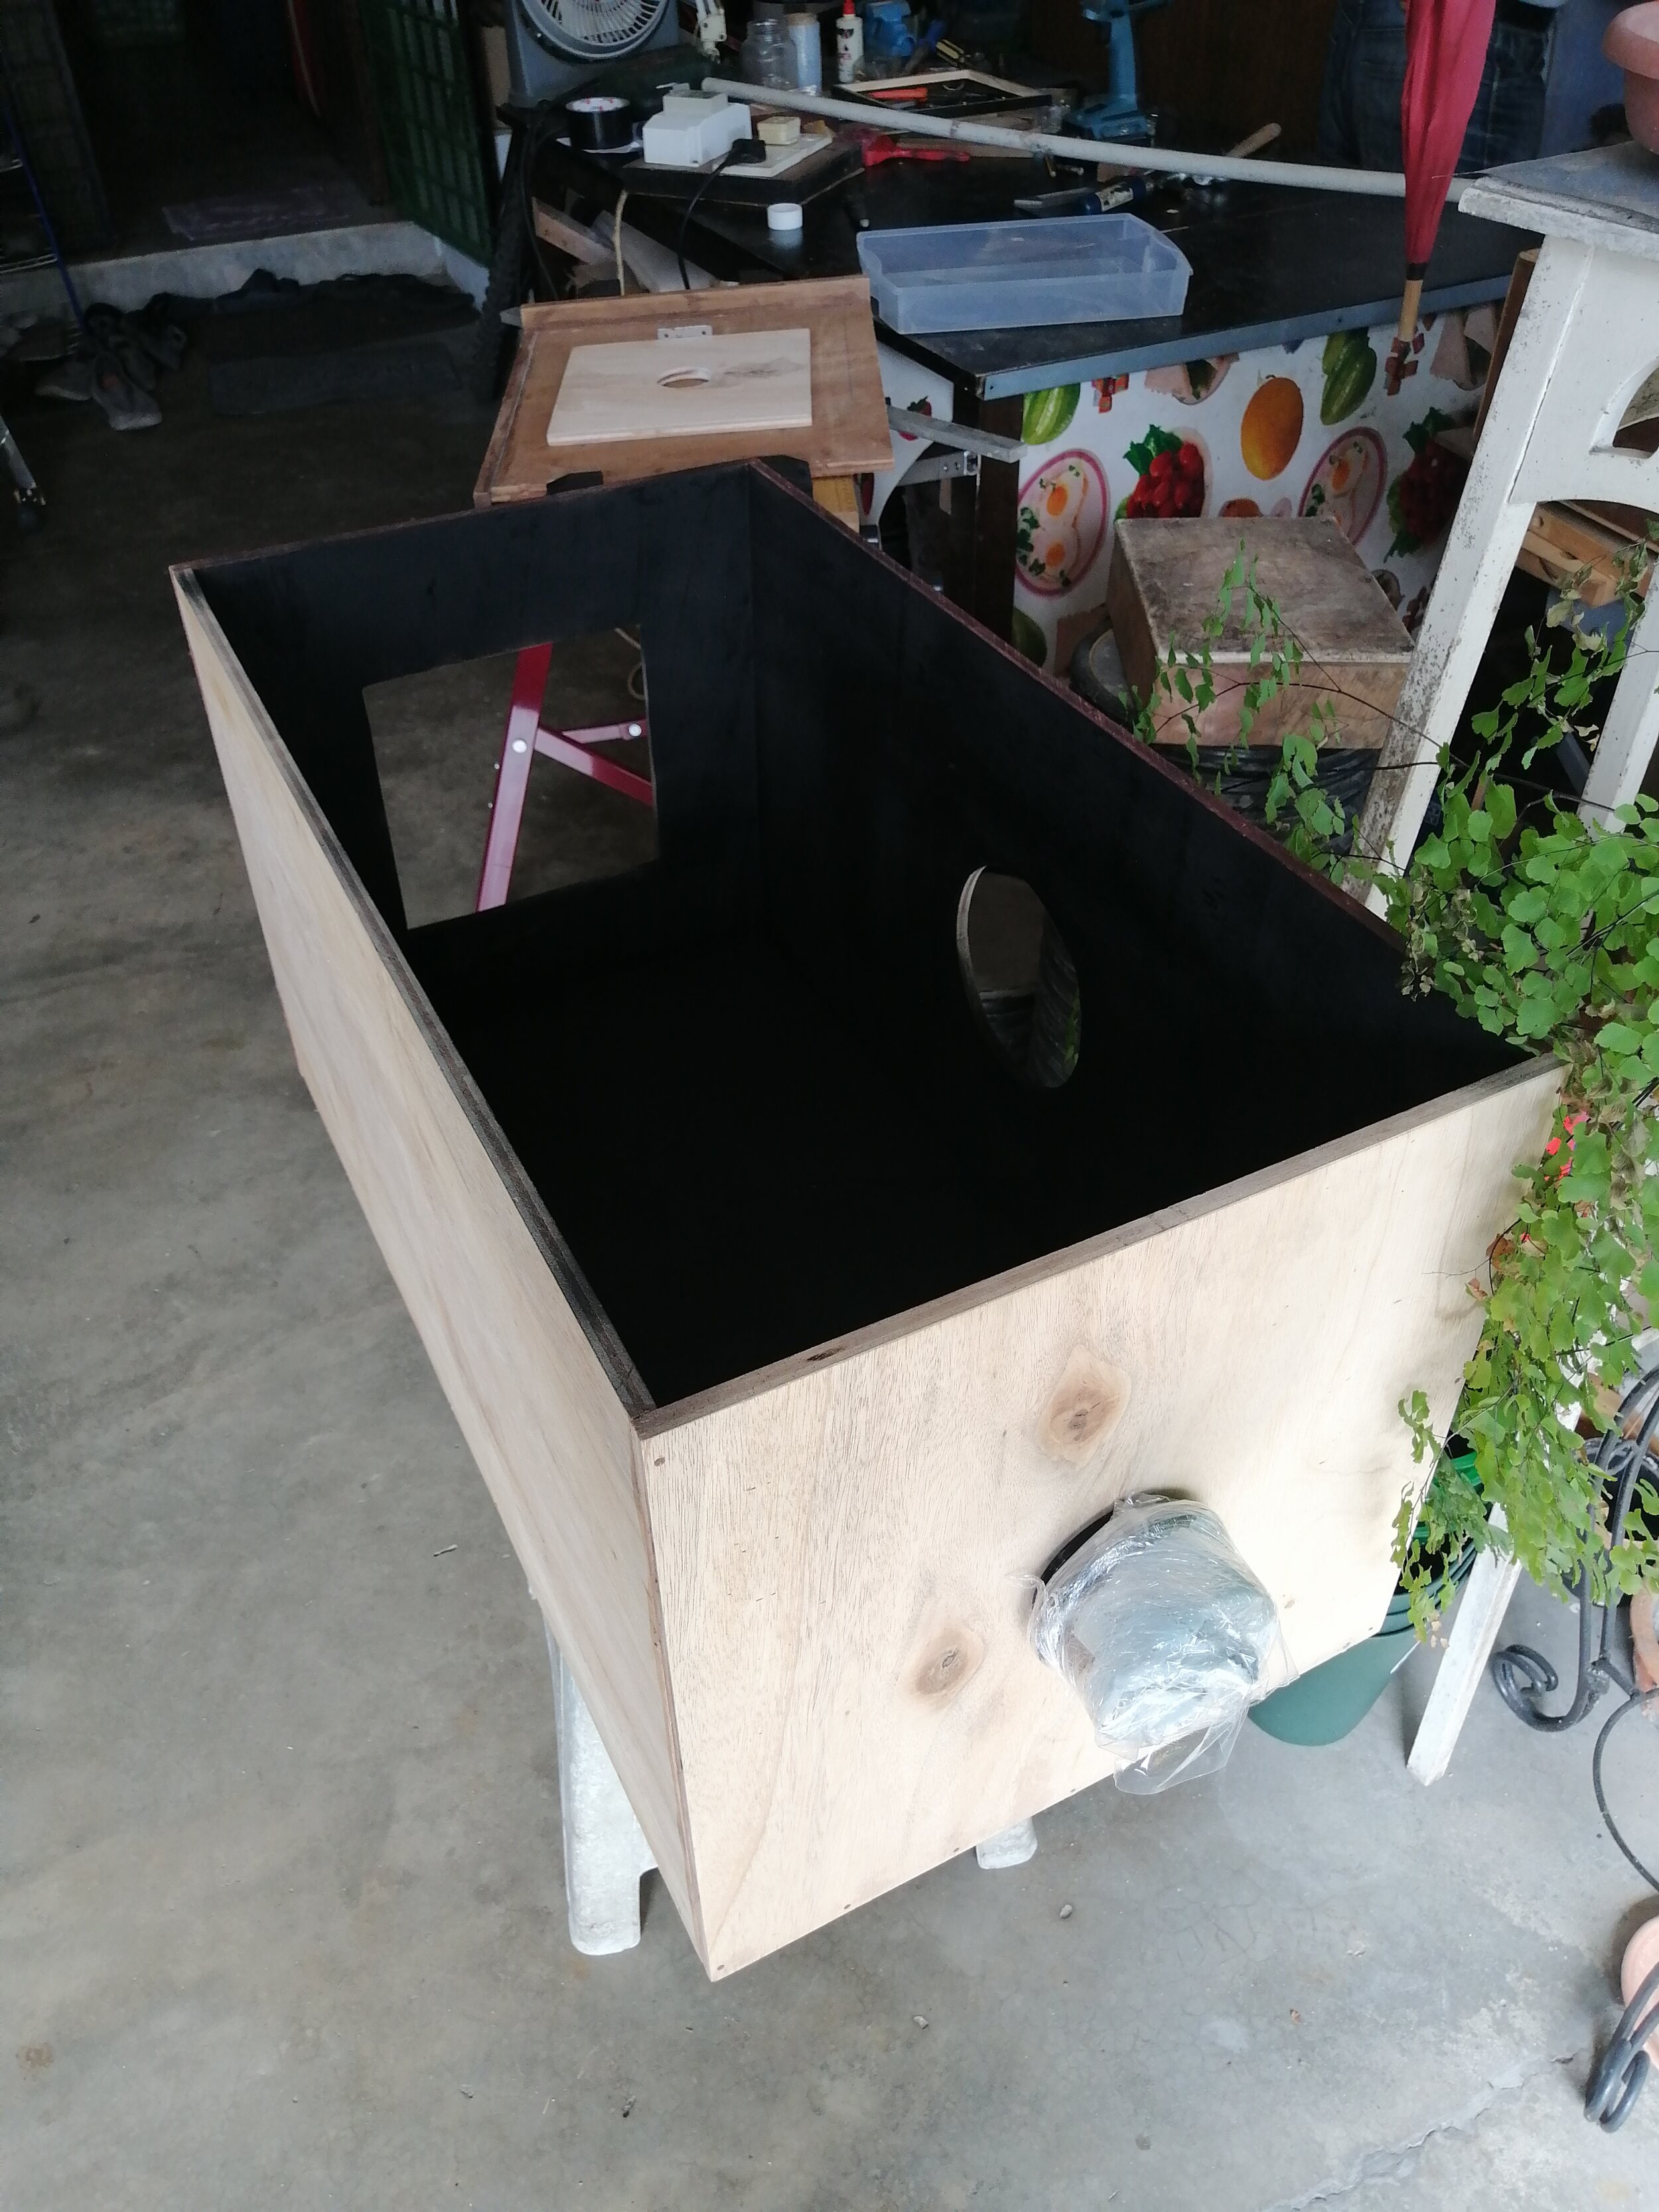
On the first day, we went out to buy the wood along with some additional materials. We bought a large piece of plywood from a construction company nearby and had it delivered an hour later. This day was mainly cutting the wood down to size and getting the necessary holes cut out.


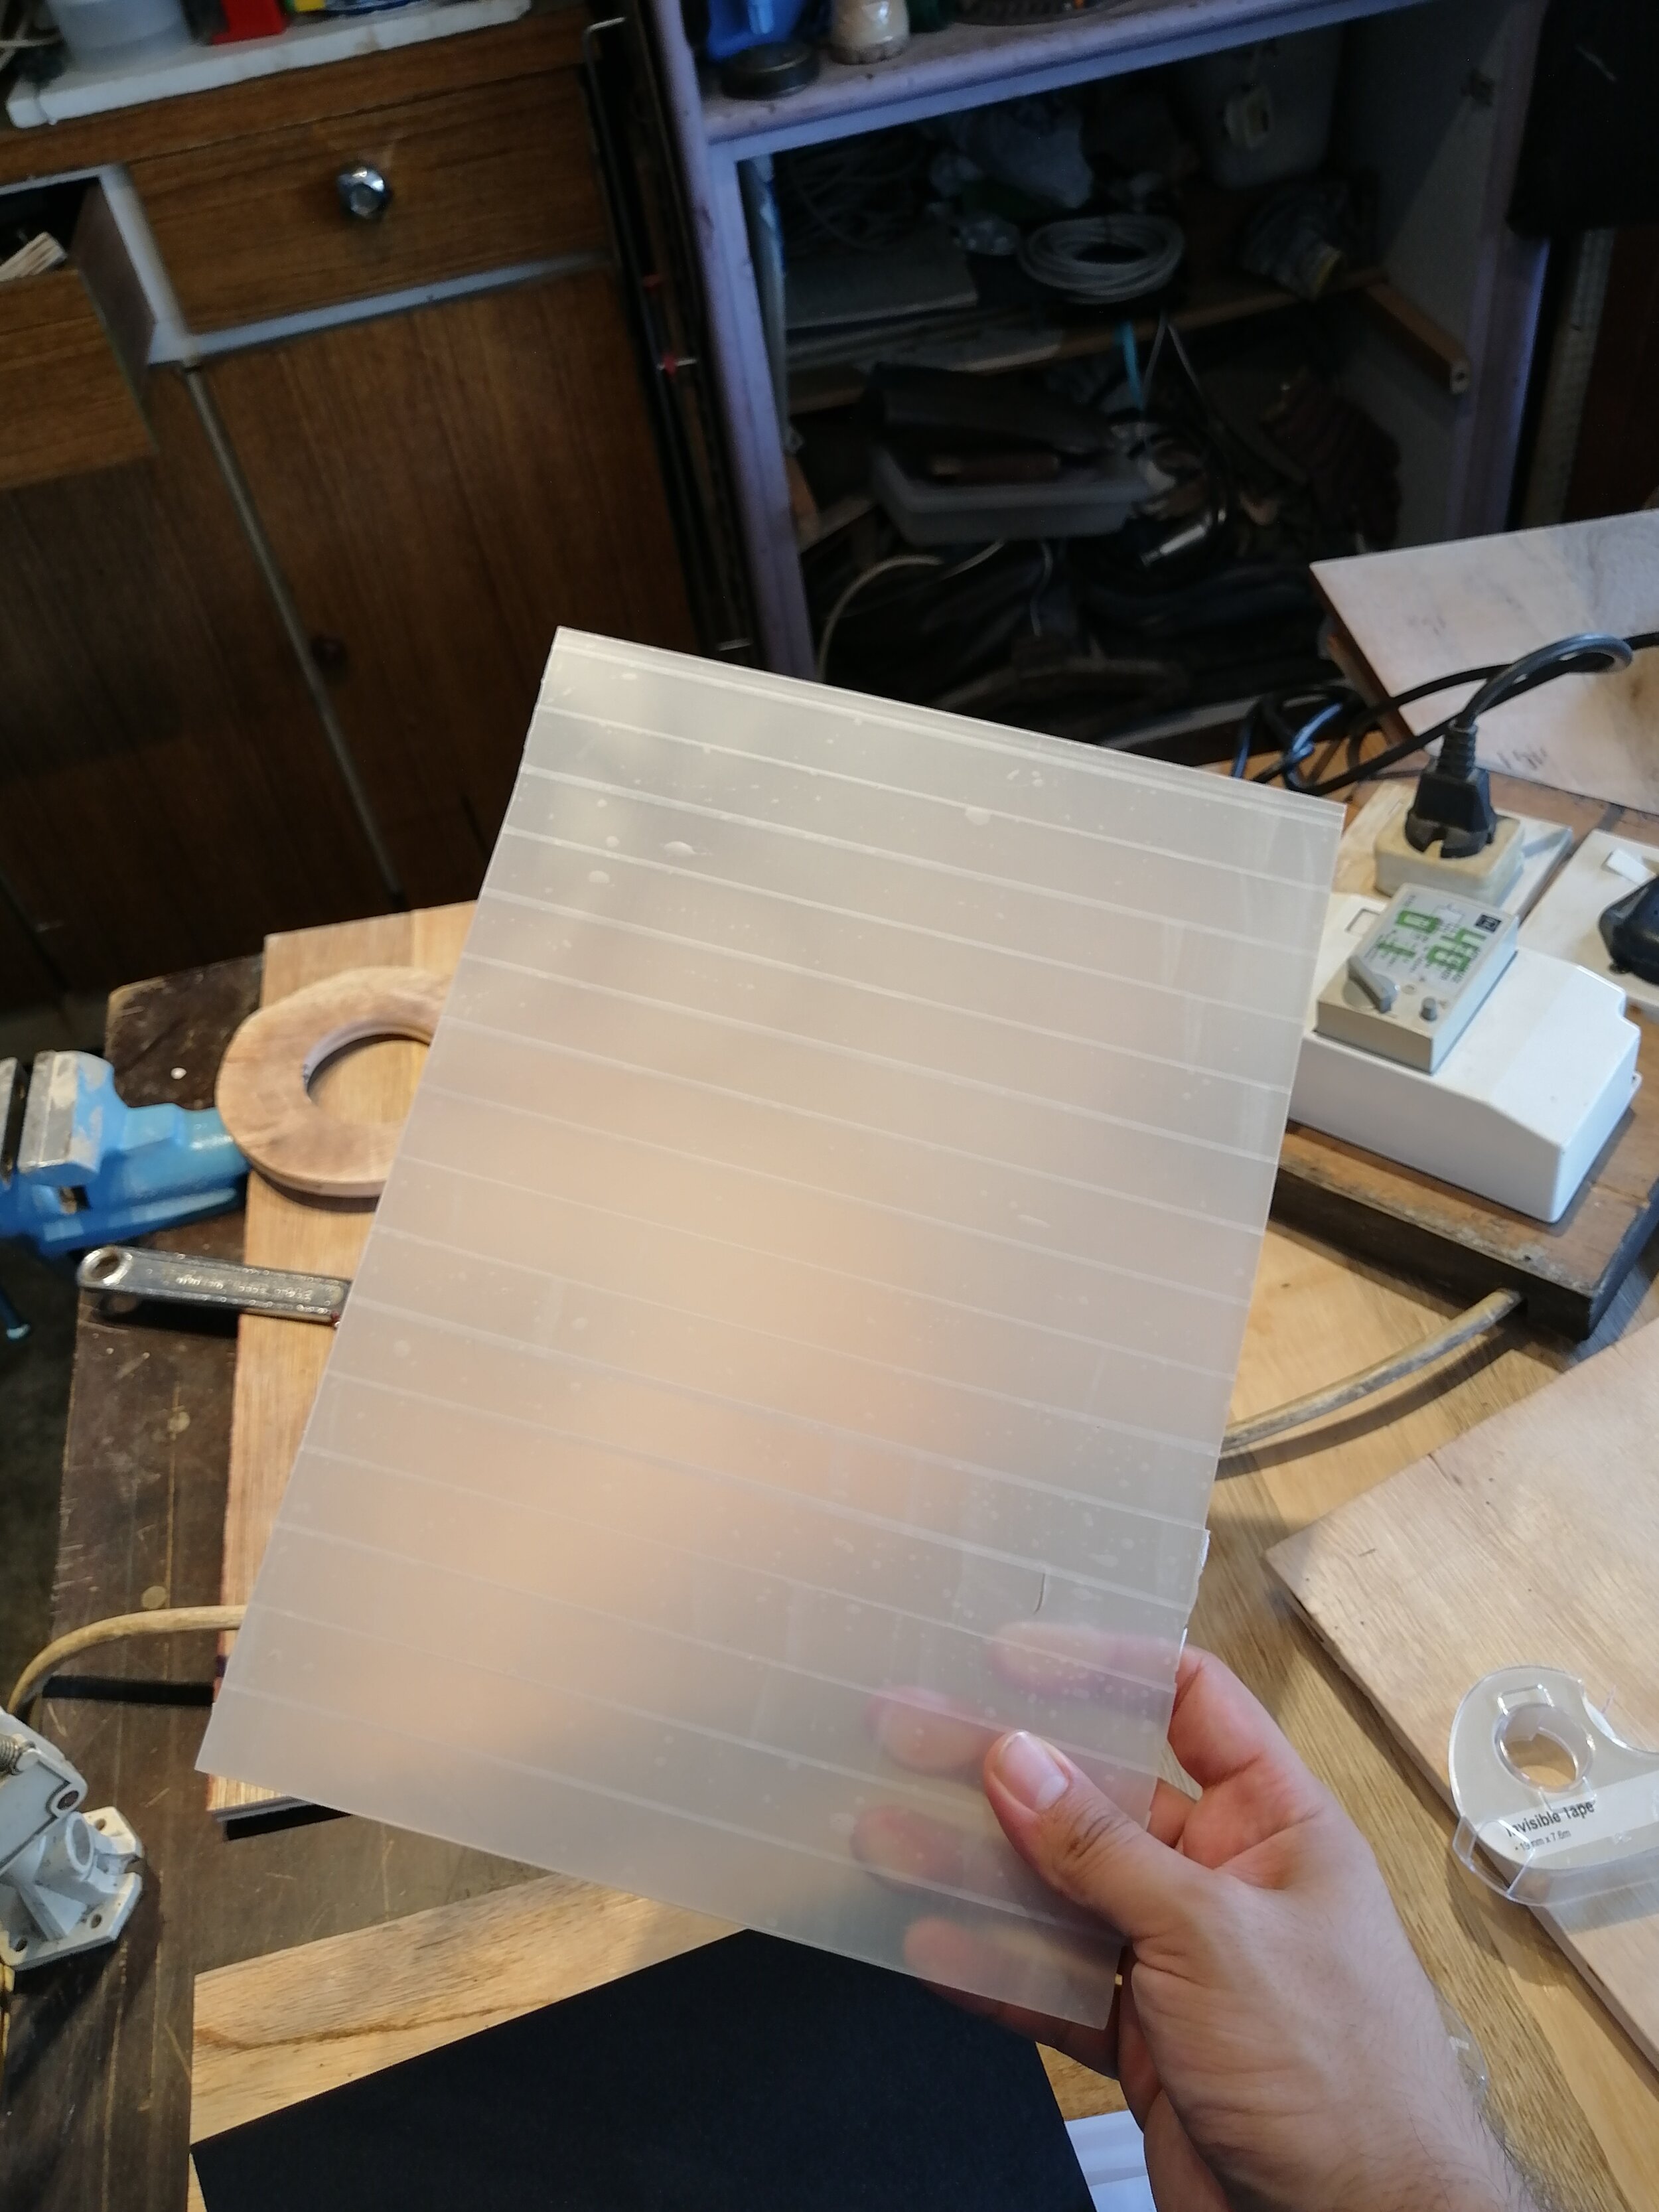
Scotch tape “ground glass”
Day 2
The second day of the build was a pretty big one. In the days leading up to day 2 I had tried to sand down two pieces of glass for the ground glass but ended up breaking one and just mildly scratching the other. I found a post on a forum where a guy used frosted tape on a sheet of clear glass as a replacement for a screen he had broken. I tested the idea and made myself a scotch tape viewing screen using the glass from a picture frame.
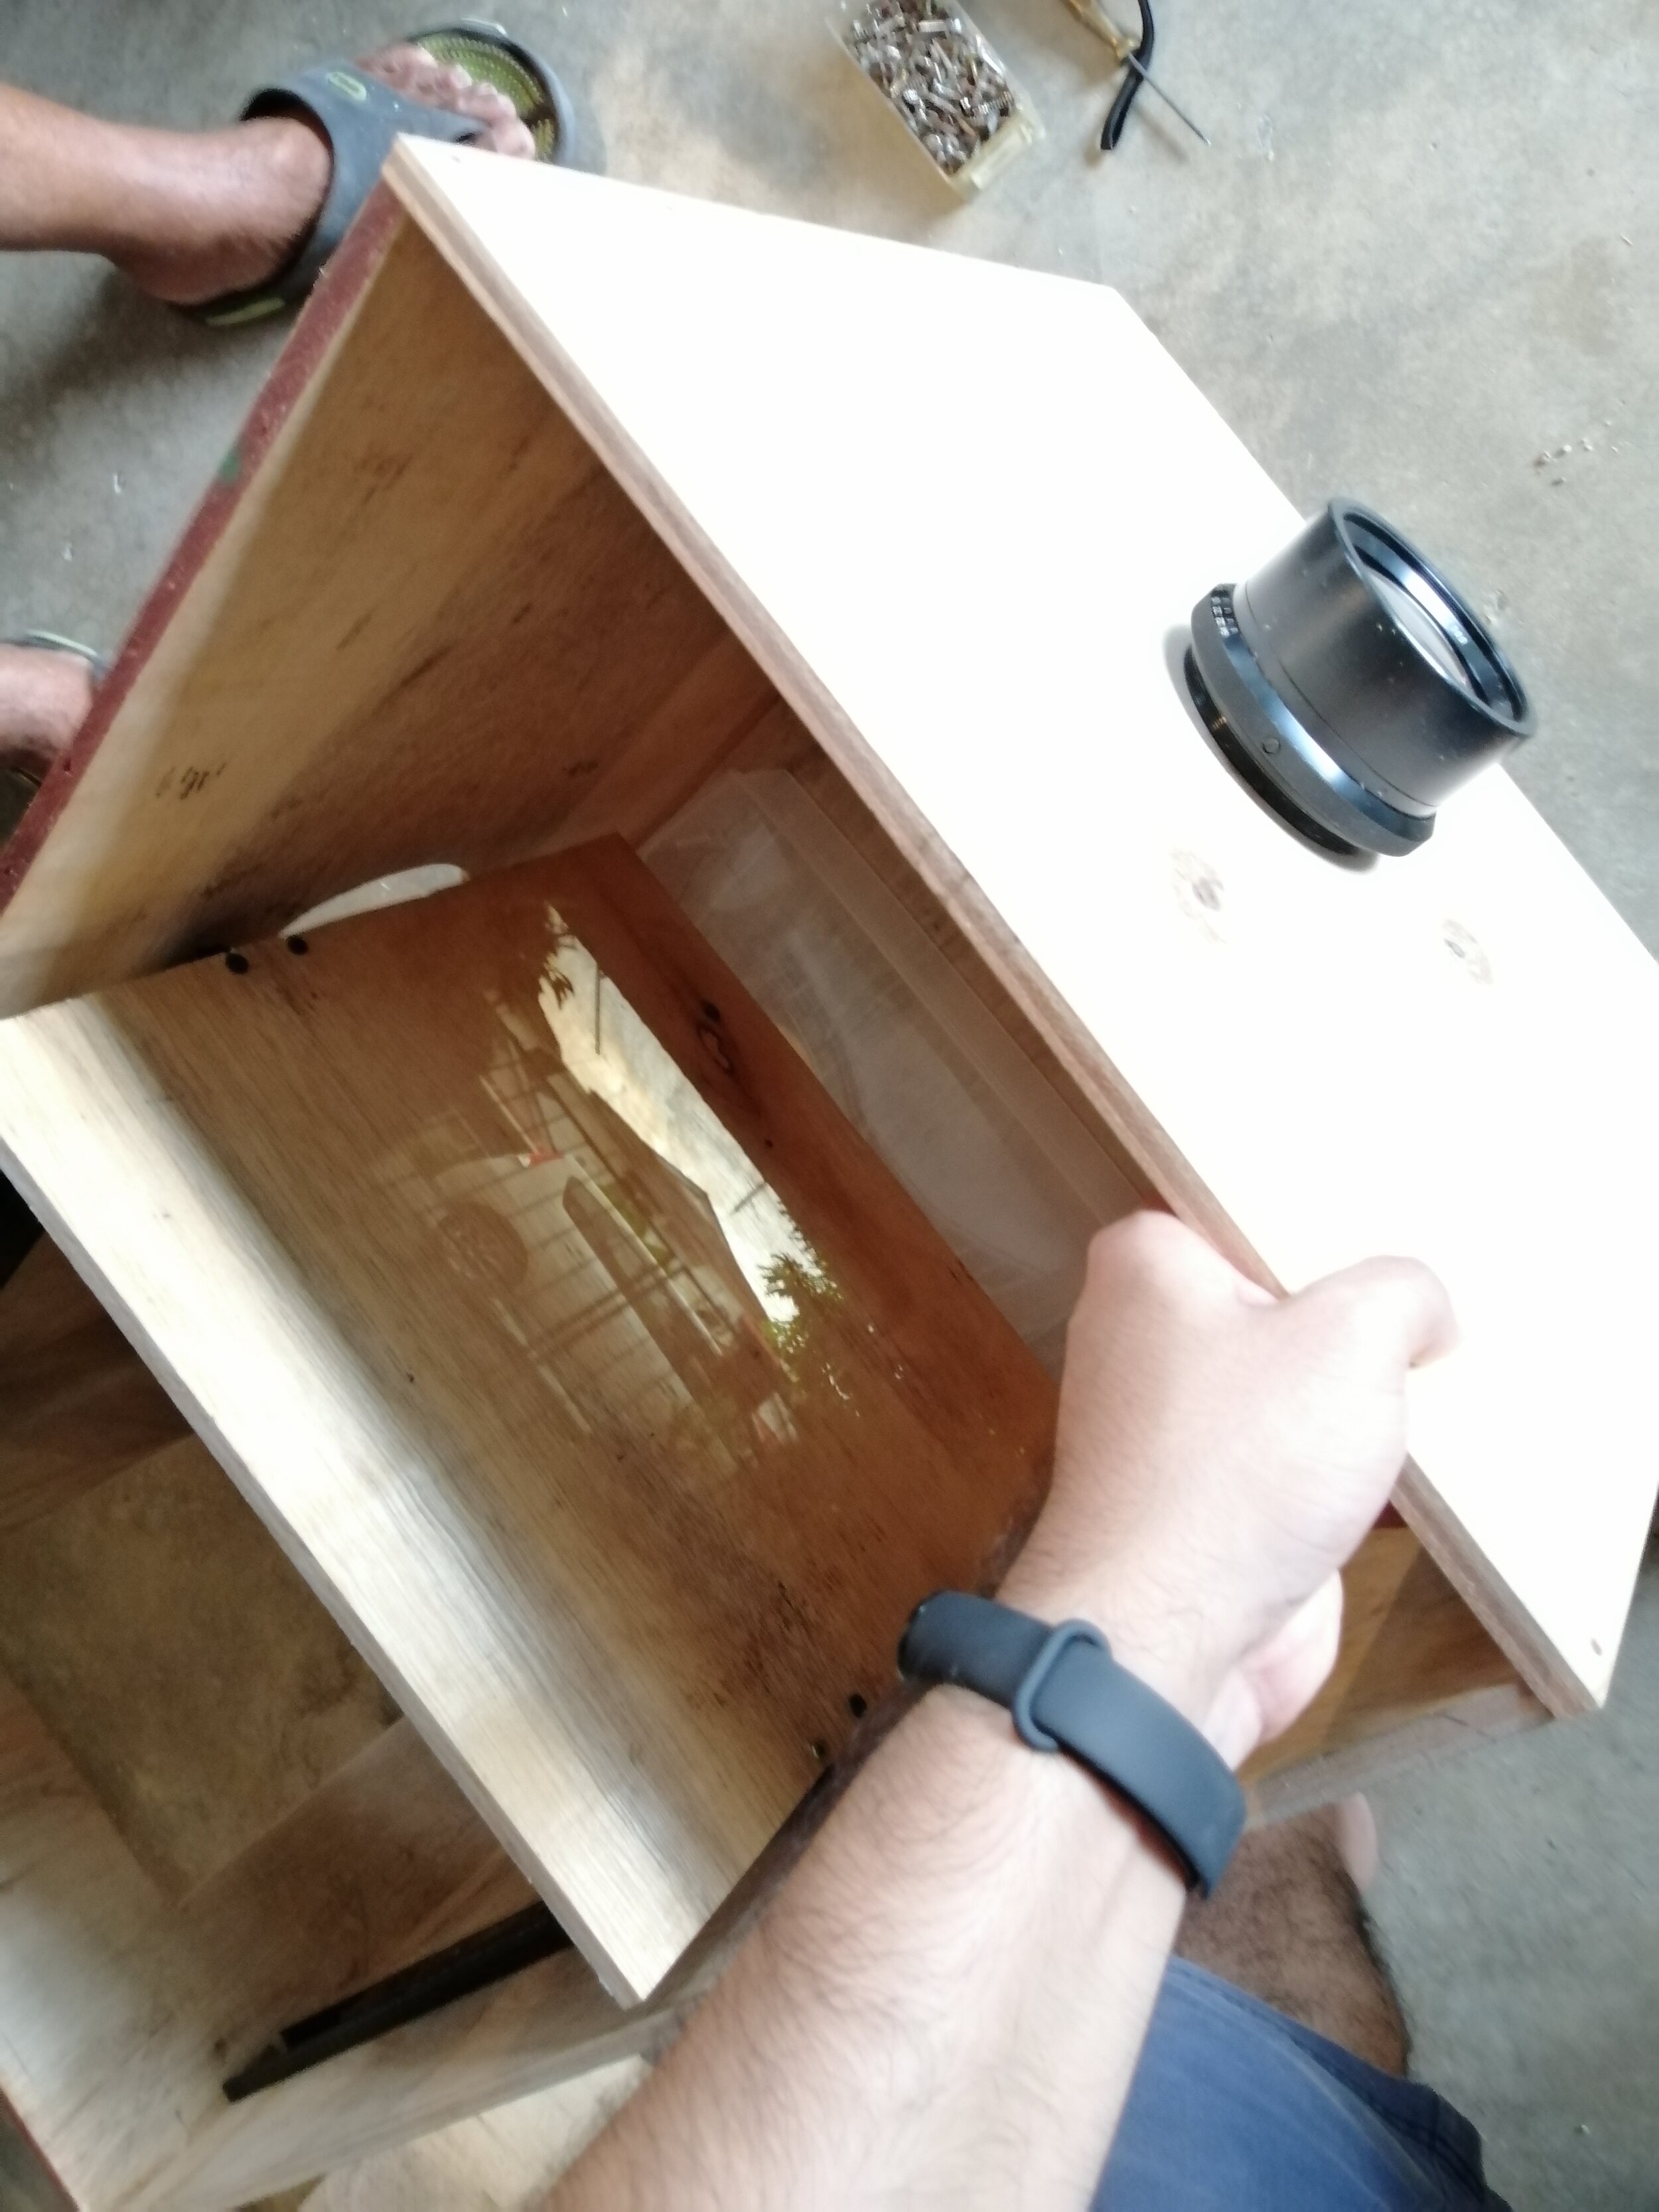
The rest of the day was spent mounting the lens, nailing panels of the box together and testing out the internal focusing mechanism. We opted to use drawer sliders for the focusing plate, rather than the traditional wood/metal rods. This was mainly because they were already in my grandfather's spares box, and the fact that it was a much simpler install. Later, I found that this also helped accessibility when moving the developing trays in and out of the camera.
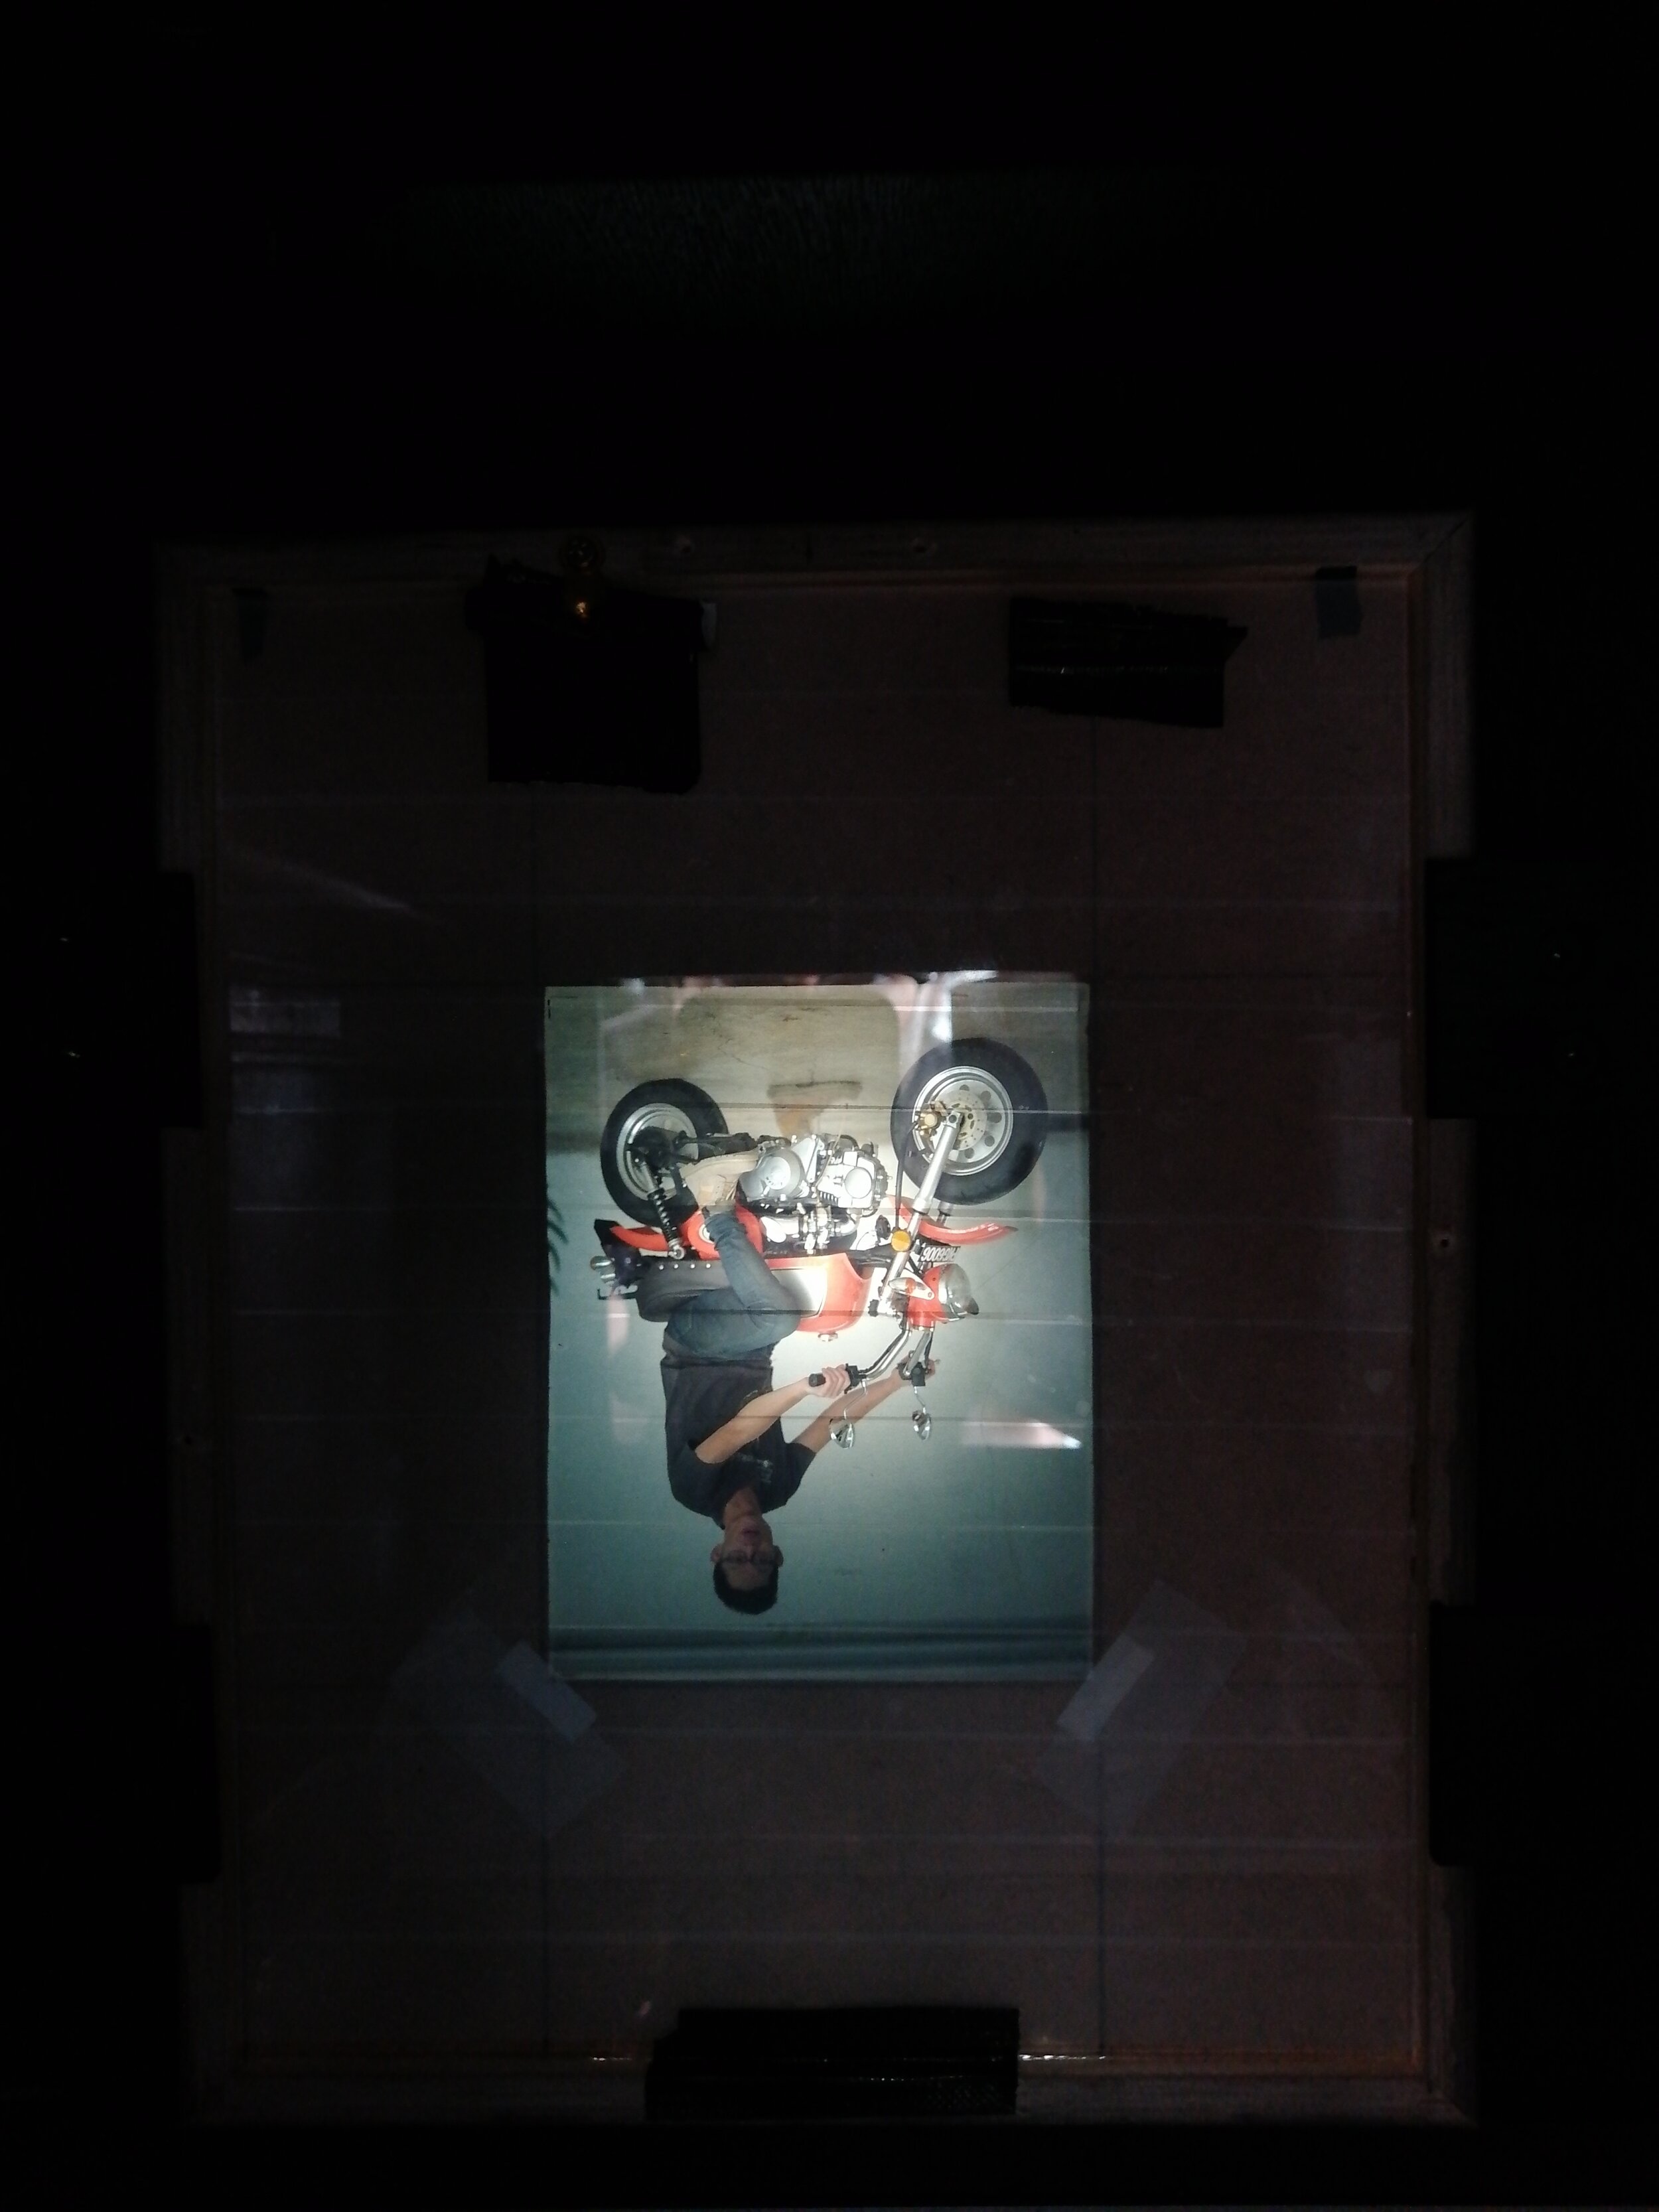
Once we finished setting up the rails, we were pleasantly greeted with the first image the box camera would produce, visible on the wood of the focus plate. It was a great thing to see.

Day 3
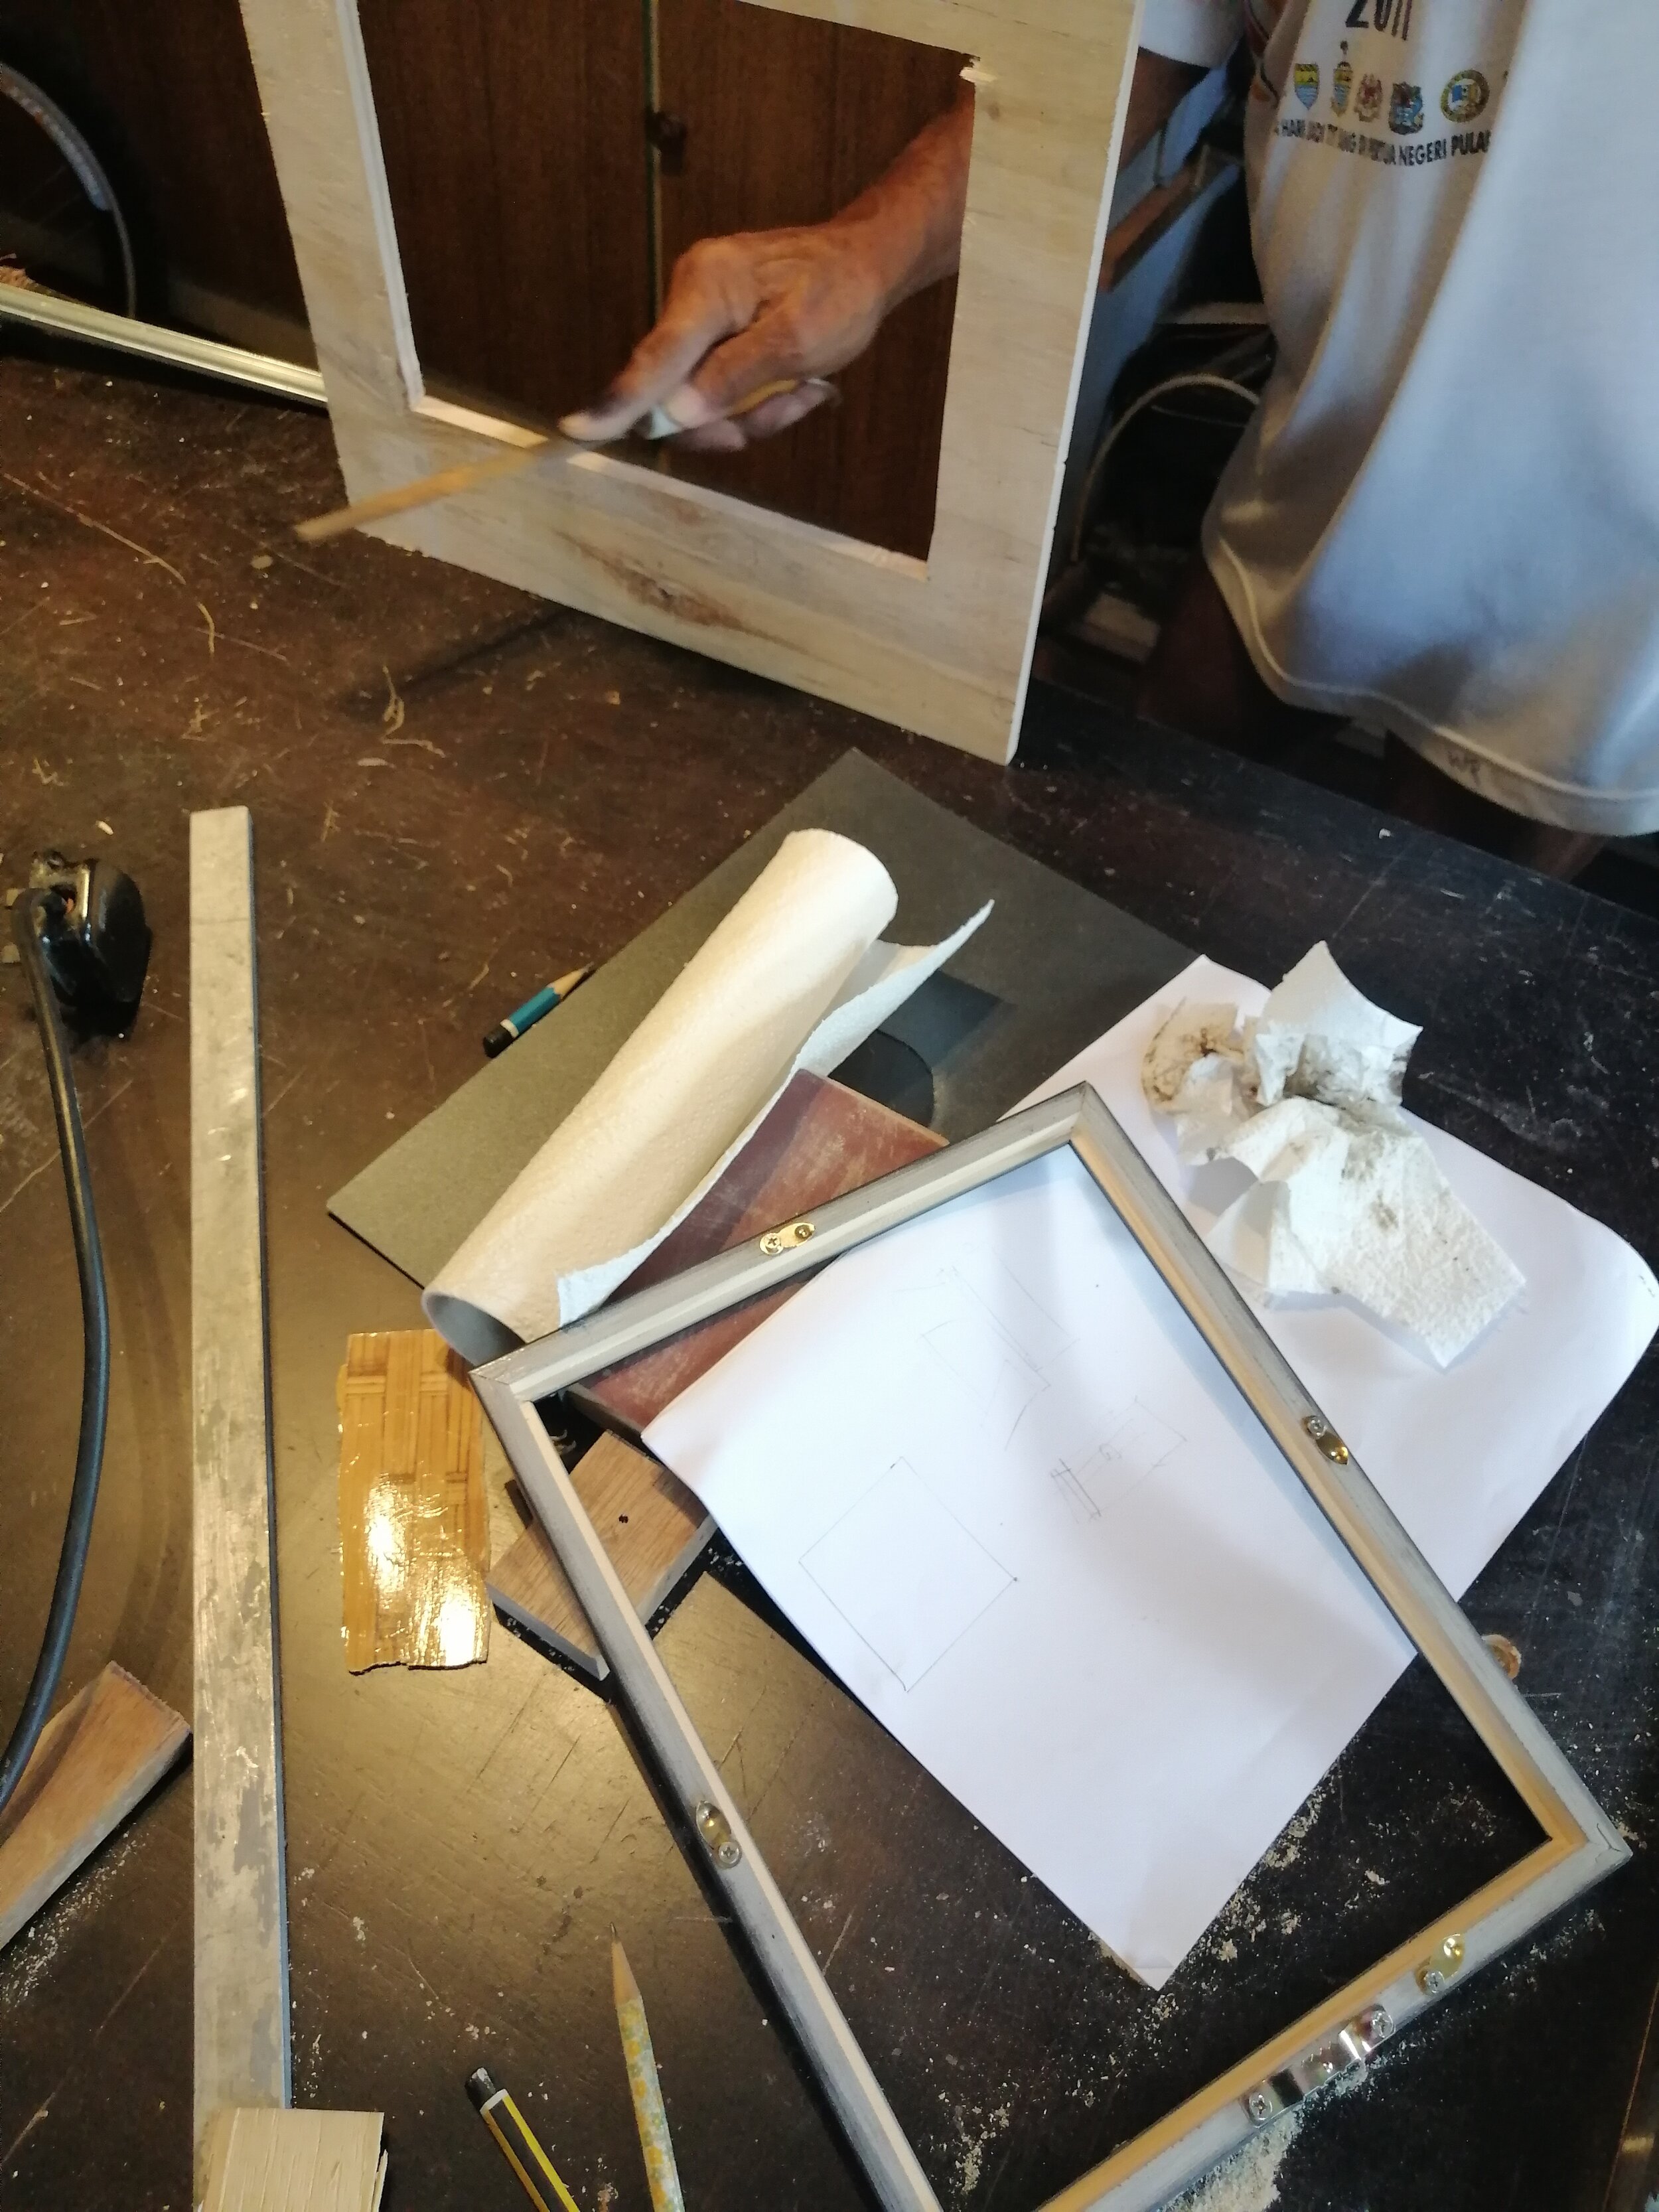
Before day 3 began, I had gone to a framer to make what would be the film and ground glass holder. I had them make two identical ones which will be swapped out in the field when changing between formats. The first shooting the full 8x10, the second with a matte for 4x5 paper.
On the agenda for the third day was to get the ground glass/film holder into the camera along with all the internal work and lid.
Once the “ground glass” was in, we could clearly see the lens’ resolving power at full scale. I had used ground glass before with my 4x5 but at this size it was stunning. Even though it was though a piece of glass and scotch tape!

The first signs of an image on the ground glass

Day 4
Day 4 was mainly just the finishing touches. My grandfather had attached the focus pole while I was away. After a coat of stain and varnish, we applied the foam seals that run around the lip of the lid as well as the rear door, making it a more light-tight.


Here is also a little demonstration on how I swap from a full 8x10 to a frame with a matte for 4x5. This in the future can also be swapped for any format. 4x6, 5x7, etc.

Day 4½
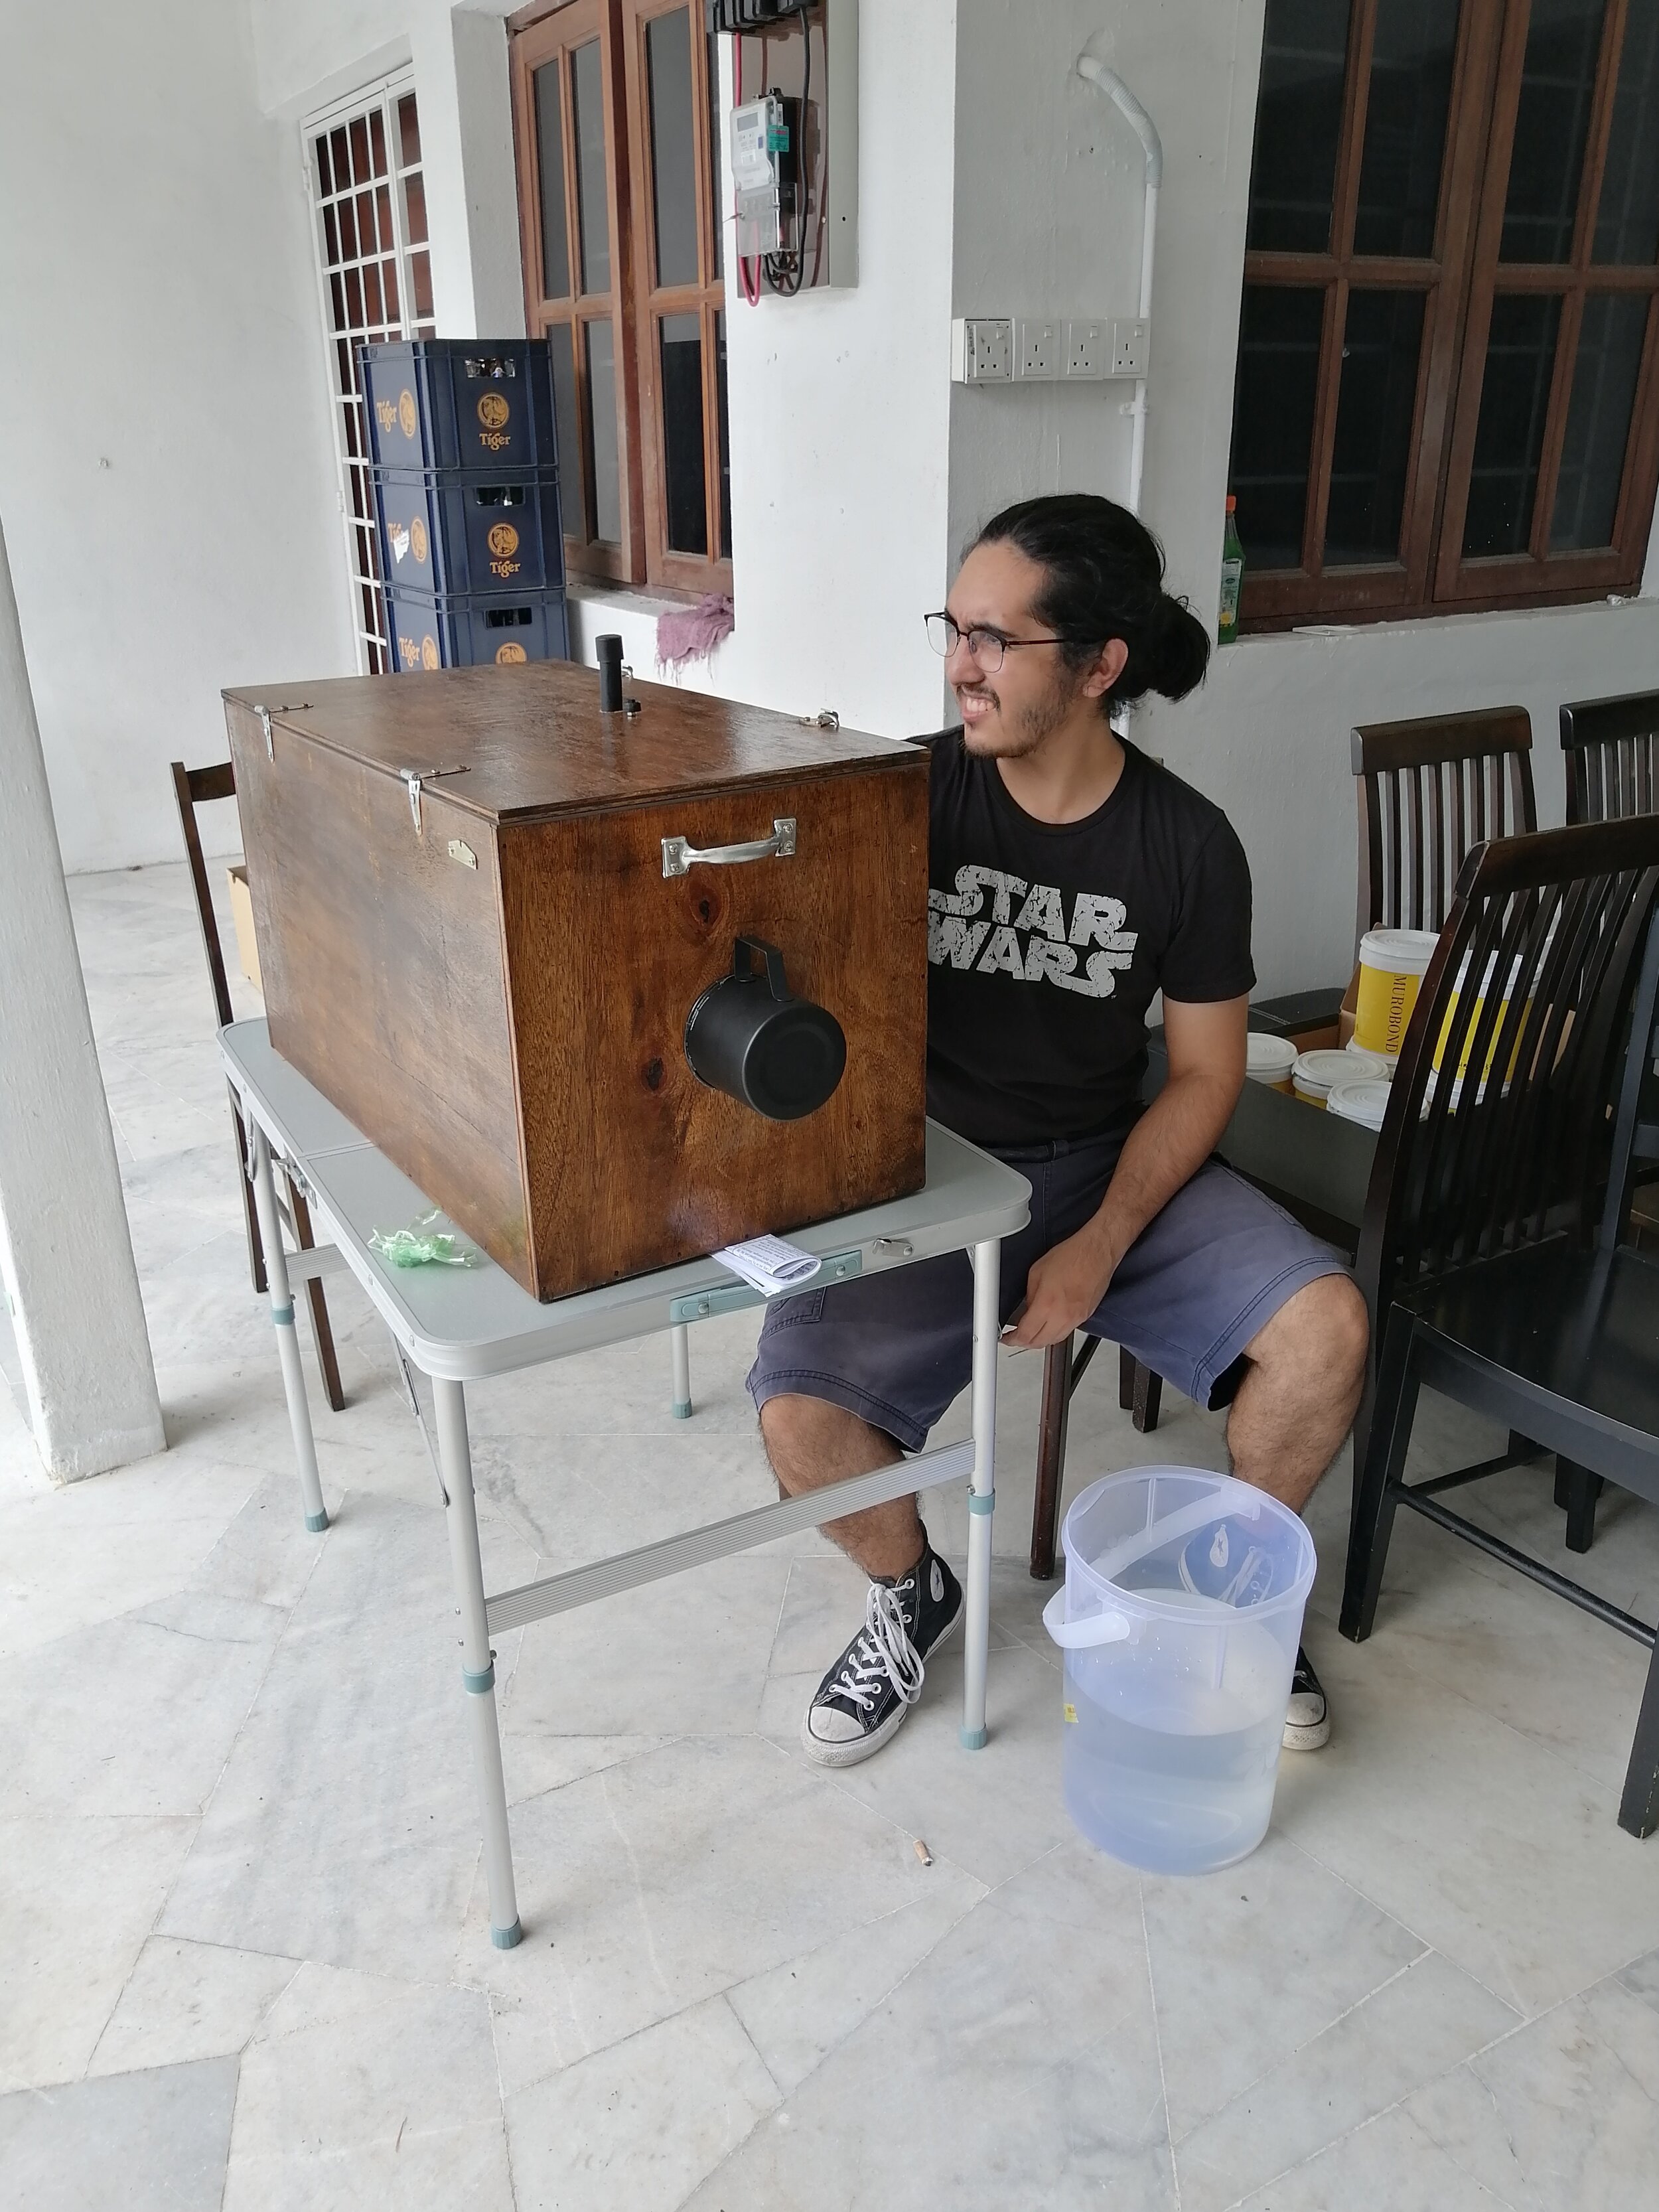
This was to add on a little peep hole to visually check the development of the photograph. With a red filter on the back of the camera, I'm able to see into the box, without fogging the paper. I also cut out a matte for the 4x5 holder and installed a sleeve for my arm, which I made from an old pair of jeans.
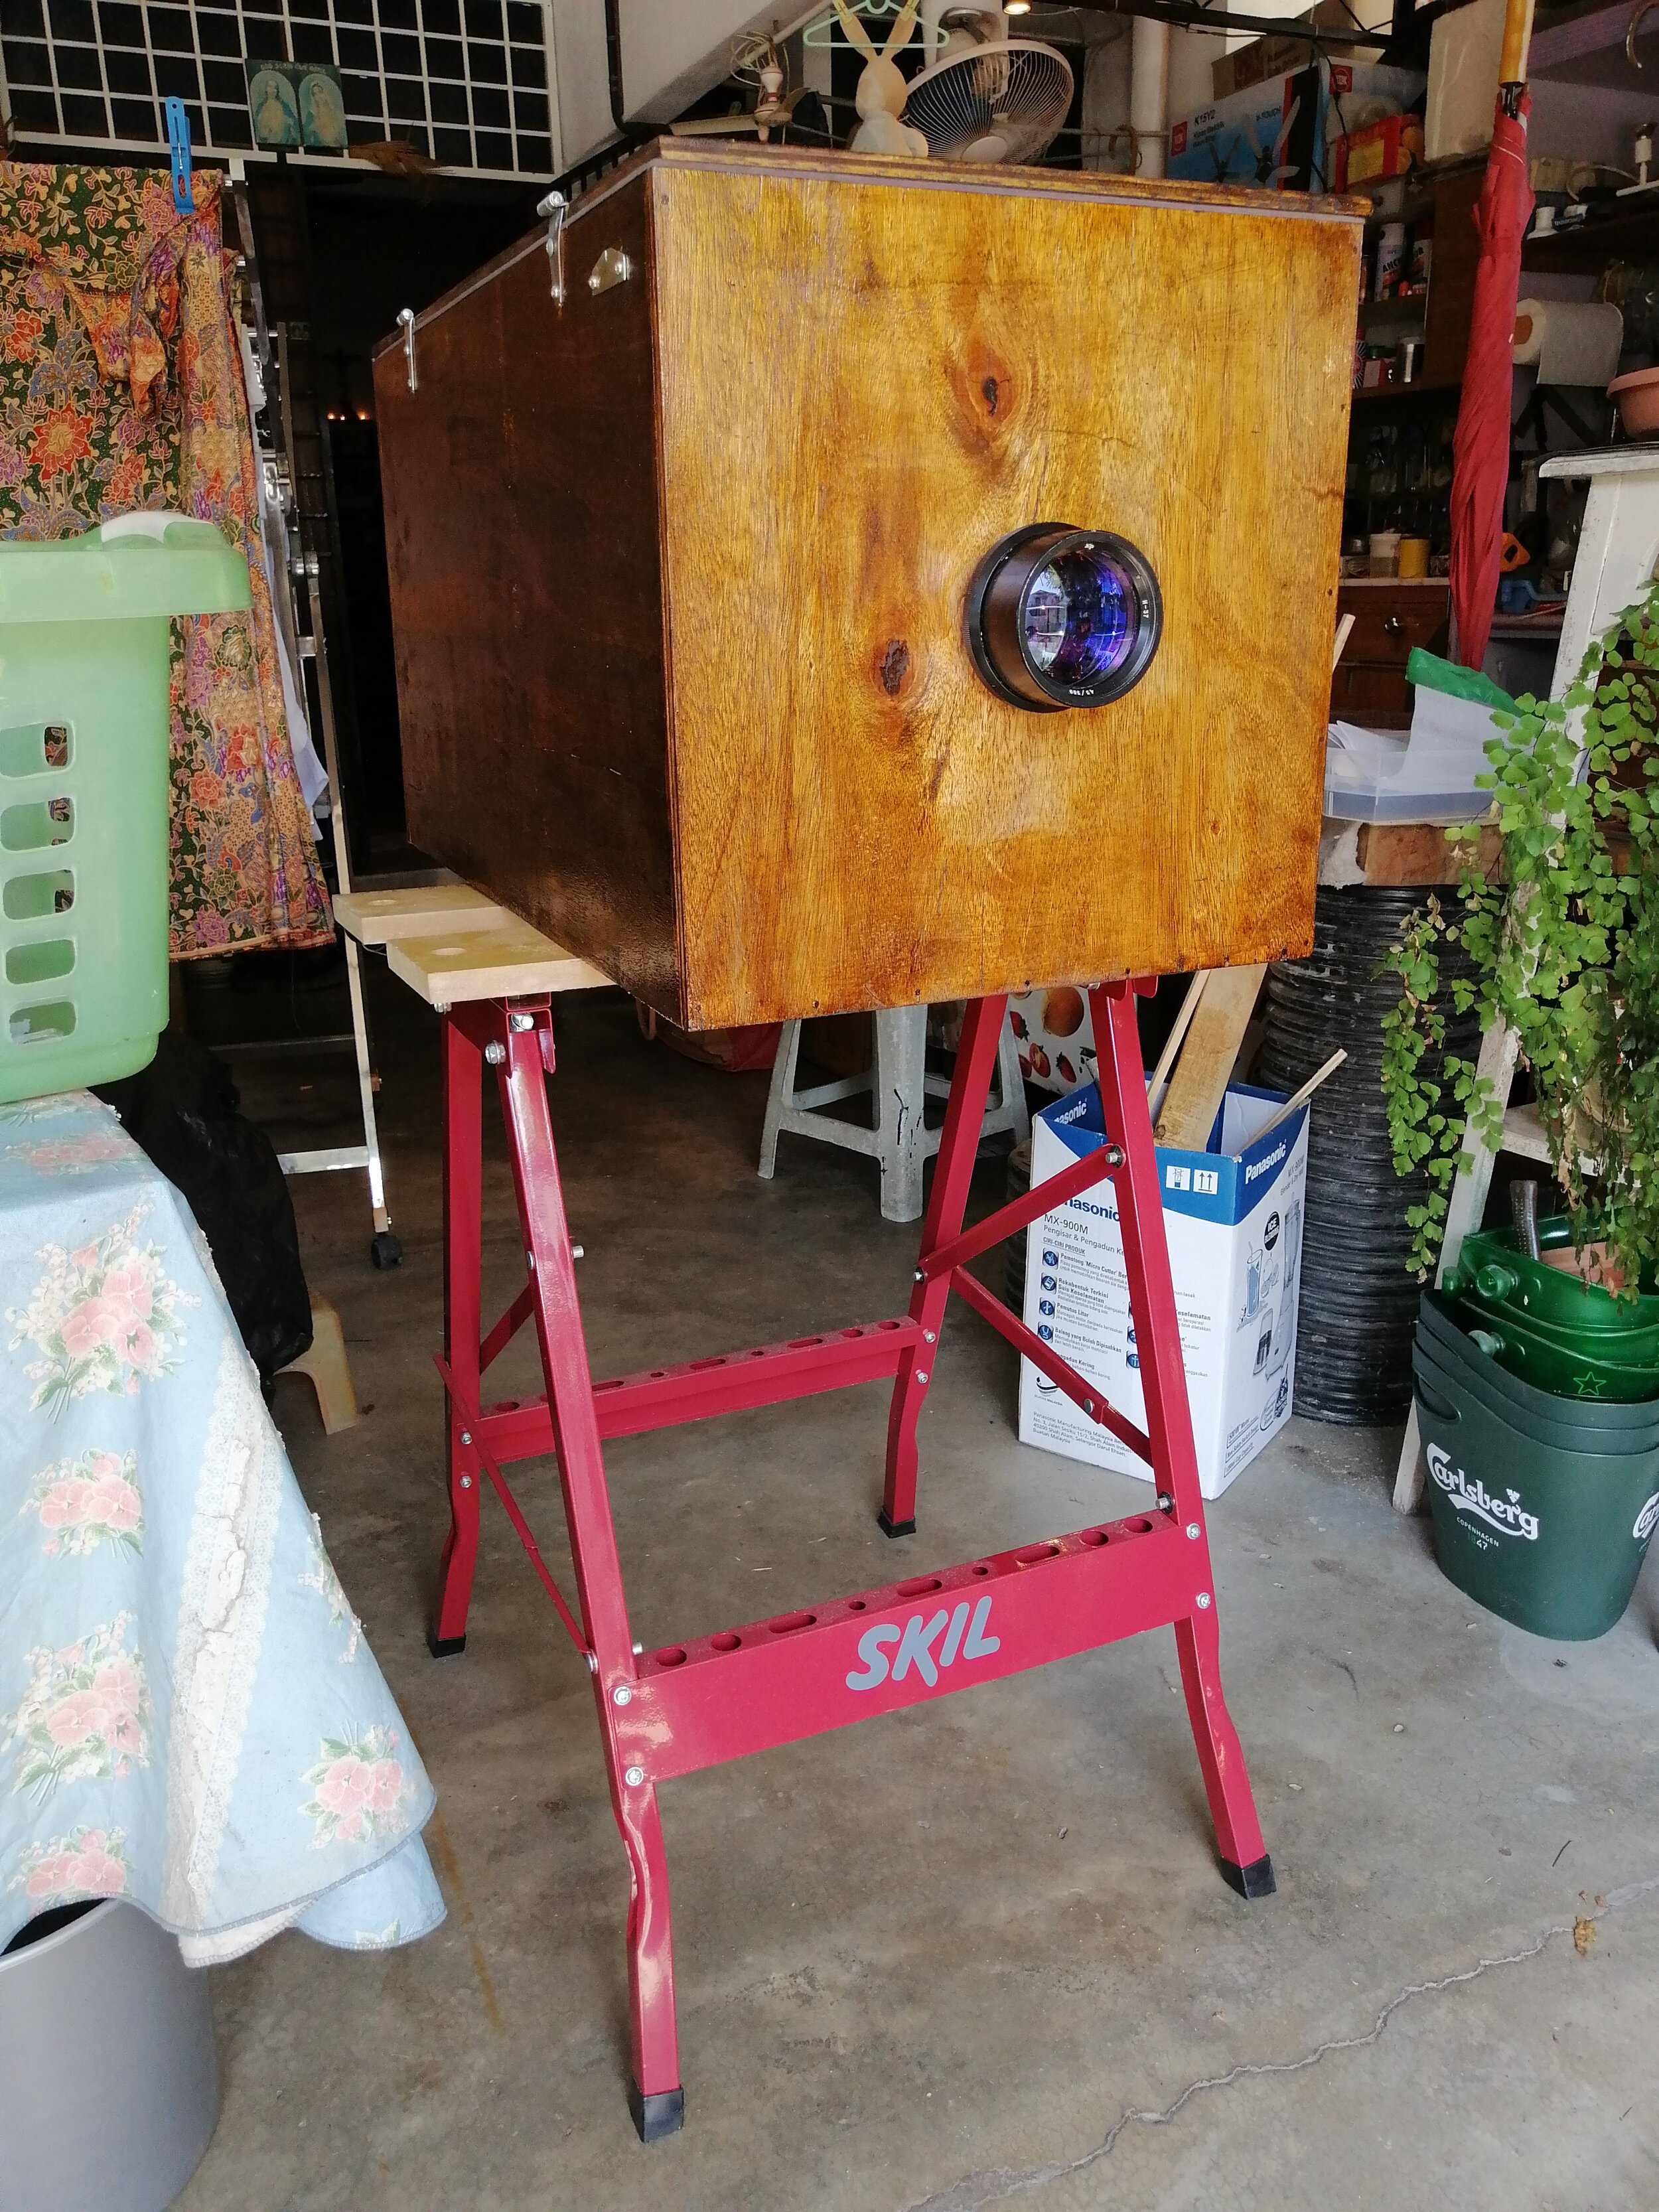
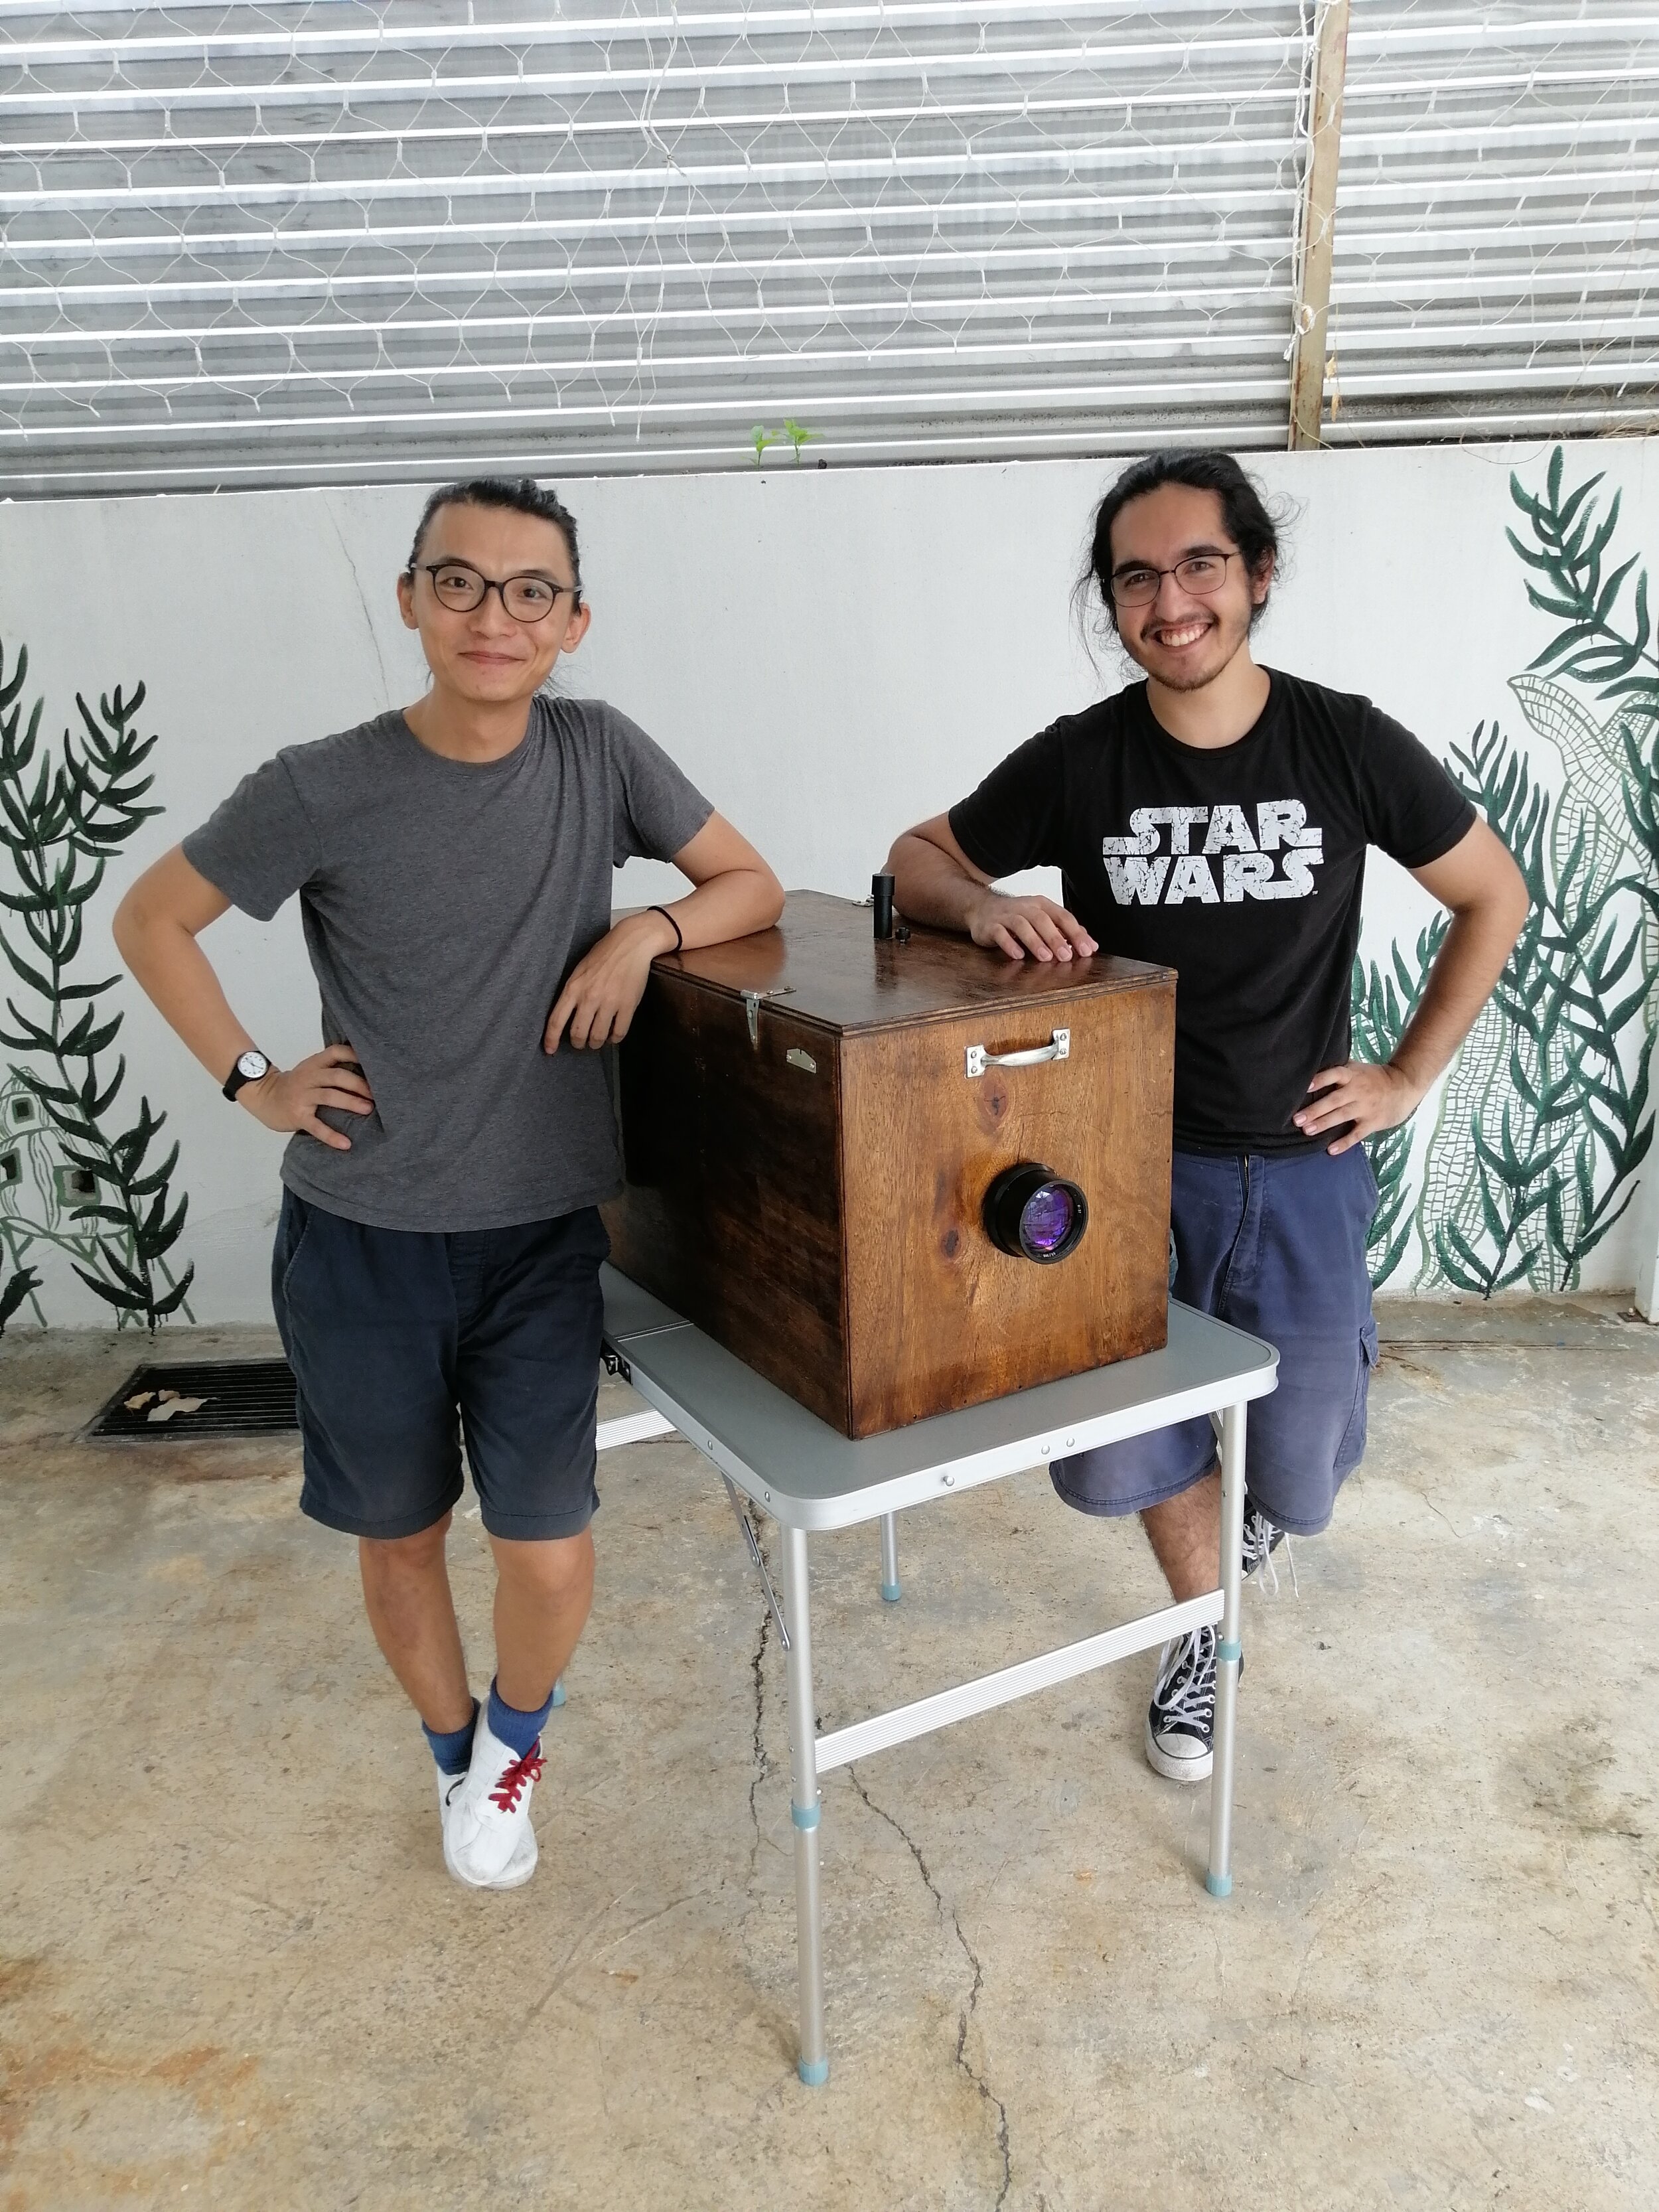
The camera was now complete!
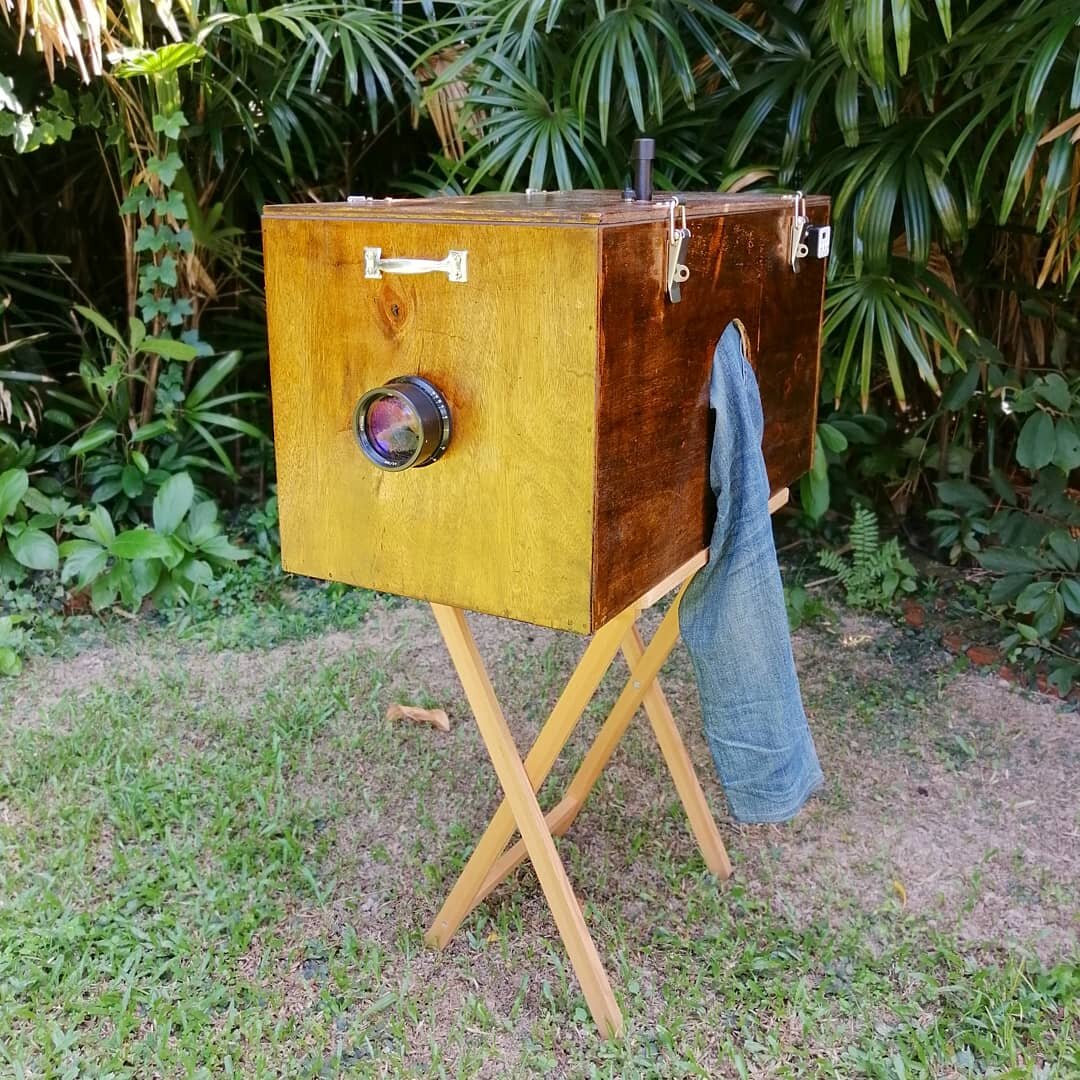
The camera is done!

The first image
I didn’t have anyone around to photograph so, like many artists I decided to try my hand at still life first. I set up the camera outside, loaded the film and nervously took my first 4 second exposure. I opened the lid after a long couple of minutes and was relieved to find a nicely exposed piece of paper. The camera worked!
Human trials
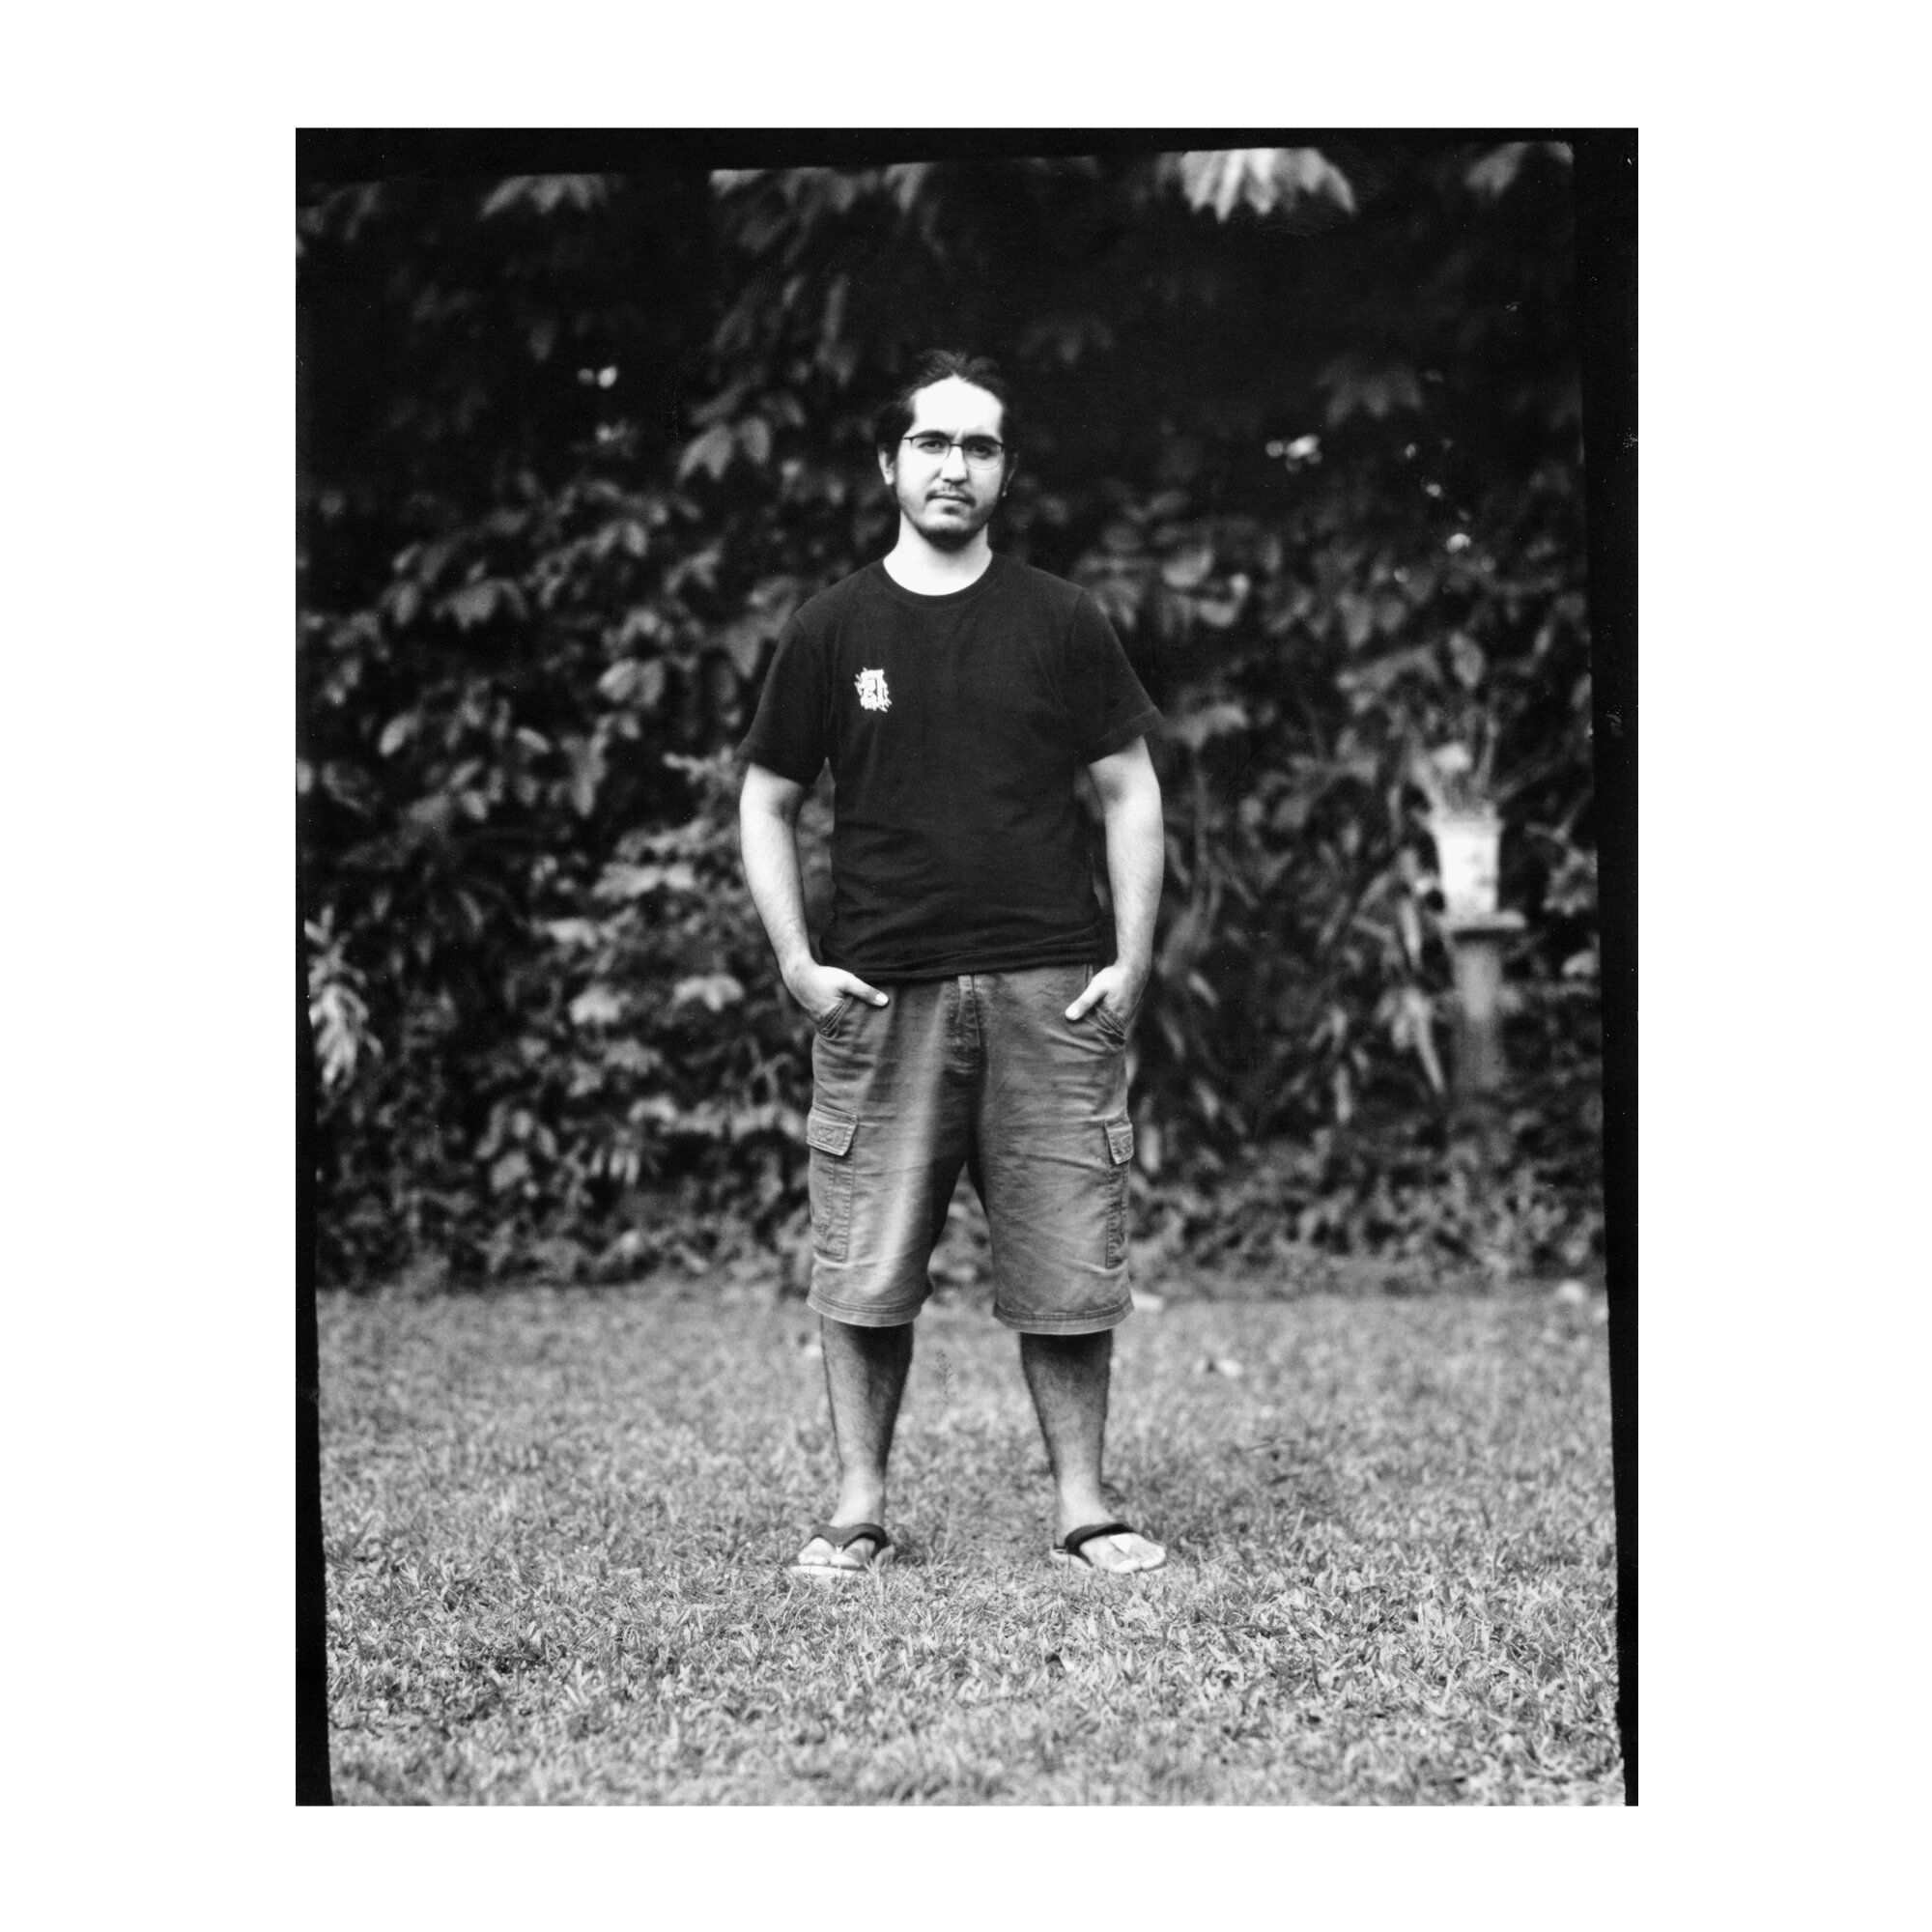
After the first success I couldn’t wait to take a self-portrait. The only problem is the lens does not have a shutter, and I employ what I've heard being referred to as the “top-hat” method to make an image. So instead, I focused on a place holder (in my case a broom), loaded the film, and told my girlfriend to remove the cap for the metered 5 second exposure. She was bang on the money and it resulted in one of my favorite images of myself. Another success.
Real-world testing
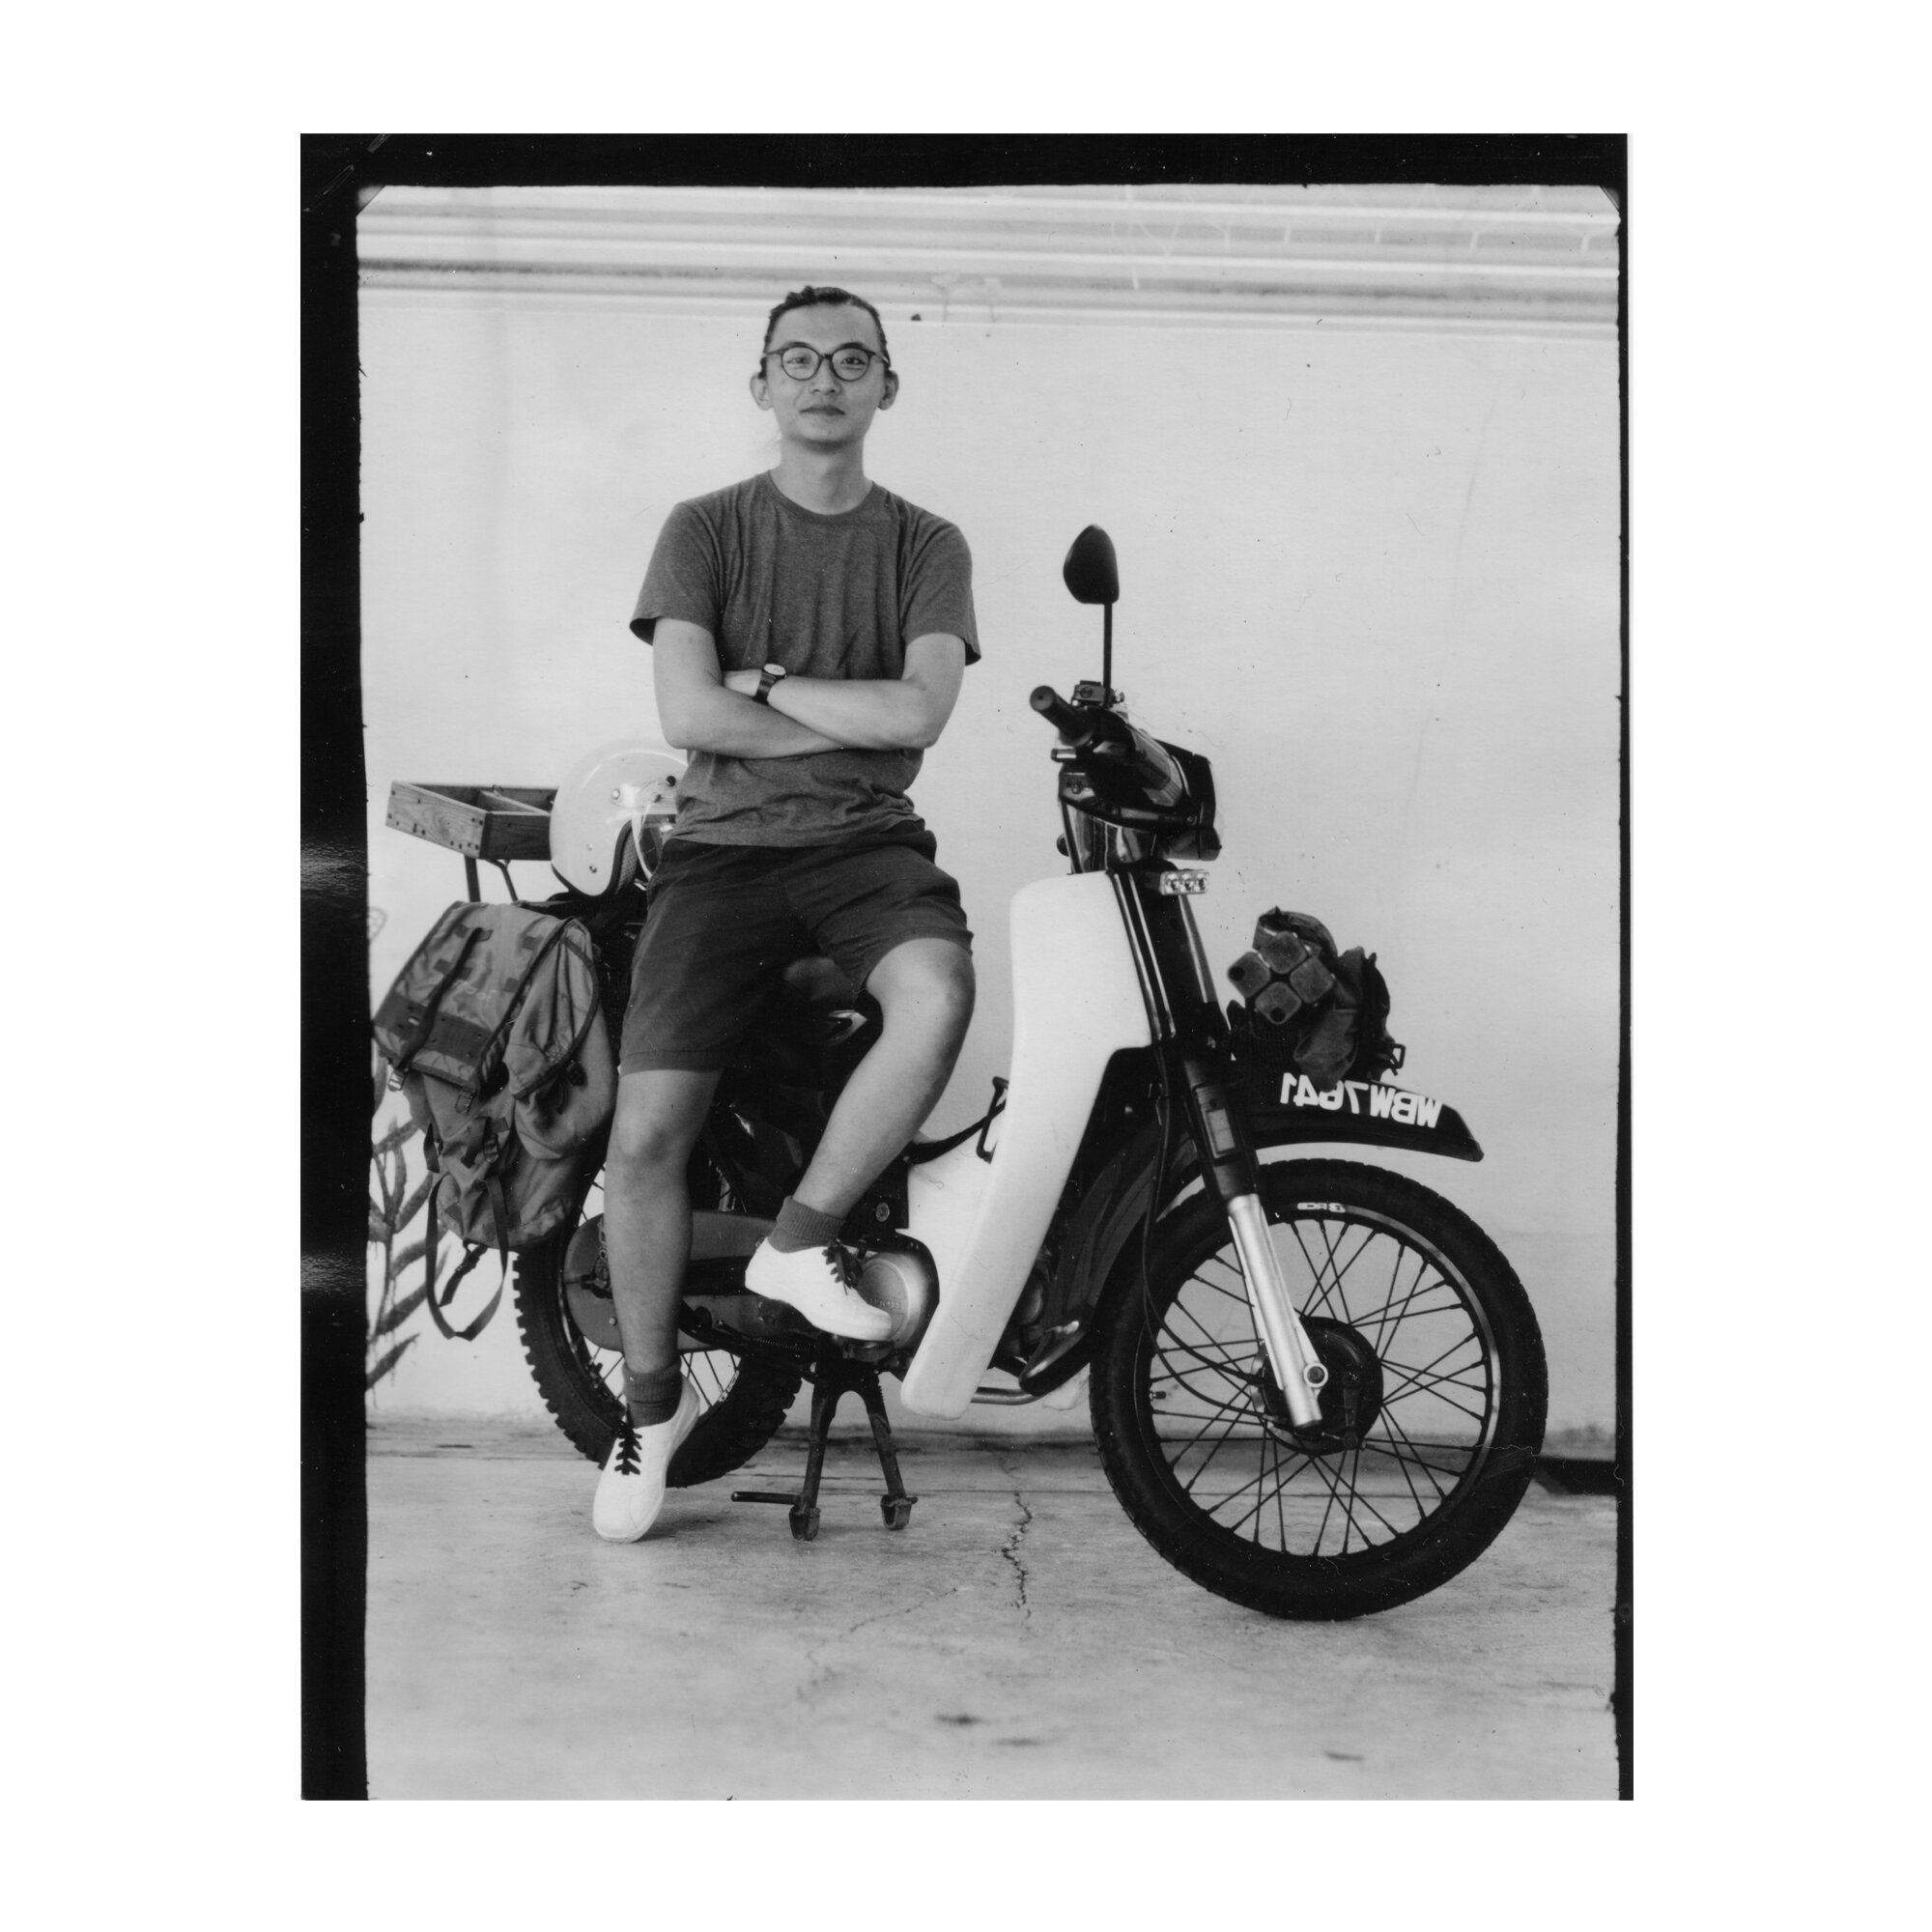
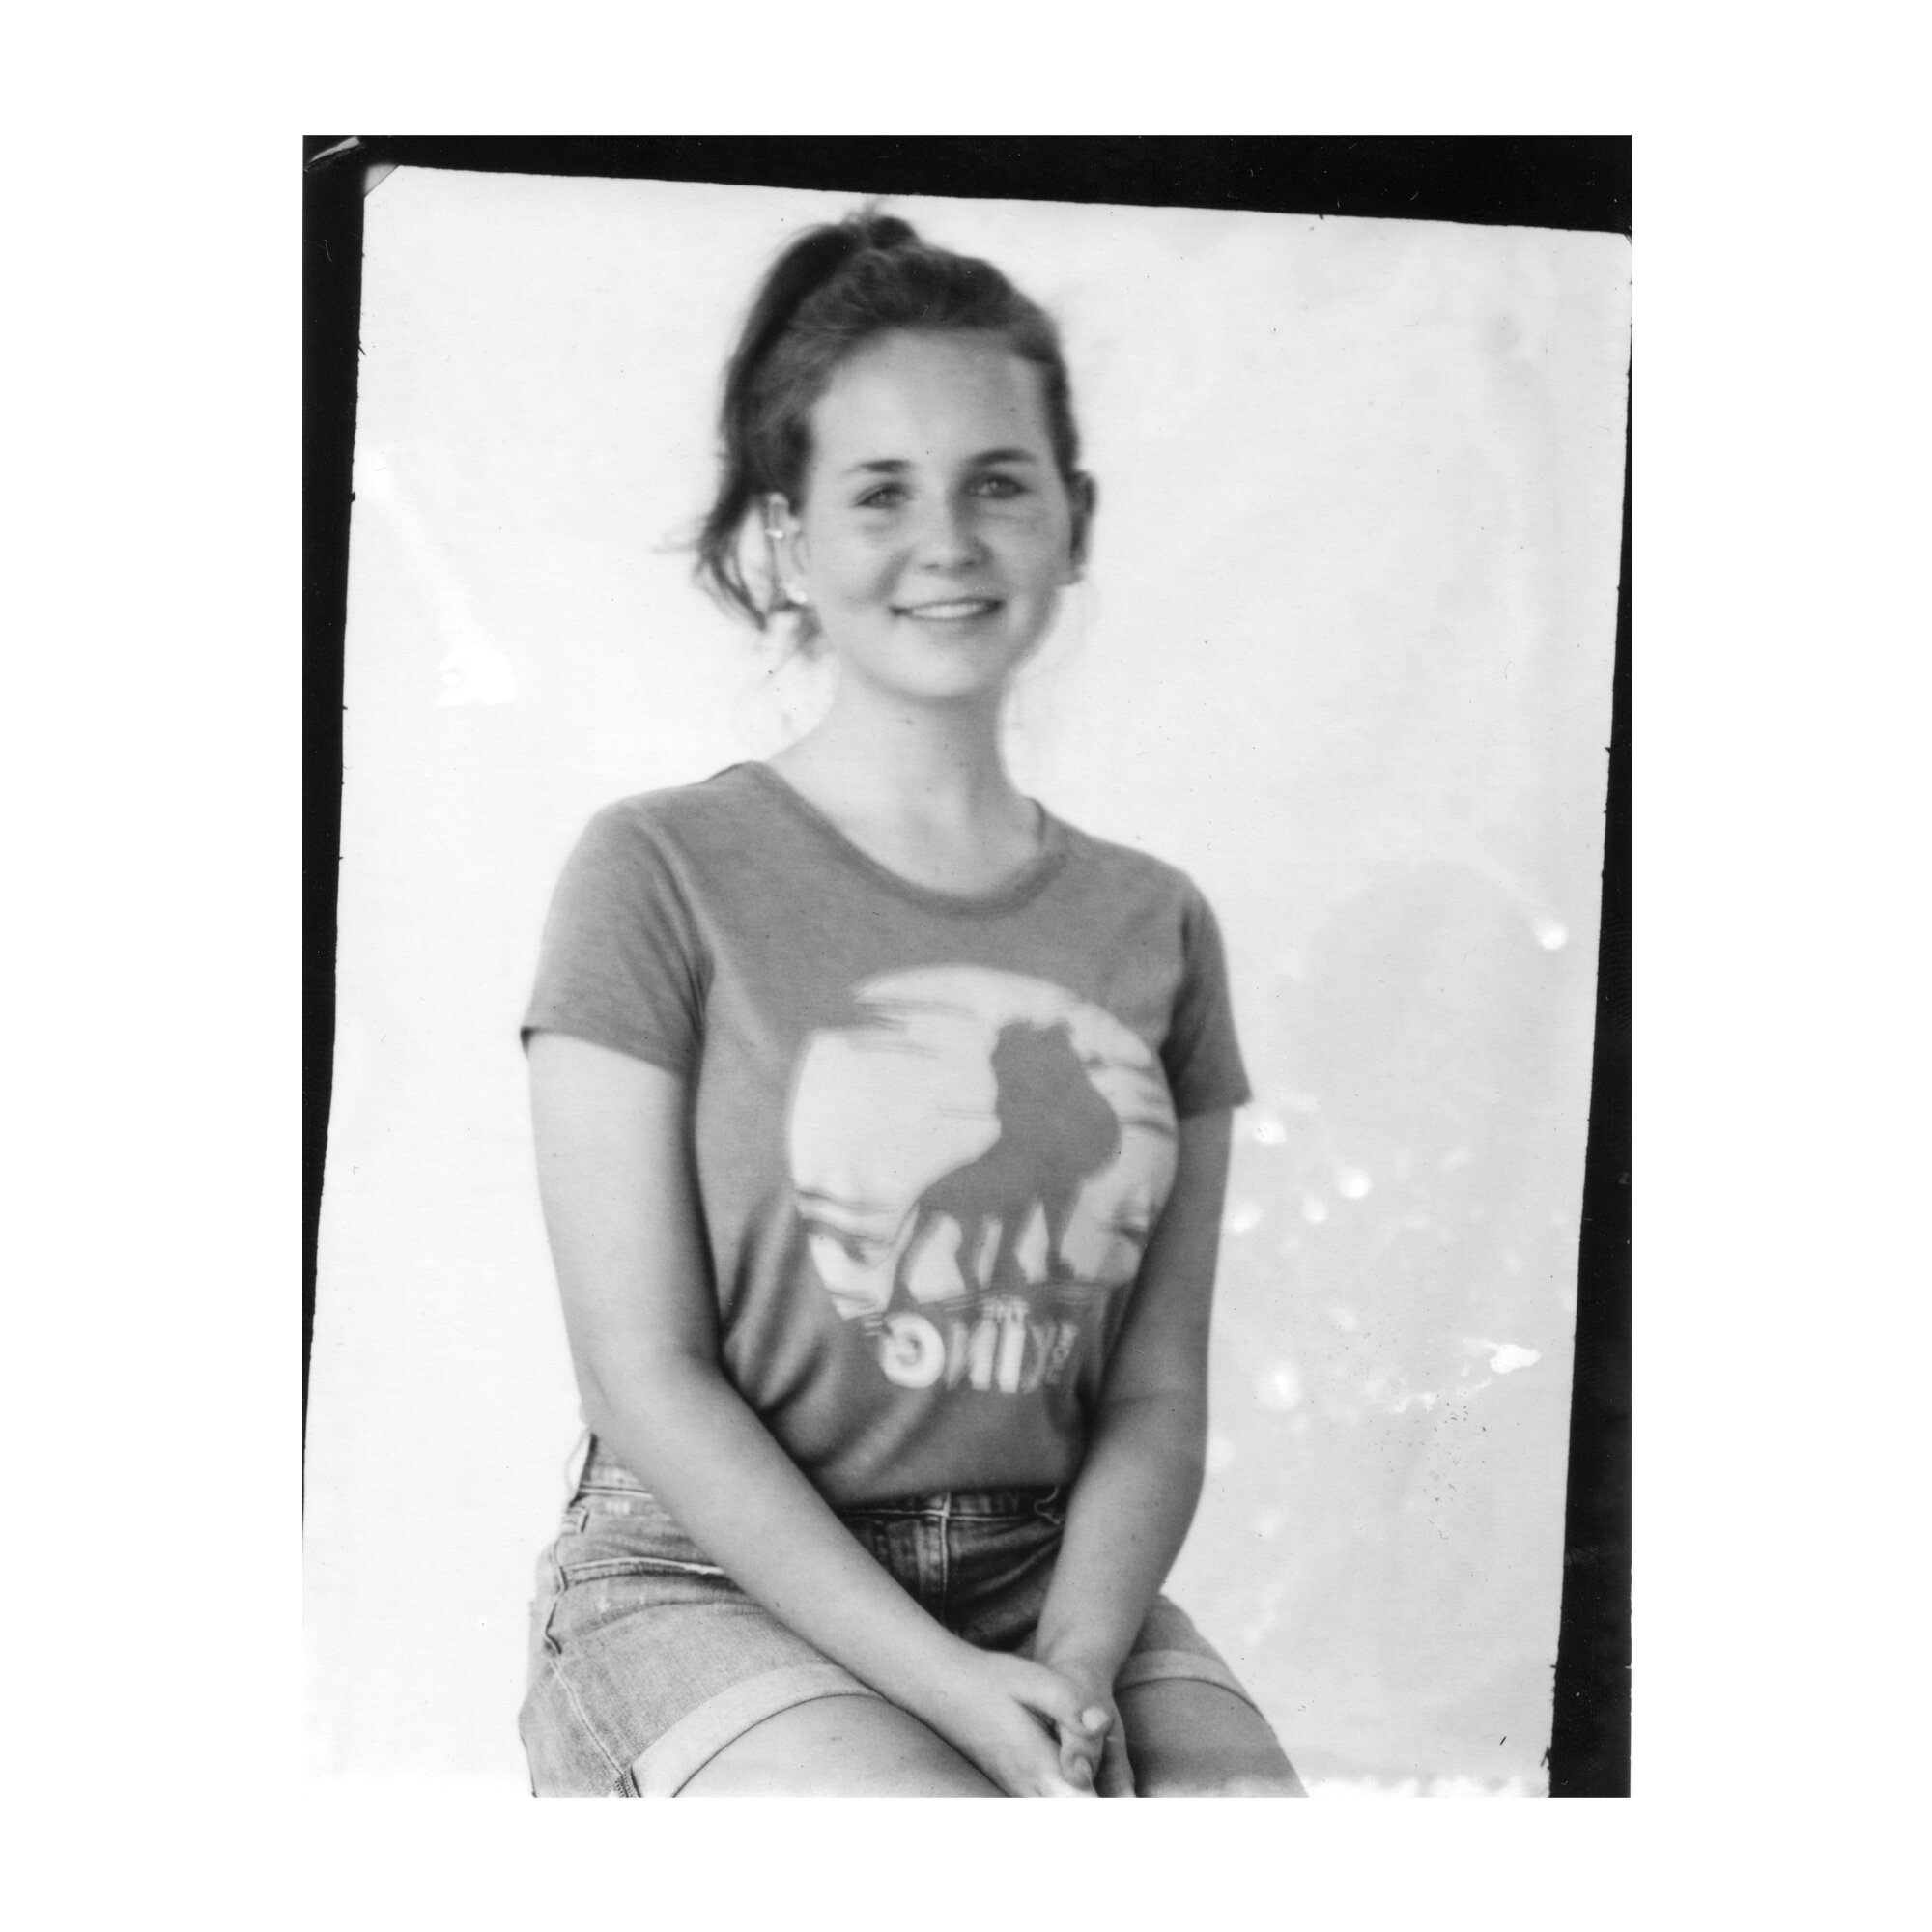
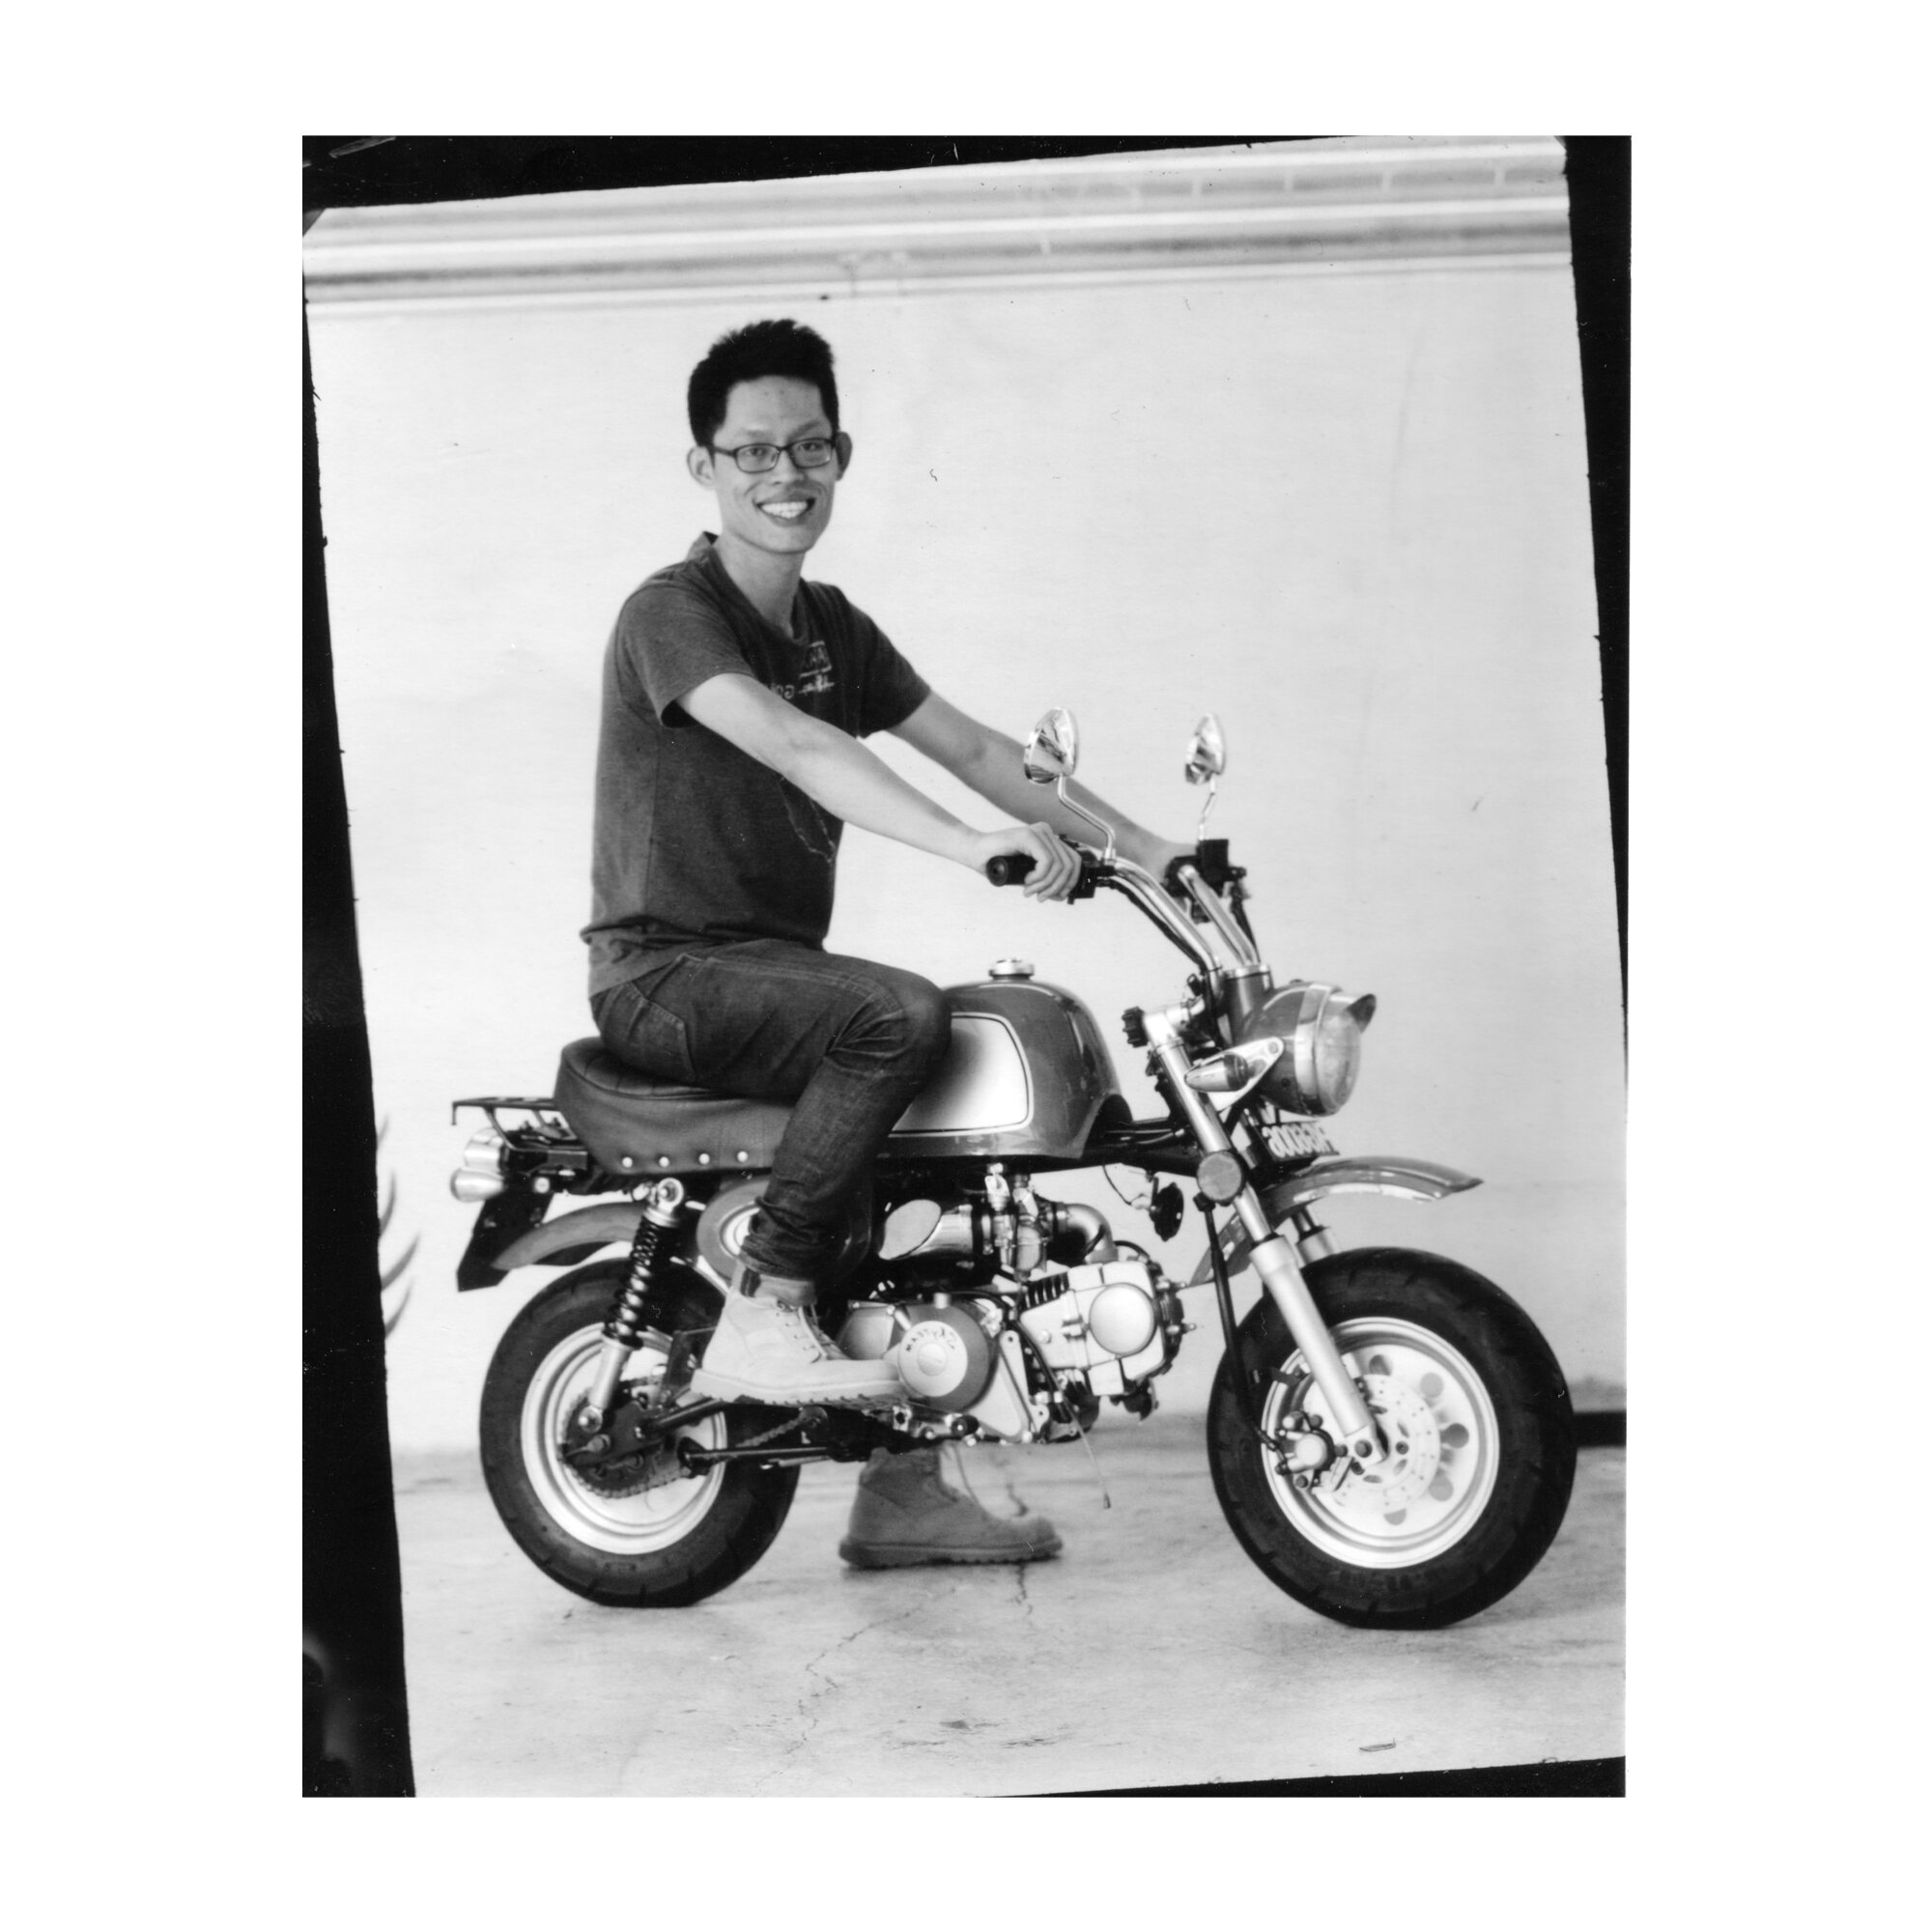
A few days after, I wanted to put it out in the real world. Get used to a quicker workflow and get some interest in the camera we had built. I organized an impromptu portrait session at a local café and a couple of friends and family showed up to get their portraits taken. I learnt a lot from the session and managed to streamline the process a little more.
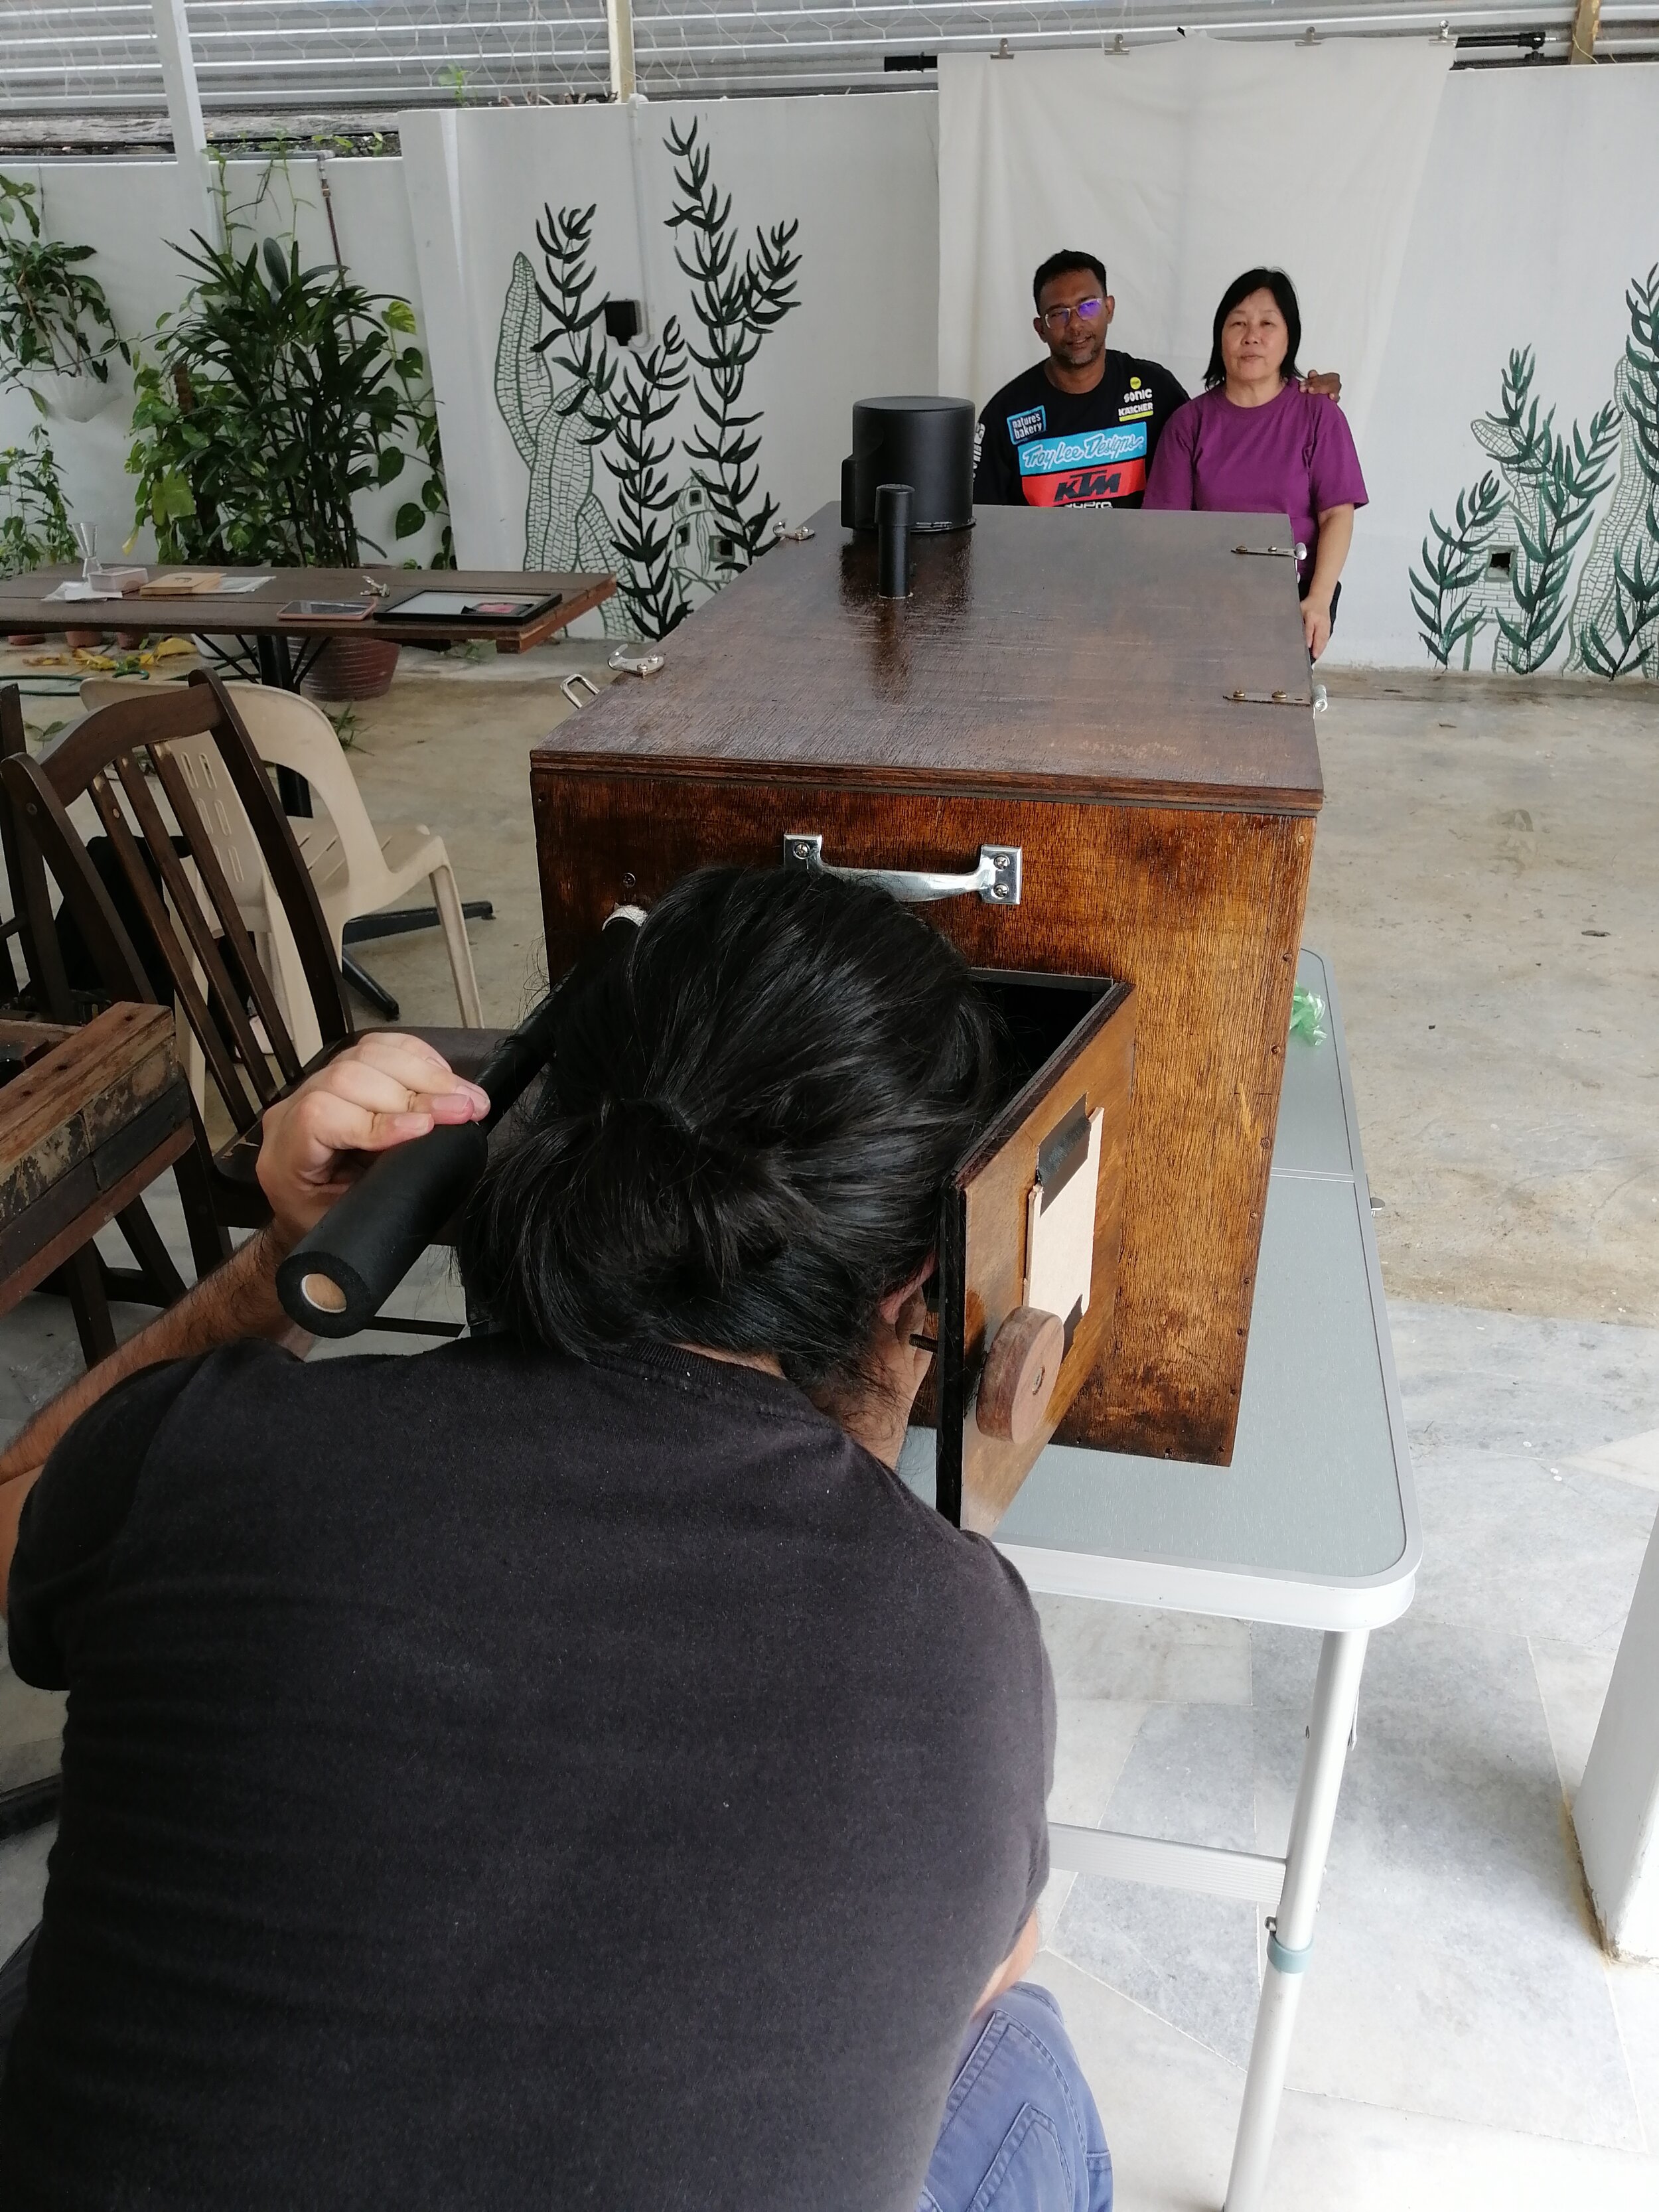
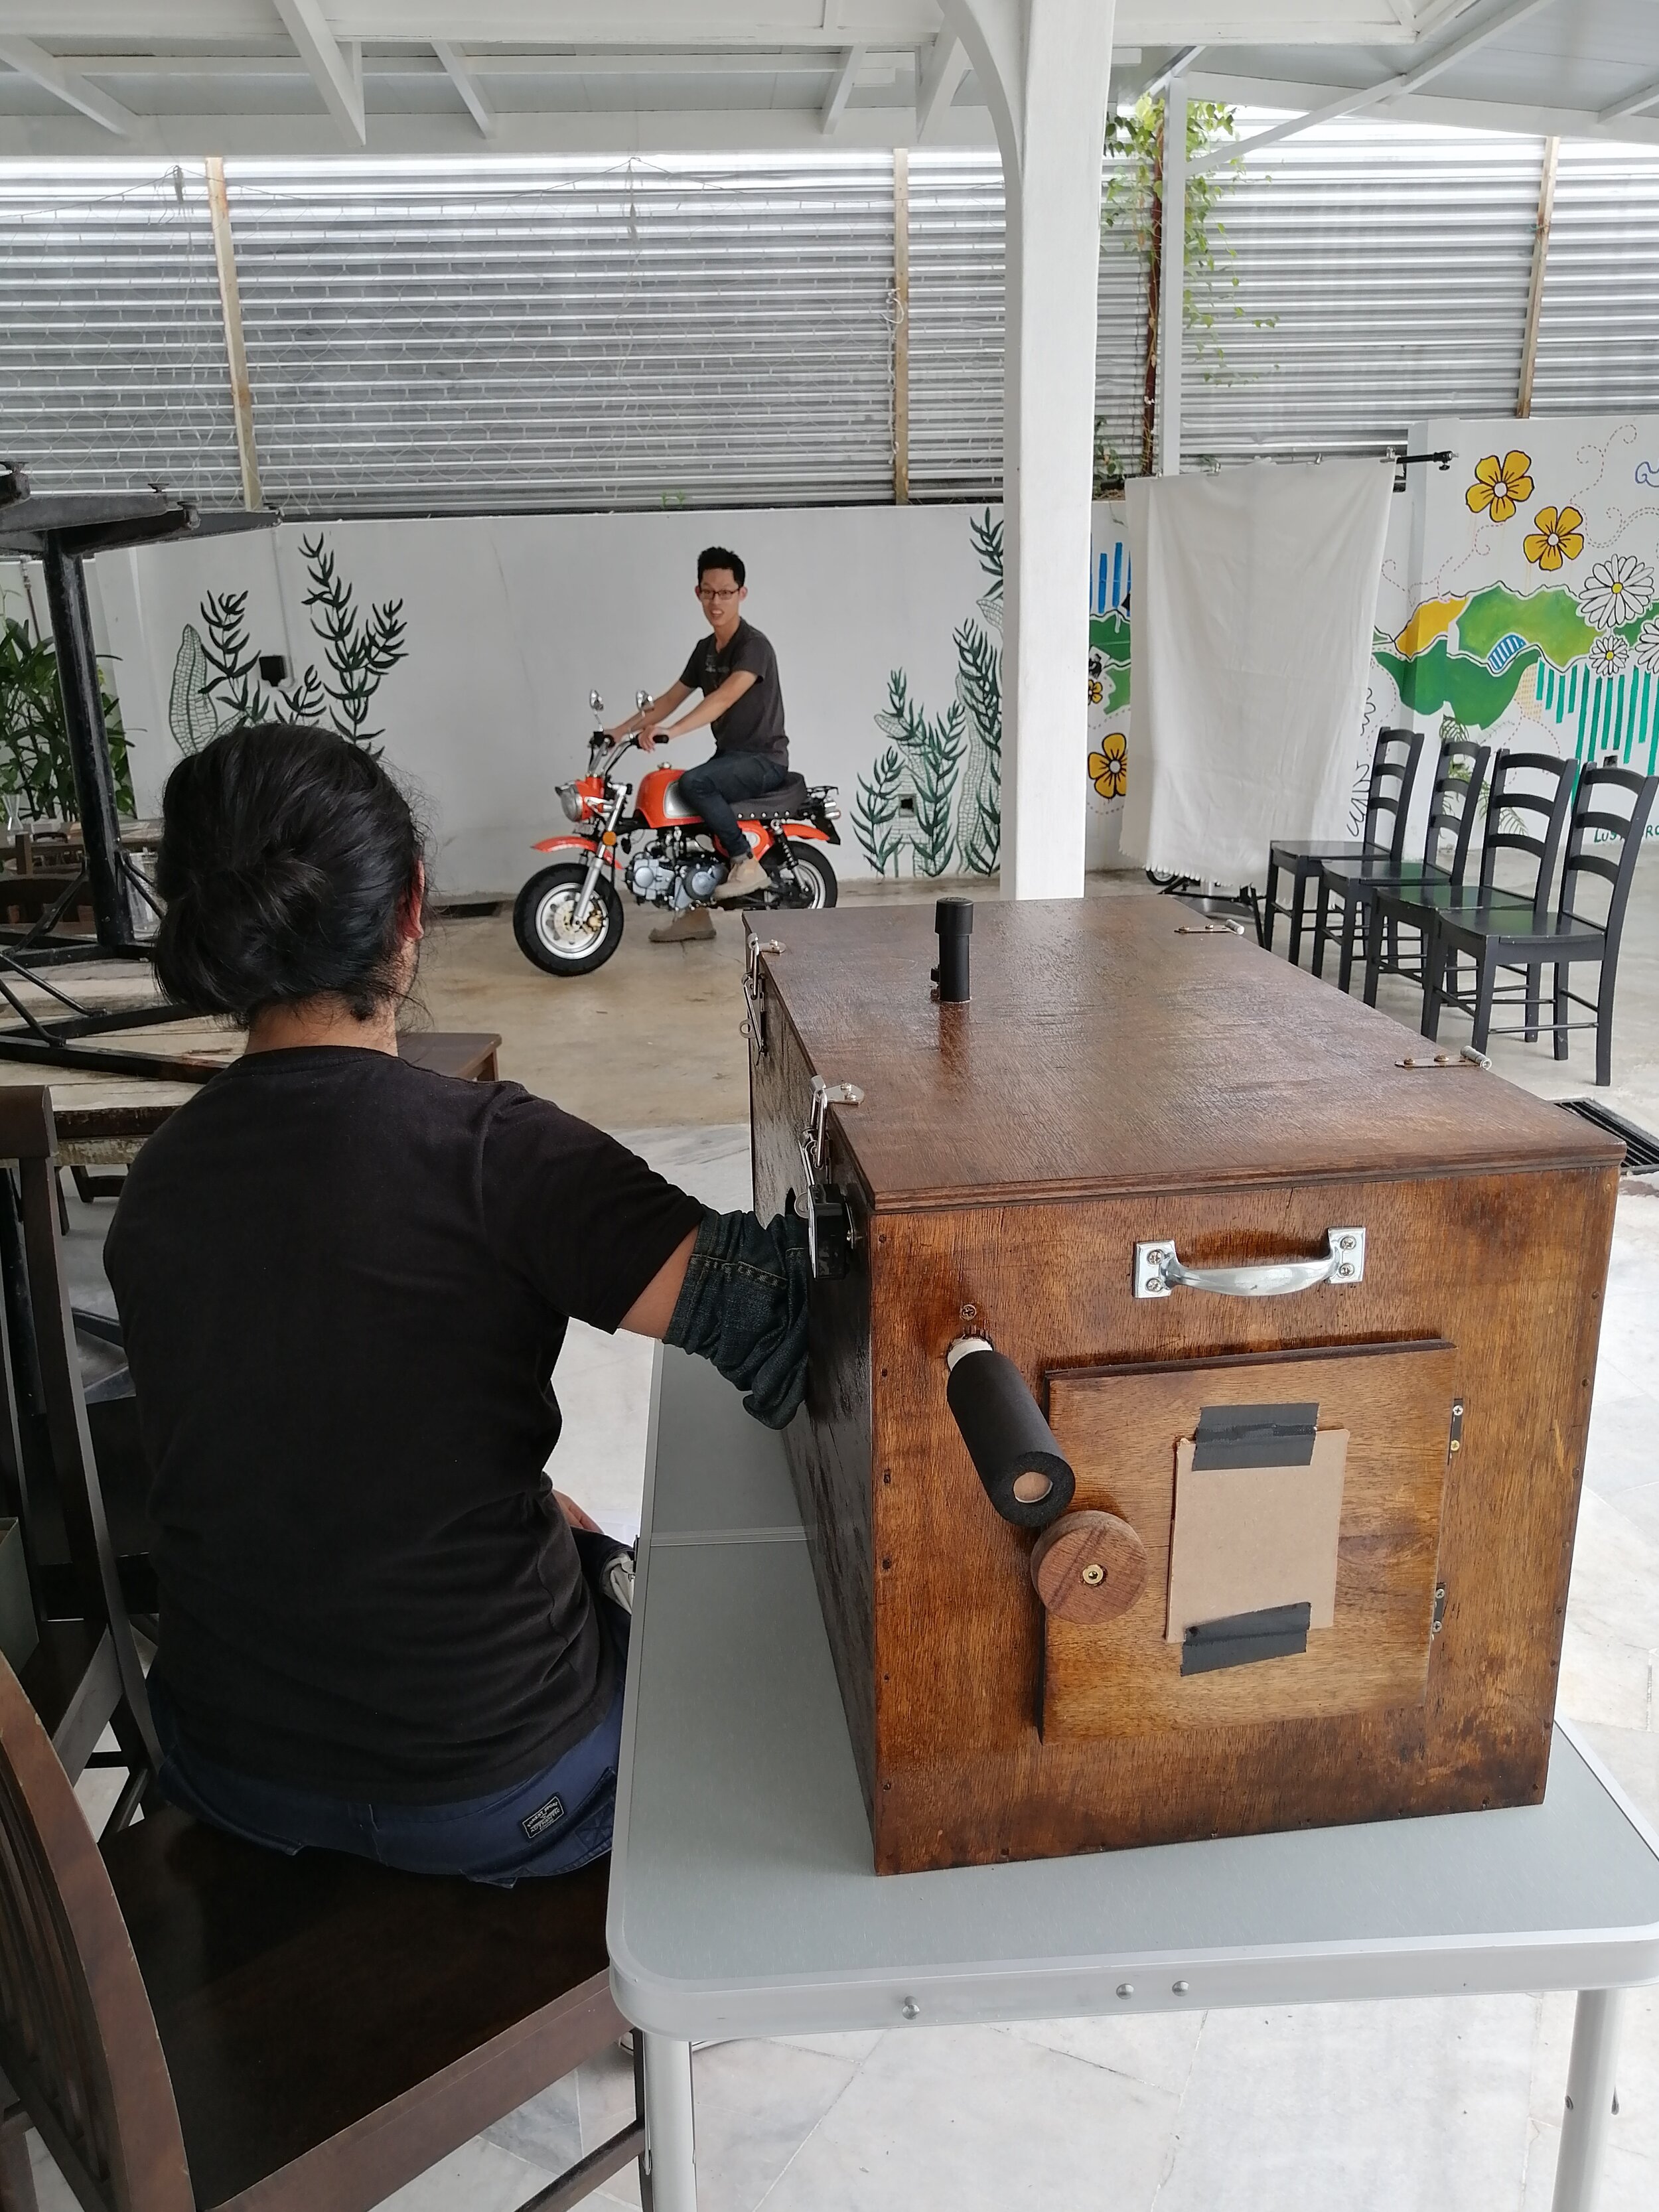
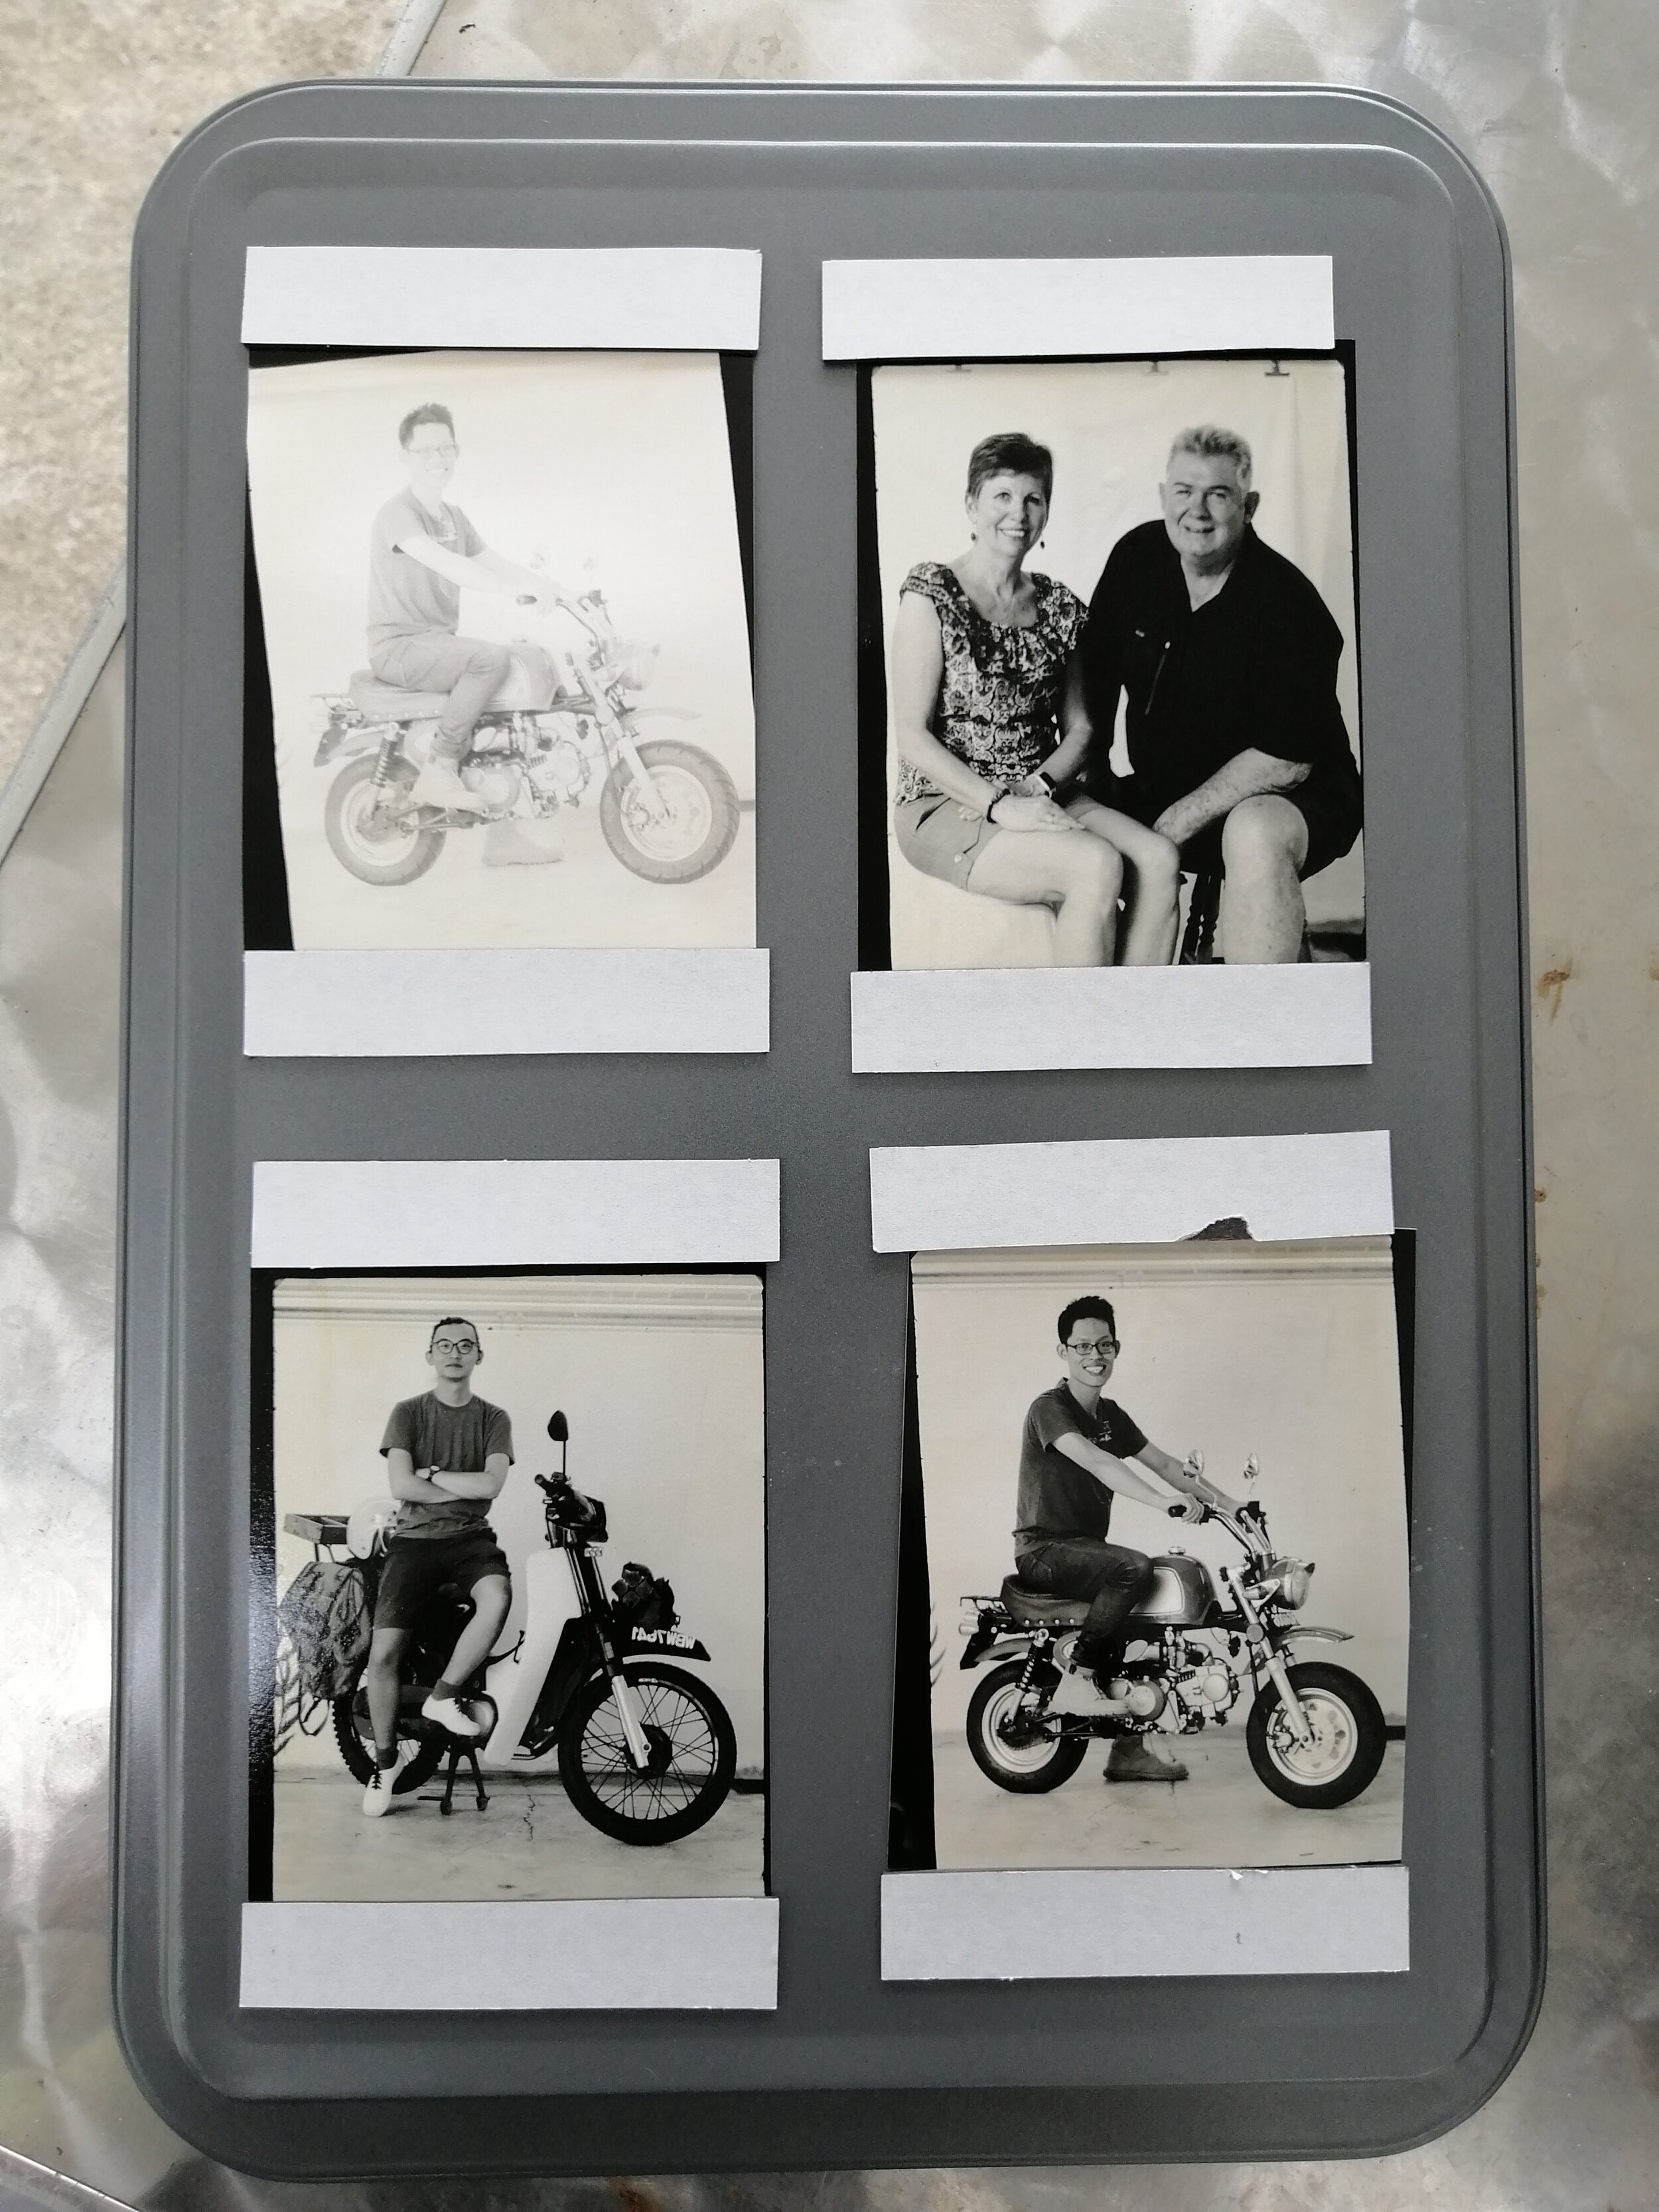
Results from the shoot

[March 30th, 2020]
Flash Experimentation and first 8x10 test
Two days before the Covid-19 lockdown in Malaysia I had received my first box of 8x10 direct positive paper. I was pretty exited to use it until the lockdown was announced, cancelling all the events I had planned to photograph at. I decided to do a little experimenting with a studio light to see how the paper would fare in a studio setting. At the same time, I figured I’d do a test run of the 8x10 paper in the camera. The larger paper means less room to maneuver with my hand in the sleeve, so I wanted to practice this.
The first thing was to get the exposure right. I don’t have a flash meter, so I figured I could calculate the correct exposure by taking a photo on my digital camera and setting the flash and aperture to an equivalent exposure value. I was using a Godox AD400pro so I only had about 400w to play with.

This didn’t turn out to be accurate at all, I had shot with a softbox and with the light about a meter away, this was too dark to be usable.
For the next test, I essentially cranked the flash up to max power, set the aperture wide open to f/4.5. I put the light, bare bulb, about half a meter away from my face. That resulted in a better test shot.
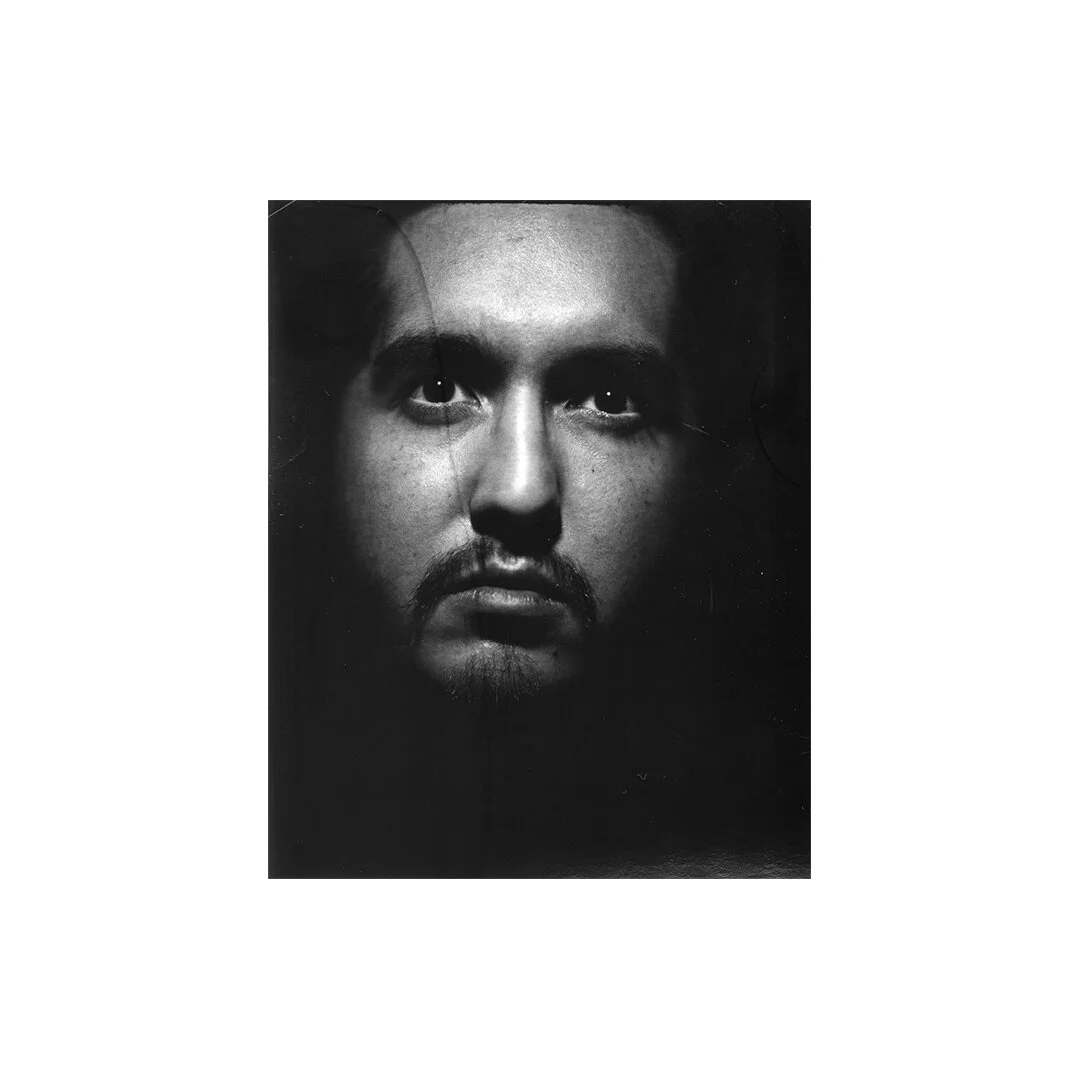
After this came out a fair bit better, I was pretty confident going bigger. I figured it was time to break out the big guns and go full size.

The exposure could be a little brighter and the background better illuminated, but it was a decent result none the less.
I learnt a lot from this little experiment and how direct positive paper works with flash. I’ll probably need another light or two in the future for a more balanced illumination, but for now, I’m happy. I’m honestly quite surprised by the level of detail the paper retains and the performance of the Industar 37 lens. I wasn’t expecting anything this crisp and detailed, but I was pleasantly surprised.
Whats Next?
I have a little resolution to myself that I would like to try wet plate collodion photography at some point this year. I think I should be able to make a plate holder and swap it out as easily as the ground glass. But this will require more light and a darkroom, which with hope, should be soon completed. Stay tuned for updates on that, I guess.
The cost
So, you might be wondering what it cost me to make this big camera and compared to some actual 8x10 cameras it was way more friendly to the wallet. Here are some rough figures for the cost of the whole thing:
Lens - $50 Wood - $20 Hardware & other materials - $20 Frames - $10 total - $100 [April 20th, 2020]
Trying Caffenol for the first time
Using Nescafe instant coffee and other household ingredients, I created a makeshift developer. I used this to photograph and develop this image:

8x10
Caffenol + Harman Direct Positive Paper
I also documented my experience on video for anyone interested in the process.